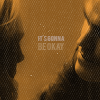
[005] Blame it upon a Rush of blood to the head
Finally, i finished my sets and got rid of my lazy self i also wrote a tutorial!
yay productive me. ◕‿◕
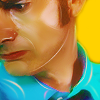
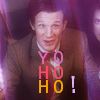
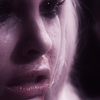
[47] icons. Doctor who, the vampire diaries
+
1 coloring tutorial, 2 psds.
+
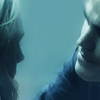
i actually found myself iconing other pairings in this challenge how do i begin to tell you. the vampire diaries man.
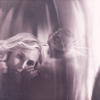
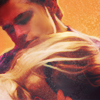
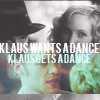
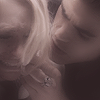
10 THEMEScolor levelsdancefaces to the sidekiss masquerade(ep. 2x07)
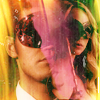
negative spacepaint pictureplus one team Xtouch
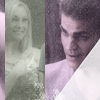
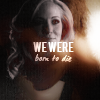
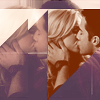
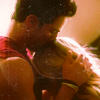
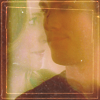
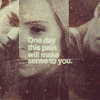
stefan/caroline12345
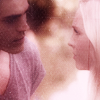
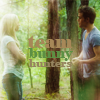
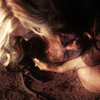
tyler/caroline12345

alts[5]:

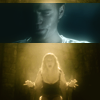
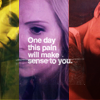
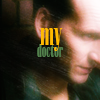
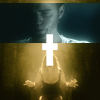
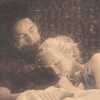
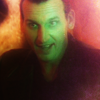
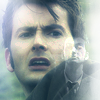
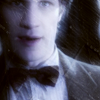
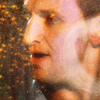
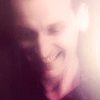
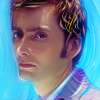
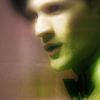
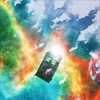
for dwo_stillness. i tried to keep the 20 icons equally distributed among nine ten and eleven. i managed yay! by making an icon of the there of them and one of the tardis. also the main theme is space. i tried to represent it by lots of light and words from the incpiration post. soo here! 20 the doctor icons.
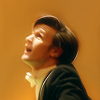
[01-05]
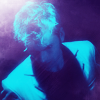
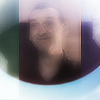
[06-10]
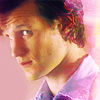
[11-15]

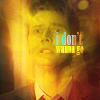
[16-20]
now, TUTORIAL TIME!!!
okay this tutorial was requested on tumblr on my ps blog but i though why not share it with you lovely people.
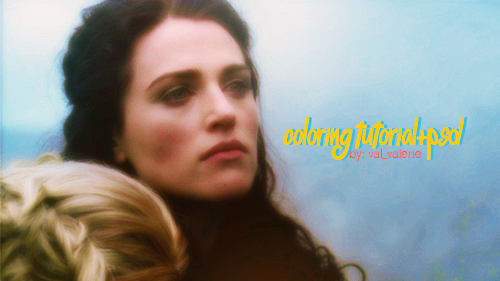
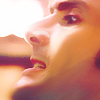
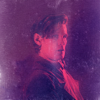
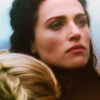
cap #1 (show: merlin):
I know how coloring dark screencaps can be hard, especially when they are very blue blue or green, or even worse red.
I'm gonna show you how i colored two of these. the first one is for merlin. some of the merlin scenes are really blue and dark. forest and night etc.
firstly i always look to make my image brighter. to bring out the hidden skin tones. and then adjust them.
step #1: i duplicated my base layer and set it to screen 100 %, you can already see that it made things a bit more clear. you could add gaussian blur for a little sofness too.

step #2: add a new levels layer, for more brigtness. settings : 0, 1,00, 209
step #3: time for a color balance layer. to get rid of the blues by bringing out the yellows and reds. settings: x x

step #4: you can see that we lost a lot of contrast during this step. so i merge everything strl+alt+shift+e and then desaturate it image> adjustment> desaturate. you could also add gaussian blur but that's optional. and then set this layer to soft light. change the opacity according to your cap.

step #5: now the image looks a bit dull. so i'm just gonna add some vibrance and colors also some light. add a new vibrance layer. vibrance +100 you could add more according to your vibrance liking but this should be enough because we will add more colors with selective color layer.

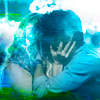
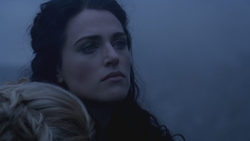
step #6: i think that morgana's face now needs a bit of light. you could use light texture i just find it easier to creat random light blobs using my round brush tool. you could use any colors you want i'm just gonna use white and light blue/green.you could also use other brushes to add more of an effect later. for example grunge/paint brushes. this how my layer looks like this:

i set it to soft light 50% opacity.
step #7: now semi final steps. new selective color layer. settings: Reds → magenta: +46, yellow:+50 Cyans → cyan: +100, Magenta: +100, yellow: -100.
step #8: i noticed my image was getting a bit dark so i add a new brightness/contrast layer. brightness: 27, contrast: 20. i also added a new photo filter layer for a warmer feel but it's optional.
step #9: final step. i want to re-gain the light blue in the bacground since i almost loast all of it. so i creat a new layer. using a soft round brush and #38bfe6 as my background color, i brushed over morgana. and set it to soft light 70%.
icon version:
pretty simple right? i'm sure you wizards will be able to do it anyhow.
there is a psd if you want to download it. :)
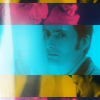
cap #2 (movie: harry potter):
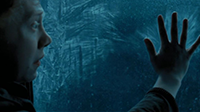
to
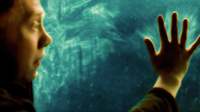
the second one i only uploaded a psd, since you know know what i do and how. :) download
i hope you find these somewhat useful!
Comments are ♥
watch/join for updates?