Dress Diary
11/27
We cut the pattern out 1/4" bigger all around.
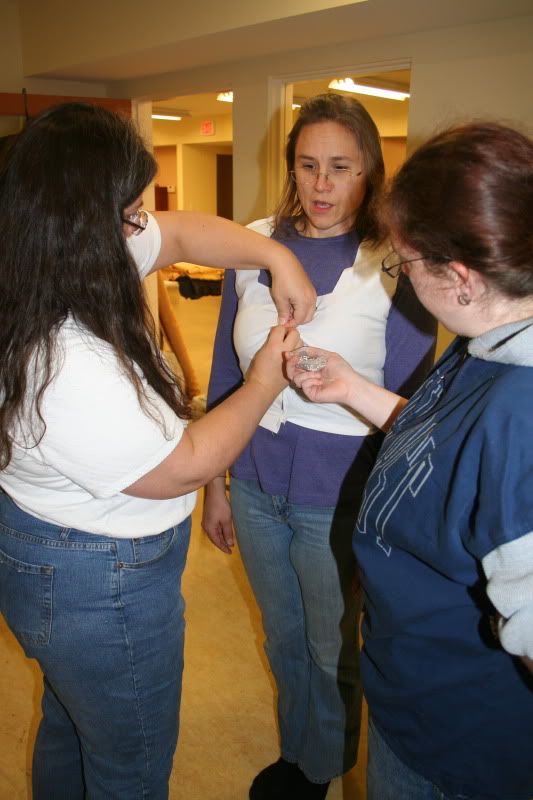
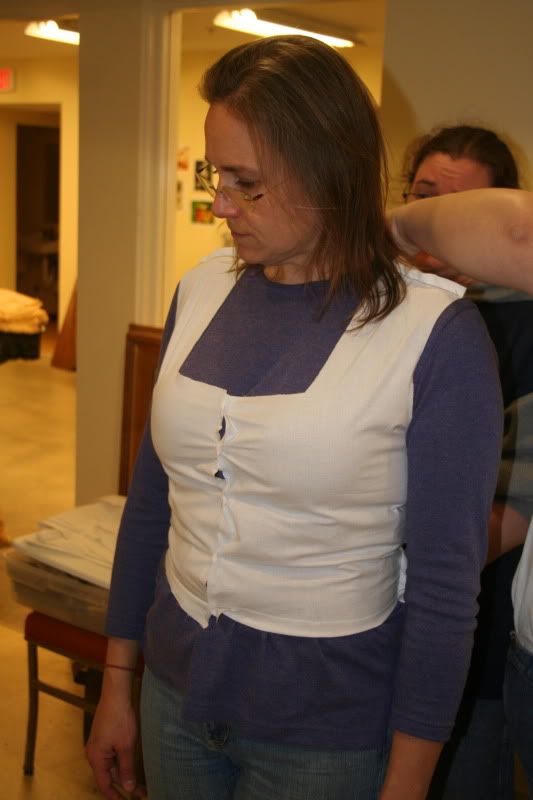
We also added a center-back seam, to shape the bodice better.

The shaped sleeves (folded edges model) were repaterned to have a bigger and non-square armseye.

Everything got ironed as we went, all seams ironed flat.
After we cut and sewed together the black and the green, we decided we needed interlining, so we drew it off a sewn-together lining. This made for an interesting challenge. We then stitched it to the lining and turned those two inside out, for nicer finished seams.
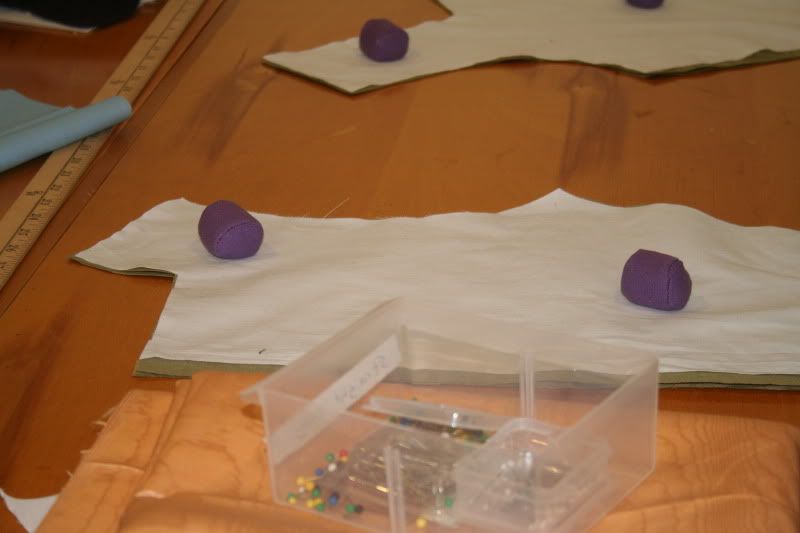
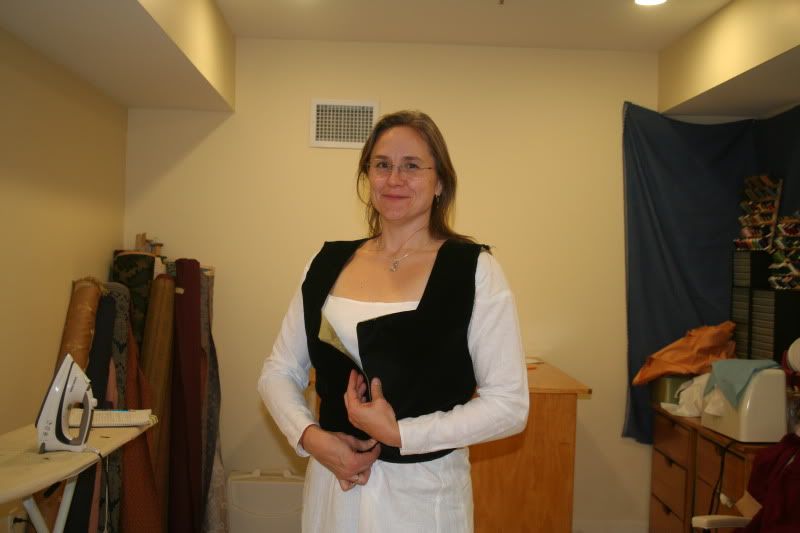
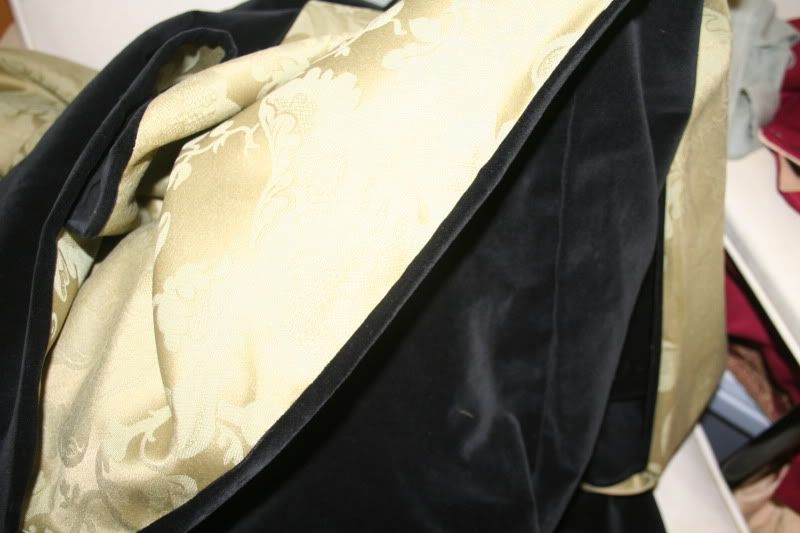
The black velveteen frays like there is no tomorrow, so we surged it where we could and freychecked the rest. Then every layer of the bodice was sewn together and many photos were taken. Much ironing happened again. Unlike in the red and gold dress, we did not finish the bottom of the bodice, for an easier attachment point for cartridge pleating.
We had to take the top seam apart in the bodice, to take in 1/2" for 3" down the top of hte center back seam, to better fit.

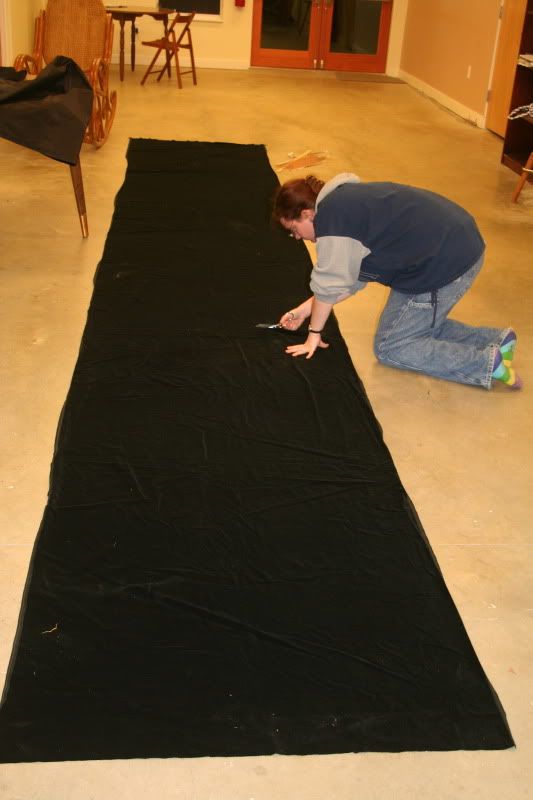
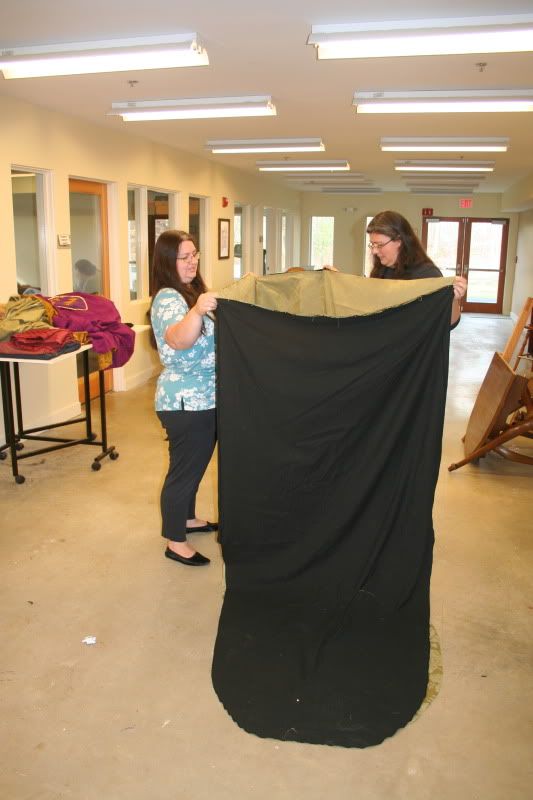
Since the black fabric was narrower then the green (only 45" wide, really 42") we cut the skirt pieces out of it (2 x 45" by fabric width, 1 x 16" by 45", 1 x 90" by fabric width) and then curved the tongue. the flat part of the tongue was only 6 inches wide at the center of the tongue and the rest was a free-handed asymptotic shallow curve. We drew in half, cut it, then folded in half and cut to match the other side. We then put the black on the green and cut out the green pieces to match.
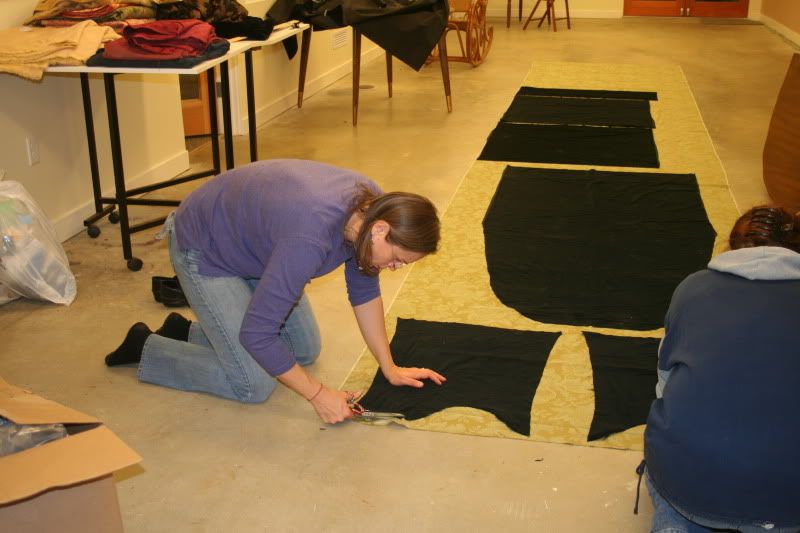
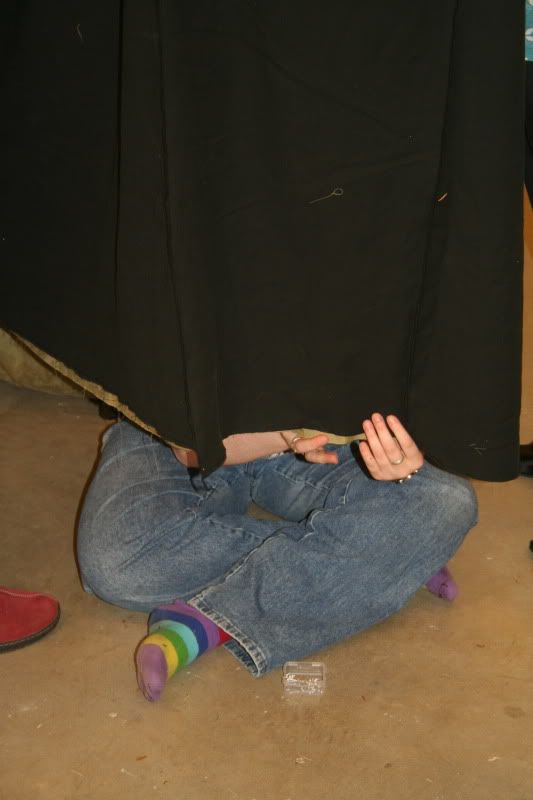
We serged all around the black pieces, to keep them from fraying. Then we sewed the green skirt bits and the black skirt bits separately together to make two huge skirts. We then made a square house to pin the tops and bottoms together. At the top for stability and at the bottom to sew. Sewed together, to make a very large bag, and then ironed the seam flat, with the black overlapping a bit to make it look prettier.
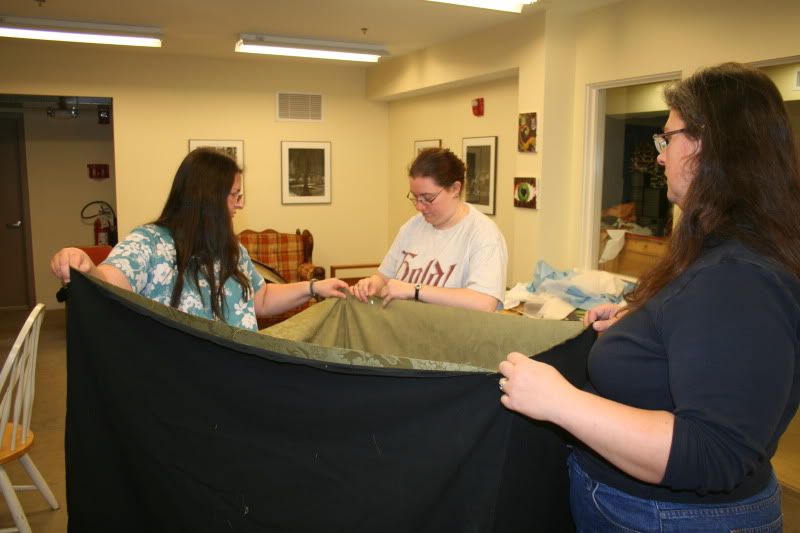
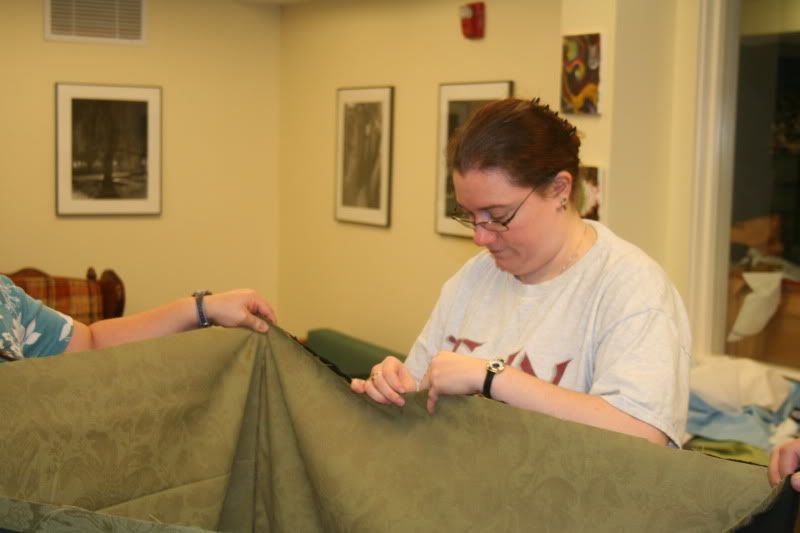

We stitched the sleeves into tubes and attached the two layers together at the cuff of the sleeve. Sewed the sleeve flat at the top, to keep the two layers together. Pinned the sleeves to the black and orange, not the green and stitched in. had to put in two pleats at the top at the shoulder seam.
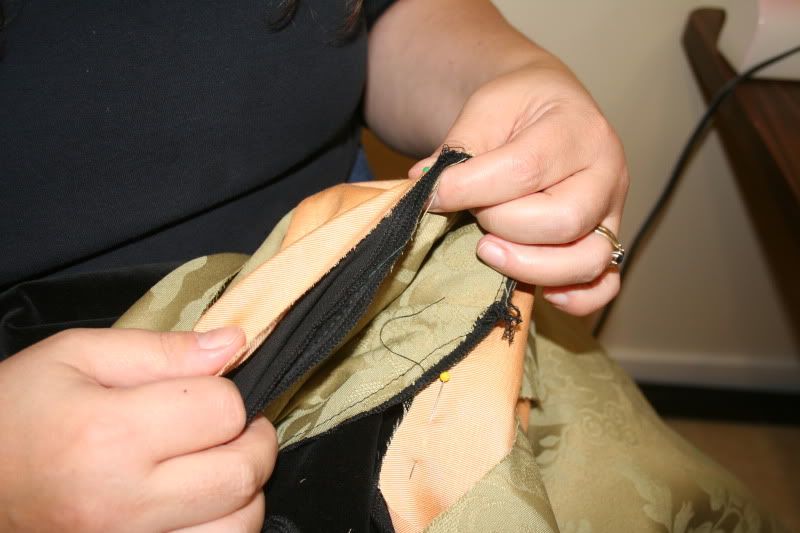
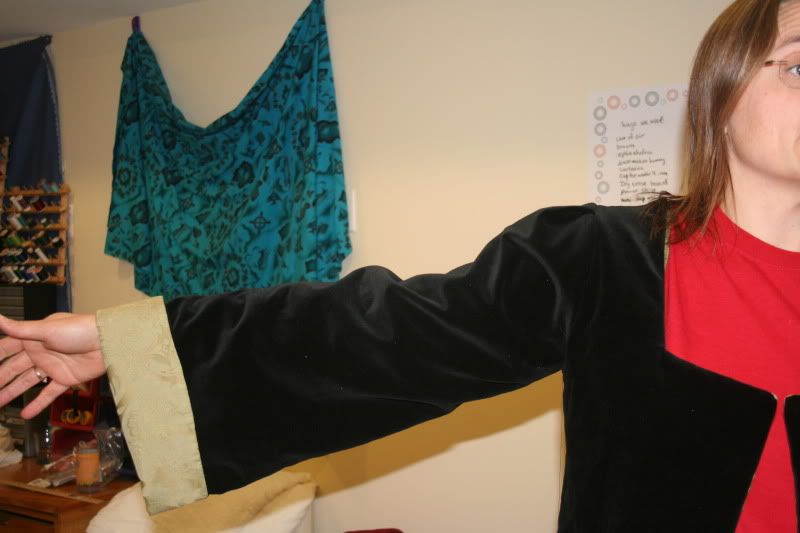
Tried on Her highness, and had to remove one inch off the bottom at the back (removed from pattern).
DO NOT INCREASE width of pattern, it is actually fine!!
There is a one inch overlap in the front, looks fine.
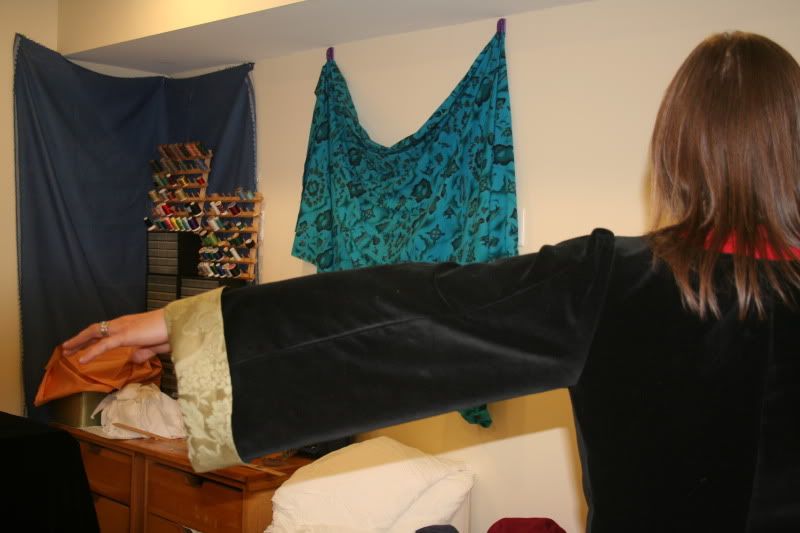
Cut a slit in the skirt front and pinned a facing to make it nice. Stitched, turned and ironed.
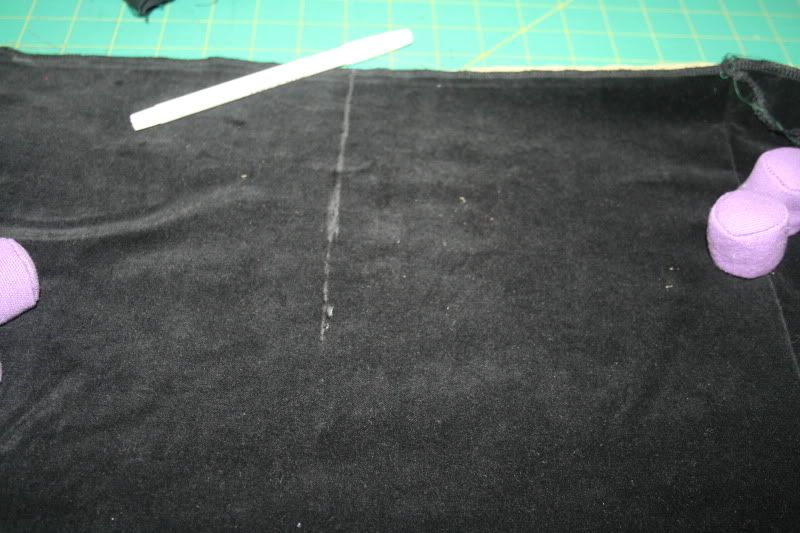
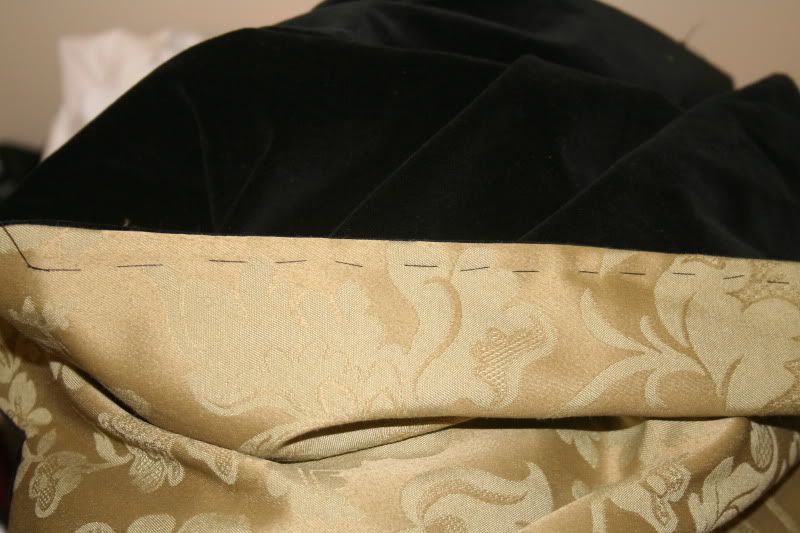
We sliced the extra off the bottom of the back and re-serged it. Then we put steel boning into the front, between the green and orange layers, securing with a channel made with a running stitch.

Put batting in between the green and the black layer of the skirt at the top at back, to make for fatter pleats. We ran a thick thread down the width of the skirt, at one inch intervals, to do the cartridge pleating. Worked very well. We then gathered the pleats and made sure they lined up with the bodice. WE then started sewing the pleats to the black and orange.

11/29
We had to redo some of the pleats to make sure everything lined up properly. We wanted to make sure that the pleats were evenly distributed on the hips.
Tried the dress on Her Highness, folded an inch to inch and a half in front over on each side, We will need to adjust the center front slit to accommodate this.
11/30
We reinforced the outside of pleats and did the facing on the sleeves. Put pins along the line of closure.
HRH said we could cut the front panel to fix in,
12/1
Prick stitched the front edgest straight and adjusted the boning to run along the edge, securing the edge to itself.
12/2
Cut up center front to smooth out the line. Made the slit about 12 inches down from waist
12/3
Finished the finishing of the armseye and added hooks and eyes to the center front. The waist still needed finishing and loops for the skirt needed to be put in.
12/4
Finished the waist and eventually the lops for the back and any minor adjustments such as additional hooks and eyes.
We cut the pattern out 1/4" bigger all around.


We also added a center-back seam, to shape the bodice better.

The shaped sleeves (folded edges model) were repaterned to have a bigger and non-square armseye.

Everything got ironed as we went, all seams ironed flat.
After we cut and sewed together the black and the green, we decided we needed interlining, so we drew it off a sewn-together lining. This made for an interesting challenge. We then stitched it to the lining and turned those two inside out, for nicer finished seams.


The black velveteen frays like there is no tomorrow, so we surged it where we could and freychecked the rest. Then every layer of the bodice was sewn together and many photos were taken. Much ironing happened again. Unlike in the red and gold dress, we did not finish the bottom of the bodice, for an easier attachment point for cartridge pleating.
We had to take the top seam apart in the bodice, to take in 1/2" for 3" down the top of hte center back seam, to better fit.

Since the black fabric was narrower then the green (only 45" wide, really 42") we cut the skirt pieces out of it (2 x 45" by fabric width, 1 x 16" by 45", 1 x 90" by fabric width) and then curved the tongue. the flat part of the tongue was only 6 inches wide at the center of the tongue and the rest was a free-handed asymptotic shallow curve. We drew in half, cut it, then folded in half and cut to match the other side. We then put the black on the green and cut out the green pieces to match.

We serged all around the black pieces, to keep them from fraying. Then we sewed the green skirt bits and the black skirt bits separately together to make two huge skirts. We then made a square house to pin the tops and bottoms together. At the top for stability and at the bottom to sew. Sewed together, to make a very large bag, and then ironed the seam flat, with the black overlapping a bit to make it look prettier.


We stitched the sleeves into tubes and attached the two layers together at the cuff of the sleeve. Sewed the sleeve flat at the top, to keep the two layers together. Pinned the sleeves to the black and orange, not the green and stitched in. had to put in two pleats at the top at the shoulder seam.


Tried on Her highness, and had to remove one inch off the bottom at the back (removed from pattern).
DO NOT INCREASE width of pattern, it is actually fine!!
There is a one inch overlap in the front, looks fine.

Cut a slit in the skirt front and pinned a facing to make it nice. Stitched, turned and ironed.


We sliced the extra off the bottom of the back and re-serged it. Then we put steel boning into the front, between the green and orange layers, securing with a channel made with a running stitch.

Put batting in between the green and the black layer of the skirt at the top at back, to make for fatter pleats. We ran a thick thread down the width of the skirt, at one inch intervals, to do the cartridge pleating. Worked very well. We then gathered the pleats and made sure they lined up with the bodice. WE then started sewing the pleats to the black and orange.

11/29
We had to redo some of the pleats to make sure everything lined up properly. We wanted to make sure that the pleats were evenly distributed on the hips.
Tried the dress on Her Highness, folded an inch to inch and a half in front over on each side, We will need to adjust the center front slit to accommodate this.
11/30
We reinforced the outside of pleats and did the facing on the sleeves. Put pins along the line of closure.
HRH said we could cut the front panel to fix in,
12/1
Prick stitched the front edgest straight and adjusted the boning to run along the edge, securing the edge to itself.
12/2
Cut up center front to smooth out the line. Made the slit about 12 inches down from waist
12/3
Finished the finishing of the armseye and added hooks and eyes to the center front. The waist still needed finishing and loops for the skirt needed to be put in.
12/4
Finished the waist and eventually the lops for the back and any minor adjustments such as additional hooks and eyes.