Paige Matthews tutorial
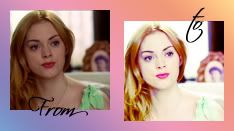
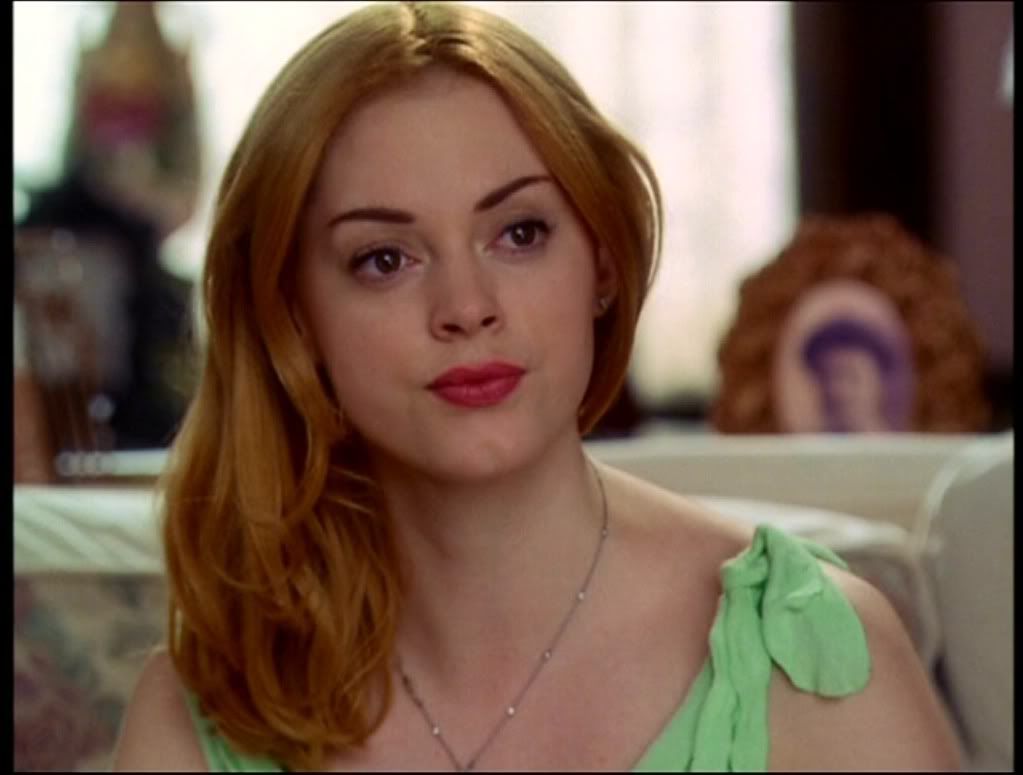
I started off with this image from Screencap Paradise (fantastic site!) and crop and shrink to fit 100x100 to this

Now you're ready to start.
Step 1: The image is just too dark to do anything with. so it needs to be lightened. Duplicate this layer (Layer -> Duplicate Layer) and set it to Screen 100%.

Step 2: It's still too dark, so duplicate the first layer again, move it to the top and set it to Screen 50% (100% makes to far too bright)

Step 3: This layer does darken it a bit, but it brings out the colour of her hair and lips, which we can use later. Duplicate the first layer again, move it to the top and set it to Soft Light 50%.

Step 4: Now it's time to add some colours! First, create a new colour fill layer. The easiest way to do this is to click on the circle at the bottom of your layer palette.
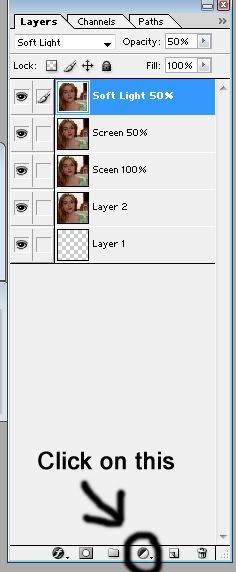
This will show a number of options. Click on Solid Colour... which will be at the top. And enter FFD659.
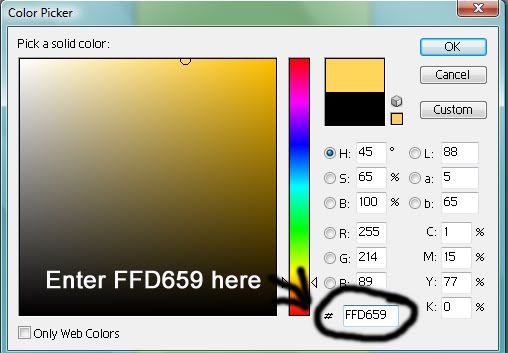
Or just use this colour!

Set to Soft Light 50%. This brings out her hair.

Step 5: Take this flare

(I have no idea who made this. If you did, let me know and I'll credit you) And set to Colour Dodge 50%.Since Rose McGowan is known for pale skin and bright lips, this highlights her skin while leaving her hair a lovely colour.

Step 6: Finally, I want to copy this image and paste it into a new layer. To do this, simply ctrl + A, which selects every visible layer, Edit -> Copy Merged (or Shift + ctrl + C) and paste Edit -> Paste (or ctrl + V). Make sure this layer is on the top, and set it to Soft Light 50%. This final layer just completes the icon. It makes her lips brighter and dulls the background slightly. You can forget about this step as the icon look pretty good already.
And flatten (Layer -> Flatten Image)

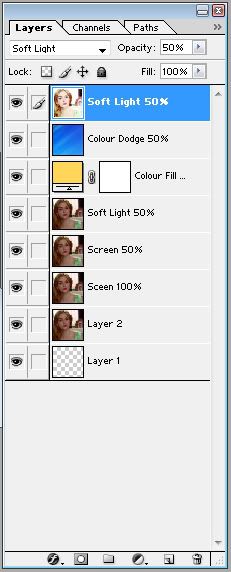
This is what your layer palette should look like:
Comments? I'd love to see what you make from this tutorial.