(no subject)
Hermione/Krum Tutorial:
Making This Icon in PSP7 (Im pretty sure its translatable):
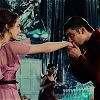
First off, your gonna need a base, im using this one, from the GoF Trailer (capped by me, over here)
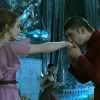
Sharpen once
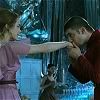
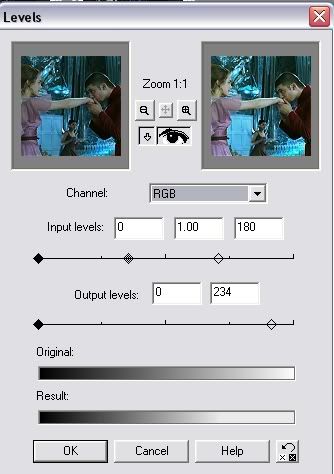
Now, adjust your levels (colours > adjust > levels)
Input Levels: 0, 1.00, 180
Output Levels: 0, 234
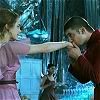
Duplicate your base layer and set the duplicates blend mode to screen 50%

Next, Duplicate your base layer again, and drag it so it is above the screened layer (Or, you could just duplicate the screened layer xD)
Desaturate (shift + h, satuaration -100) your newly duplicated layer, and set the blend mode to soft light 100%
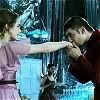
Now, create a colour balance layer (Layers > New Adjustment Layer > Colour Balance)
Colour Levels: 12, -23, 7
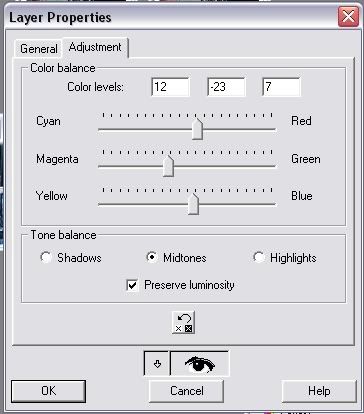
And leave the colour balance layer onnormal 100%
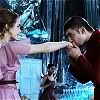
Merge All.
Duplicate your newly merged icon and set the duplicates blend mode to screen 41%
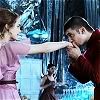
The next part was taken from a small section of this Tutorial.
Create a New layer, and Flood fill with #0b183b

set the blend mode to exclusion 100%
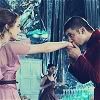
Create another new layer, on top of the exclusion layer and floodfill it with #c99f7d

set the blend mode to multiply 100%
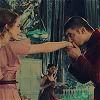
Now, duplicate your bottom layer, and drag the duplicate so it is on top ofall the other layers and set the blend mode to soft light

And Voila, your done =D
Other Icons Made using this (or similar) technique:



Your welcome to use any of the icons featured in this tutorial, as long as you credit either throw_elijah or honerbright
Join this community
(Graphic Master List) ( Text Master List)
Making This Icon in PSP7 (Im pretty sure its translatable):

First off, your gonna need a base, im using this one, from the GoF Trailer (capped by me, over here)

Sharpen once

Now, adjust your levels (colours > adjust > levels)
Input Levels: 0, 1.00, 180
Output Levels: 0, 234


Duplicate your base layer and set the duplicates blend mode to screen 50%

Next, Duplicate your base layer again, and drag it so it is above the screened layer (Or, you could just duplicate the screened layer xD)
Desaturate (shift + h, satuaration -100) your newly duplicated layer, and set the blend mode to soft light 100%

Now, create a colour balance layer (Layers > New Adjustment Layer > Colour Balance)
Colour Levels: 12, -23, 7

And leave the colour balance layer onnormal 100%

Merge All.
Duplicate your newly merged icon and set the duplicates blend mode to screen 41%

The next part was taken from a small section of this Tutorial.
Create a New layer, and Flood fill with #0b183b

set the blend mode to exclusion 100%

Create another new layer, on top of the exclusion layer and floodfill it with #c99f7d

set the blend mode to multiply 100%

Now, duplicate your bottom layer, and drag the duplicate so it is on top ofall the other layers and set the blend mode to soft light

And Voila, your done =D
Other Icons Made using this (or similar) technique:
Your welcome to use any of the icons featured in this tutorial, as long as you credit either throw_elijah or honerbright
Join this community
(Graphic Master List) ( Text Master List)