TUTORIAL ARCHIVE
Just click on the preview image to download the PSDs.
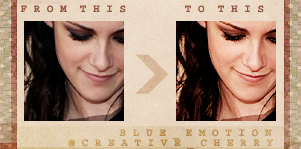


tutorial;
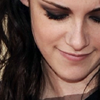
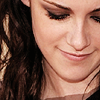
Crop your image. I've gone for a close crop to really try and focus on Kristen's features and expression.
Sharpen it to the desired level. I used the unsharp mask [filter > sharpen > unsharp mask] because I feel it gives a softer sharpen. I then ran the sharpen tool over her eyes and lips to make them pop
Next add a new layer and fill with #DB9C8F. Set this layer to soft light 100% This gives her skin a warmer, brighter look.
Here I adjusted the brightness/contrast level to contrast +5.
Next I added another layer and filled it with #CFCAB8. I set this layer hard light opacity 13%. This lightens the icon, ready to add some depth in the next few steps.
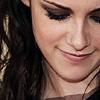
I didn't want her hair to look too red, so using selective colouring I set black > black to +100% to really darken her eyes and hair. The amount you need to adjust this will vary on how dark your image was in the first place.
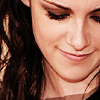
Finally I used the channel mixer to make the colours more vibrant and less washed out.
These were my settings:
Red Output Channel=Red:+96, green:+12, blue:-4, constant:+6
Green Output Channel=Red:0, green:+100, blue:0 constant:0
Blue Output Channel=Red:0, green:+100, blue:0 constant:0
And that's everything!Hope this was easy enough to understand.