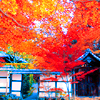
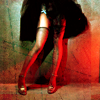
TUTORIAL #2; Lucrecia Crescent
to
Enchance your Reds, Blues and Yellows. Done in PS7 and uses Selective Coloring.
01 Crop your image. Auto Color, Auto Contrast, Auto Levels. Do whatever order works and then brighten if you have to with Curves by hitting Ctrl+M.
02 Make a Selective Color layer.
Reds:-100, 0, 100, 0
Yellows:-100, 0, 100, 0
Cyans: 100, 0, -100, 100
Neutrals: 14, 14, 17, -29
03 Another one.
Reds:-100, 100, 100, 100
Yellows: 0, 0, 100, -10
Cyans: 100, 0, -100, 100
Whites: 0, 0, 0, -80
Neutrals: 30, 0, -12, -17
04 Make a Hue/Saturation layer. I set the Saturation to +35 or +60 but you can change it, depending on your image.
05 Sharpen>Unsharp Mask: 20, 2.0, 0 on the base or do whatever you want with the image. If your image is too red or yellow then go to the base and bring up the Saturation by pressing Ctrl+U and reduce the Sat for whatever you have too much of. Might not work for every image.
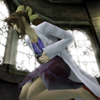
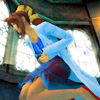
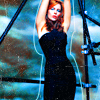
MORE EXAMPLES

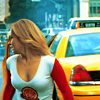

You can get the .PSD file too!