TUTORIAL TIME
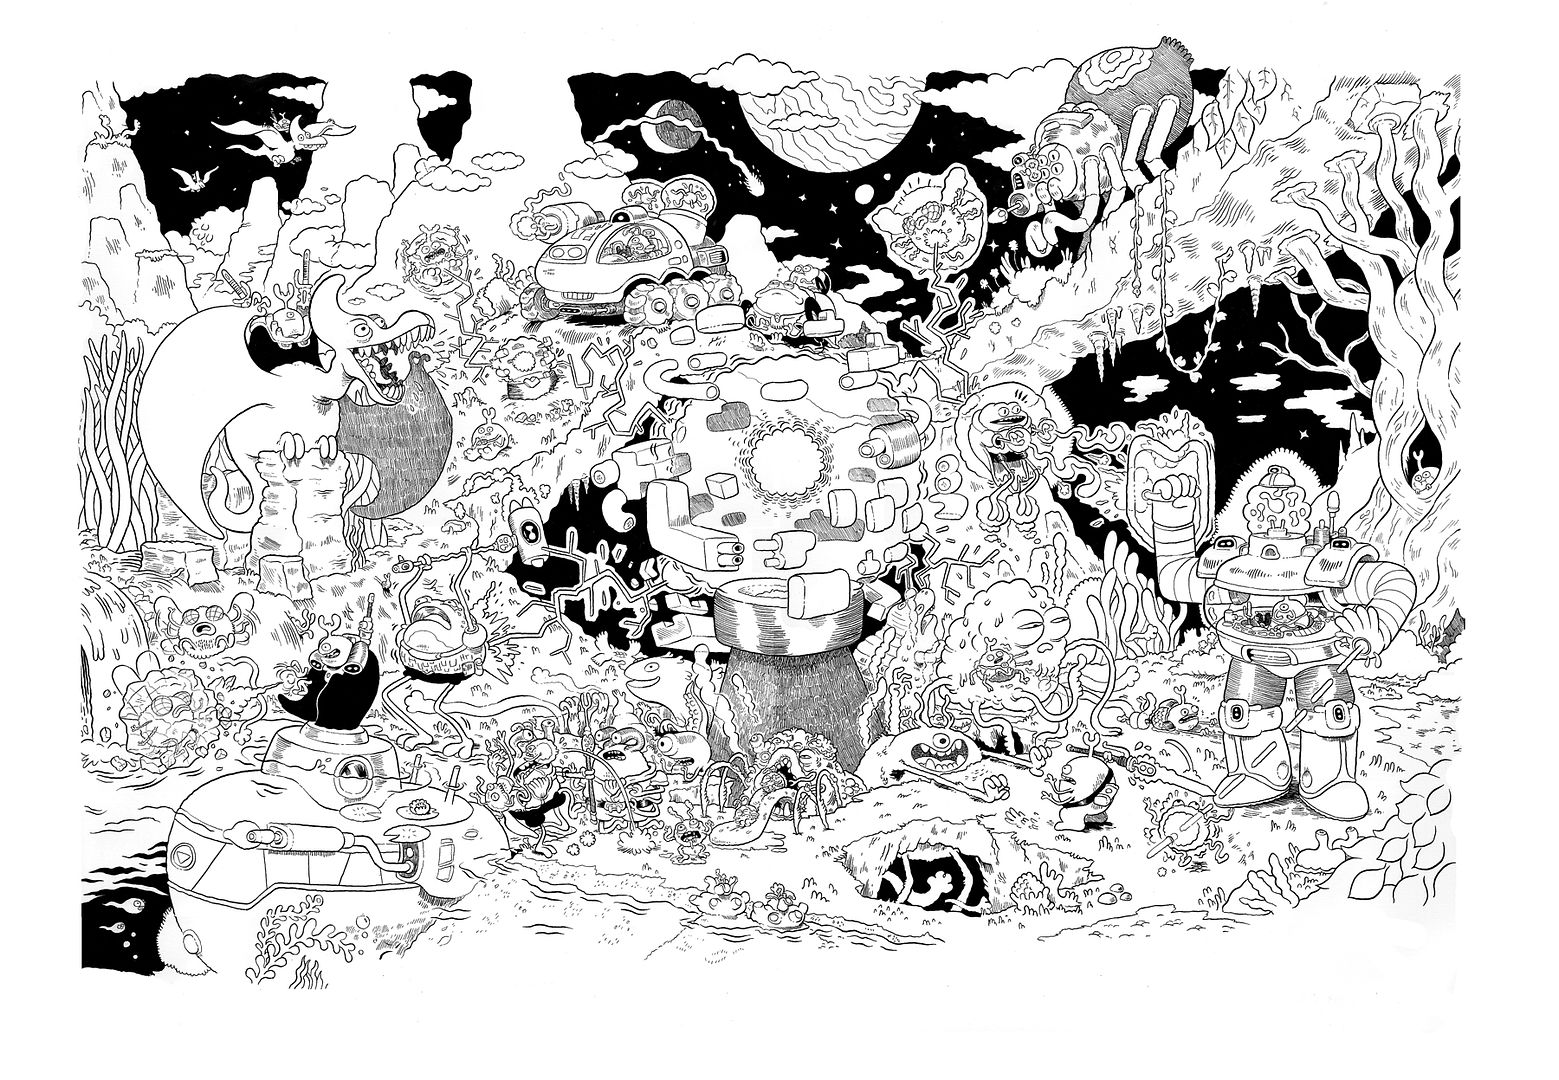
Now for those that want to know....
First you need an idea and for that I have my sketchbook:
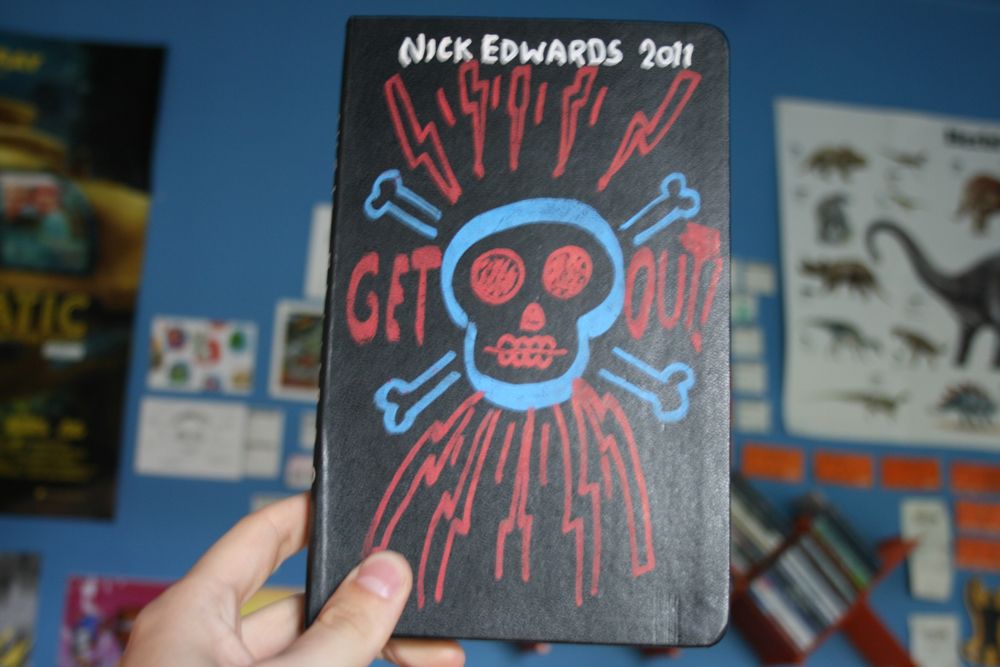
It is a moleskine and I draw in it with any pencil, I'll put up a photo of my favourite mechanical pencil in a bit.
Here are some sketch pages, and within them you might see some of the things I put into the final image:
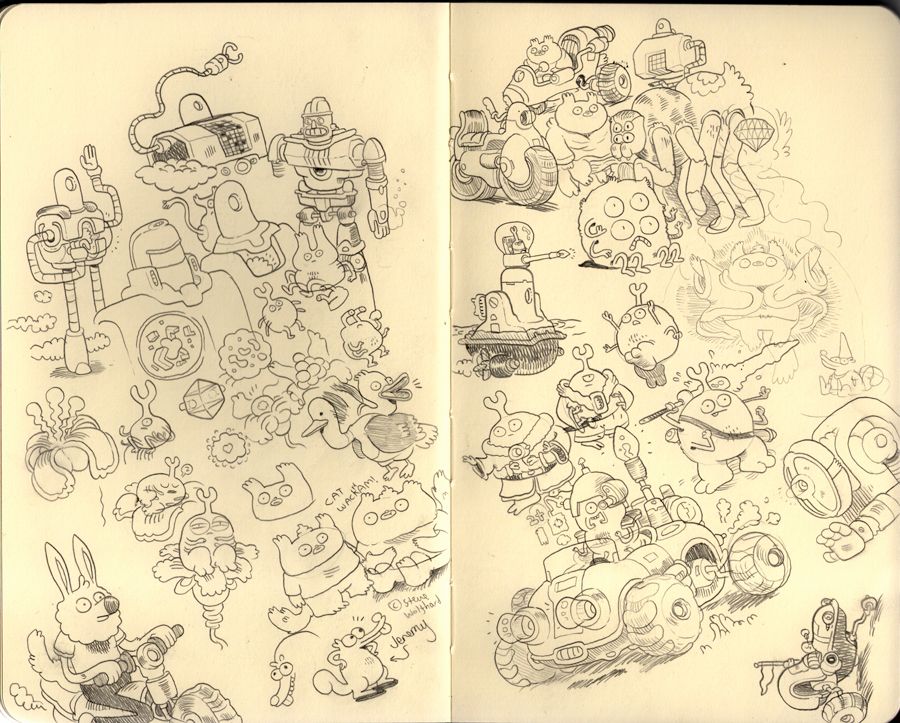
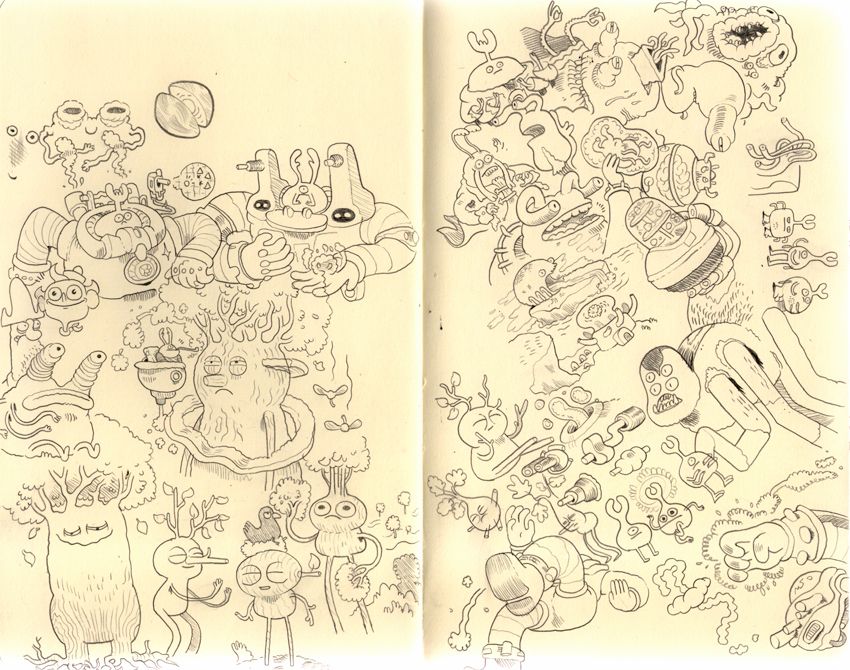
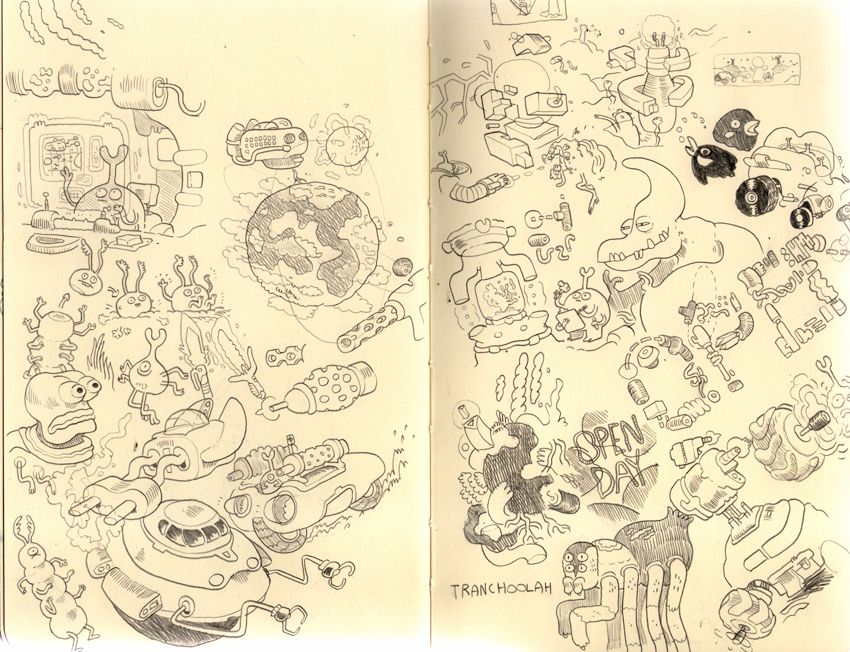
^^^ Top right of that last page is the central tower thing in the image. You won't find most of the creatures in the final thing in my sketchbook or a decent layout. The closest you'll get is this:
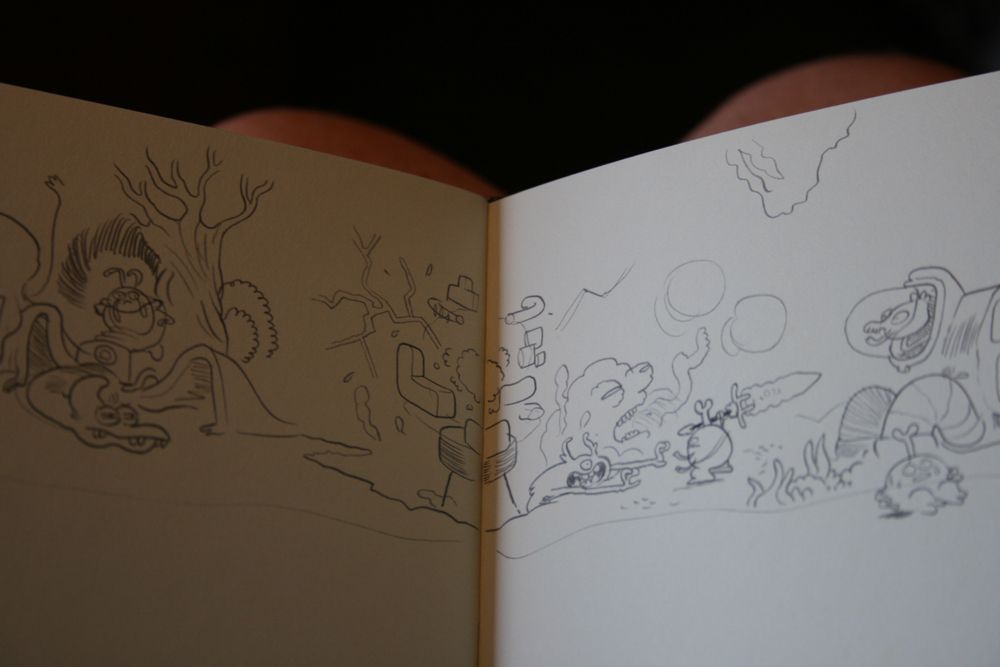
Needless to say I don't really stick to it. This is a personal thing. Lots of people love to over-plan and have everything set in stone before they put pen to paper, I don't. I like to leave big gaps and have the drawing of the image be more of a... discovery.. as lame as that sounds. Its way more interesting to draw straight from my brain than to repeat something I did moments earlier.
MOVING ON:
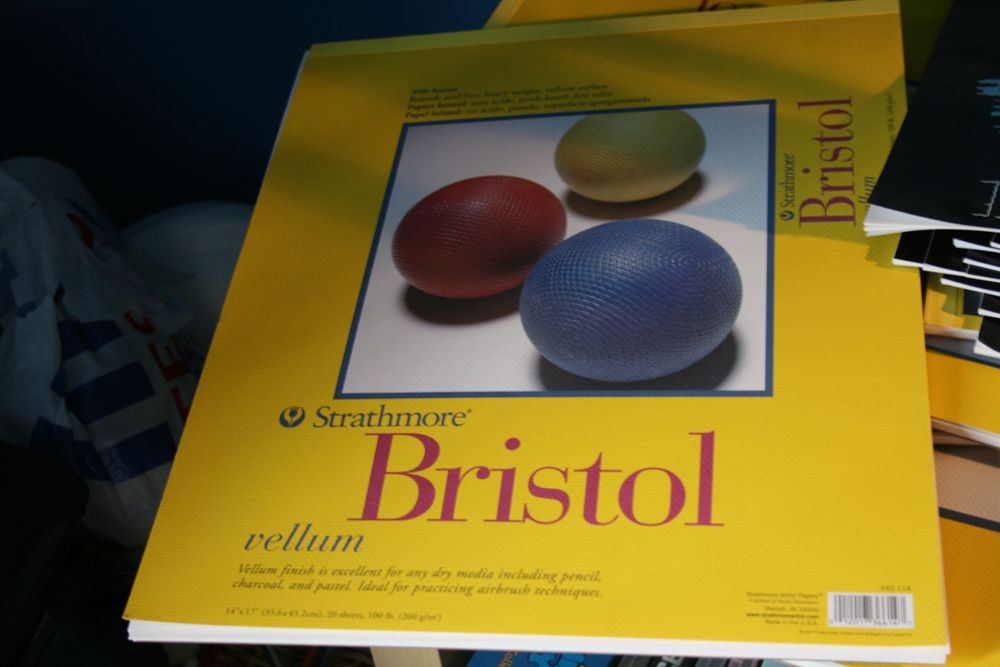
^^^ Get a nice big piece of Bristol Board. I get get the vellum kind because I like the texture. This is the biggest pad I have.
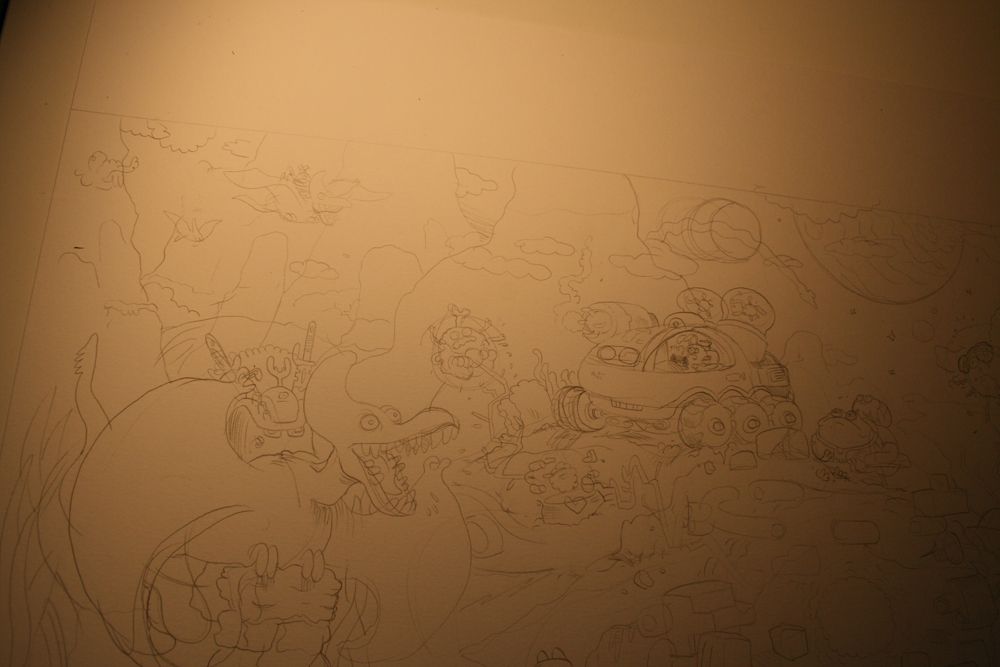
I start pencilling. I pencil with this thing:
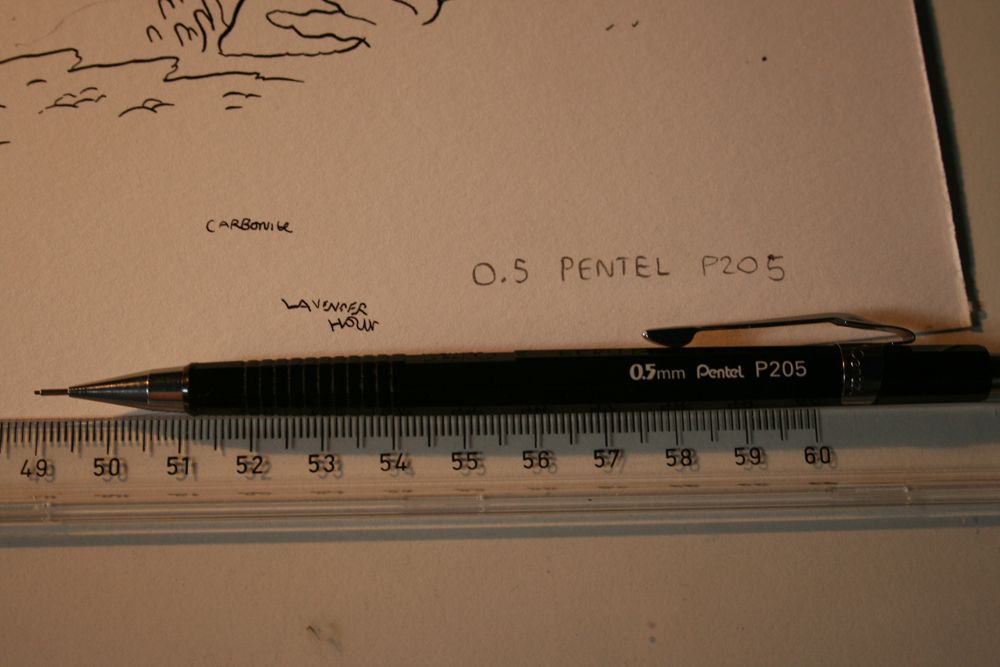
My pencilling has become a bit clearer recently. They used to be a lot messier. They still are a bit wobbly as you can see in this picture:
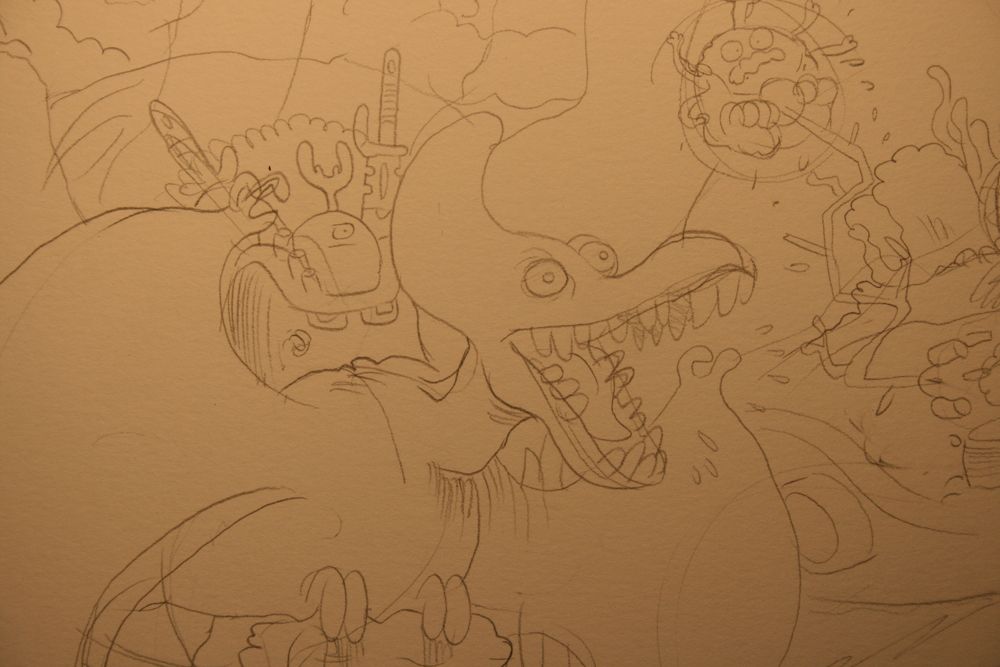
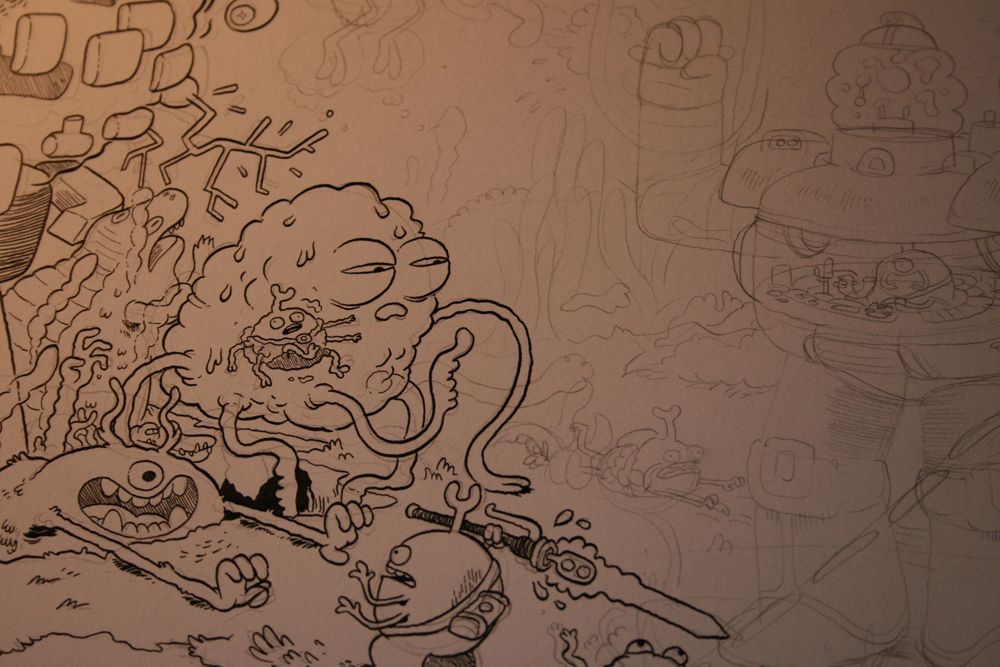
Now here are a bunch of inking progress photos:
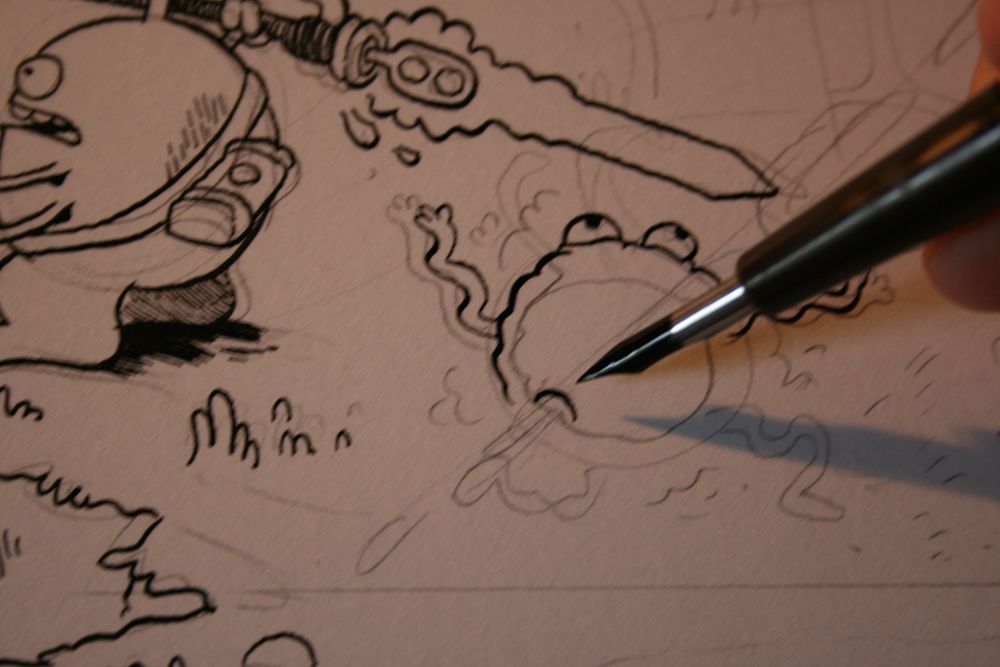
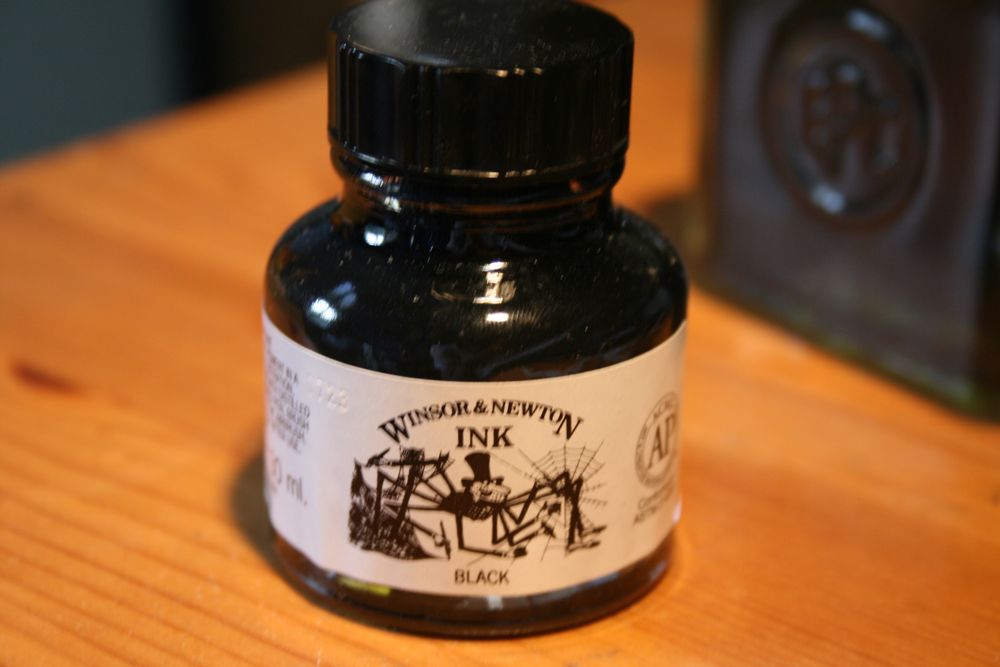
For inking I use the faultless Winsor & Newton India Ink:
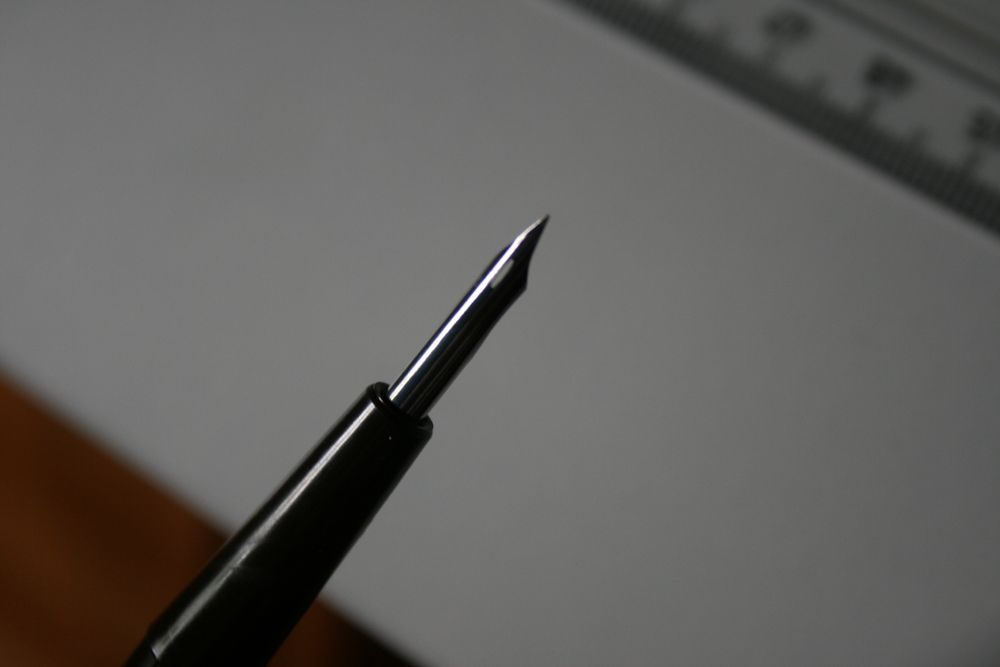
^^^ The all-powerful Hunt 102 crow quill nib. Used by a bunch of my heroes. R.Crumb, Dave Cooper, Chester Brown to name a few. Its the best, I love it. You'll need a bunch of nibs because every now and then you get a dud, but more commonly than that you'll get the greatest nib in the universe and you'll shed a tear when you have to throw it away (which I usually have to after a couple of big pictures like this). You also only ever have to dip it in ink every 10 minutes, it's incredible at holding ink. Also has great line variation.
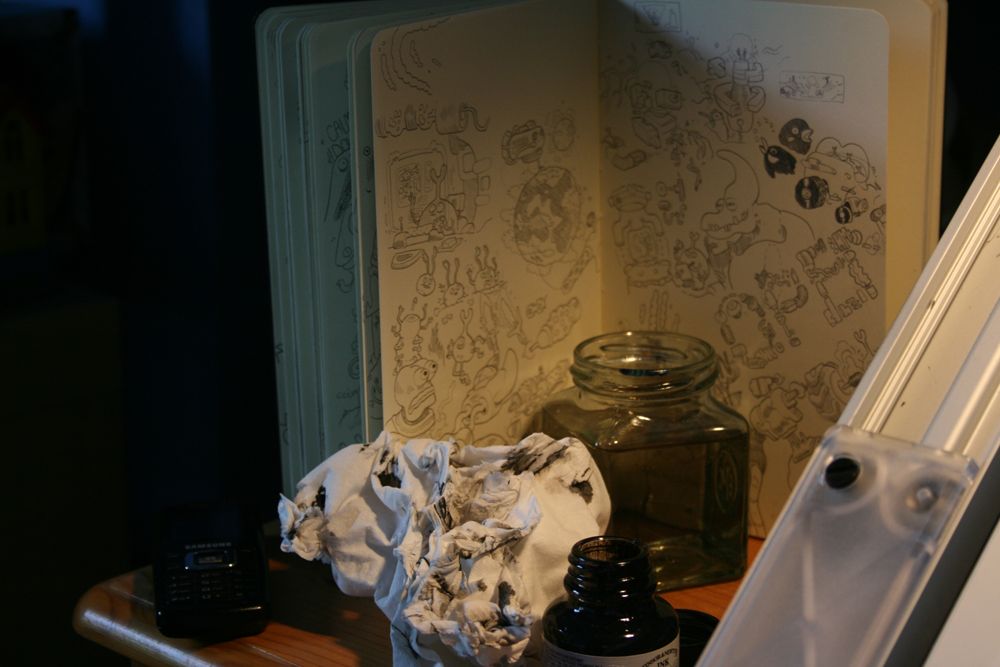
^^^ You'll need a mug or a glass of some kind to keep water to wash the nib because it will pick up little bits of paper, hairs, and dust. Also have a tissue or some toilet paper ready for drying it and scrubbing off dried bits of ink that stick to the nib.
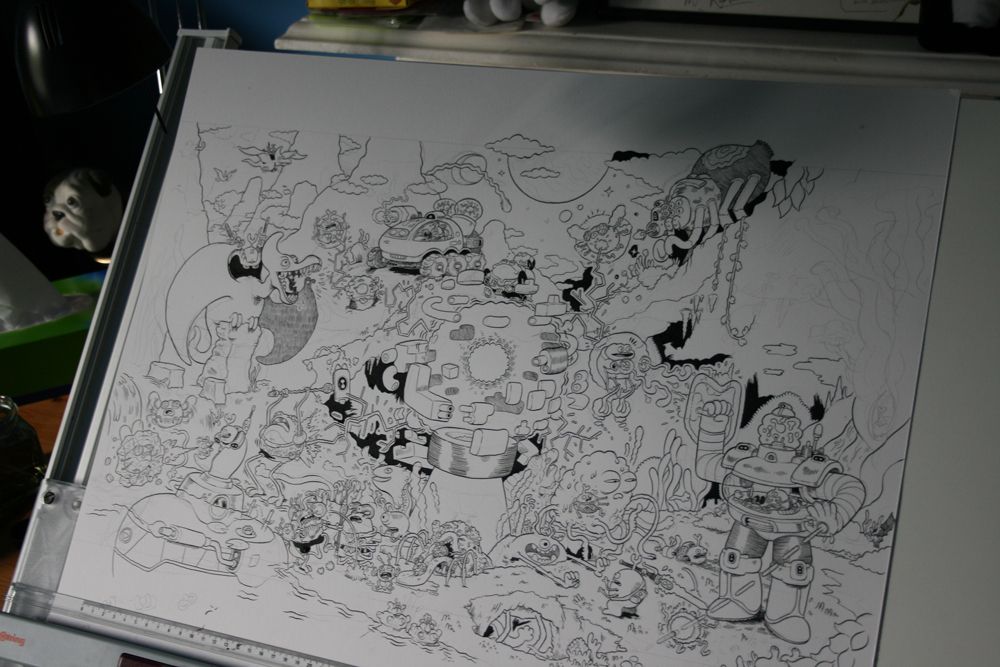
^^^ Almost done, got all the lines and tricky bits of black filled in.
TIME FOR LUNCH:
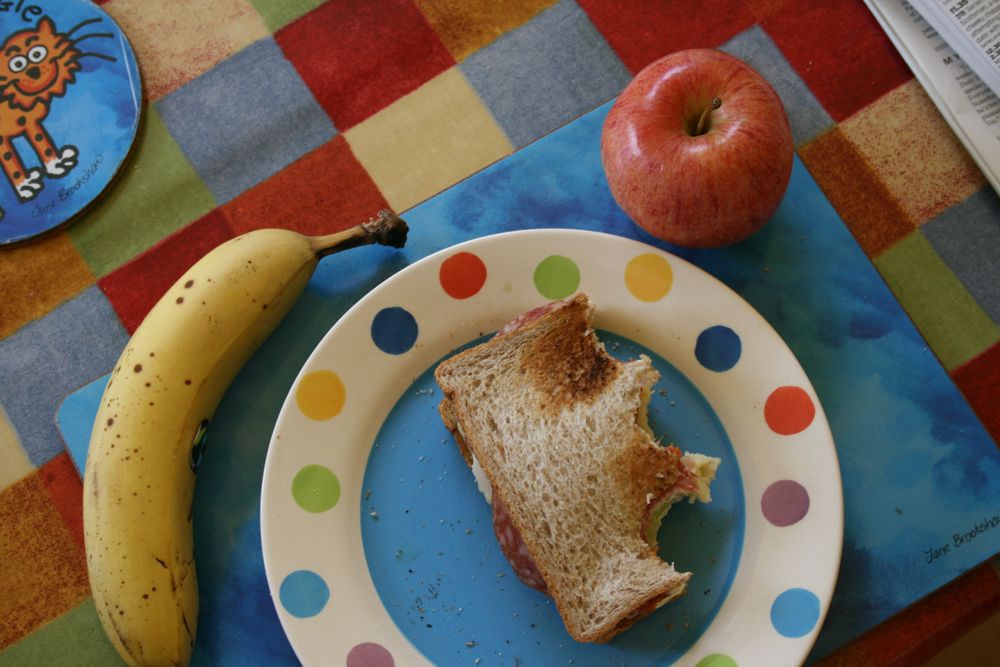
A delicious pepperoni, chorizo, turkey, cheese and mayo sandwich (YEAH). But more importantly, an apple (for your health) and a BANANA, which has the potassium you need to stop your hand from cramping. Very important. Also another health note, to stop your back from hurting (firstly get a drawing board) you should do some sit-ups just to keep your stomach muscles strong which simultaneously strengthens your lower back.
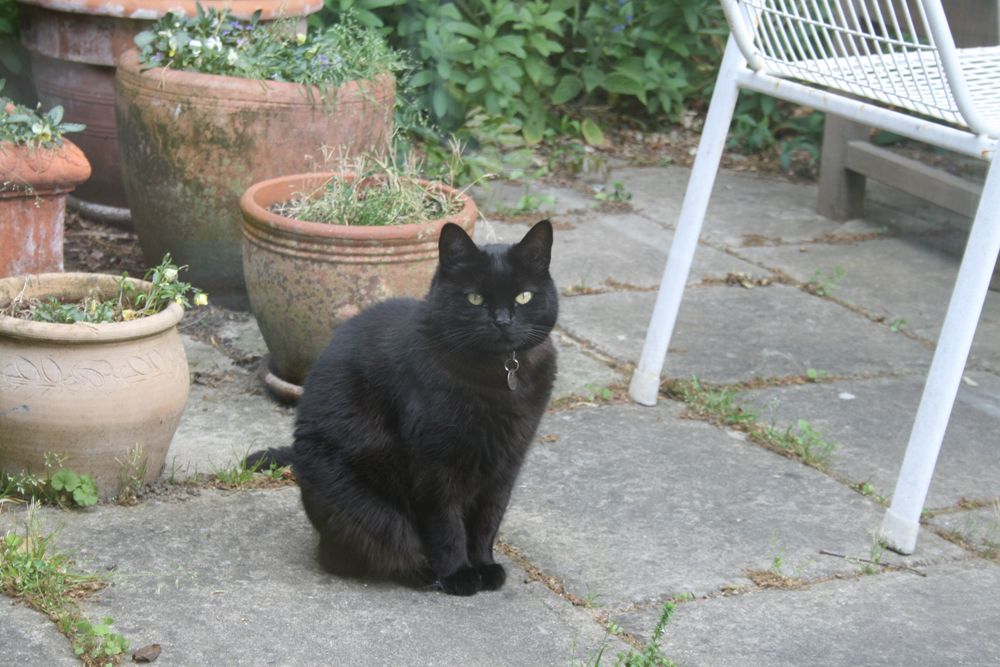
^^^ Molly stares at me with hungry eyes as I finish my lunch.
BACK TO WORK:
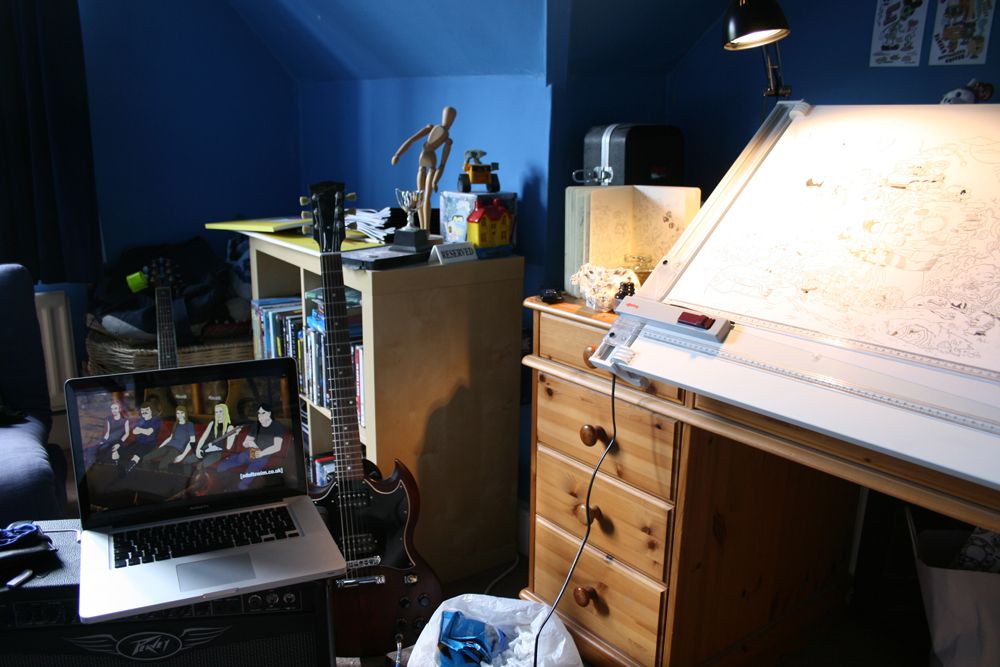
I like to listen to podcasts and music while I draw. Sometimes I watch stuff on adultswim aswell (if you can see Dethklok there from Metalocalypse) And I occasionally stop to noodle about on my sweet Gibson SG. But podcasts are the best, because they're long and they're informative and funny. Good podcasts:
- Doug Loves Movies
- Comedy Bang Bang Radio
- Adam and Joe
- Nerdist
- Kermode and Mayo film reviews
- Stuff You Should Know
NEXT:
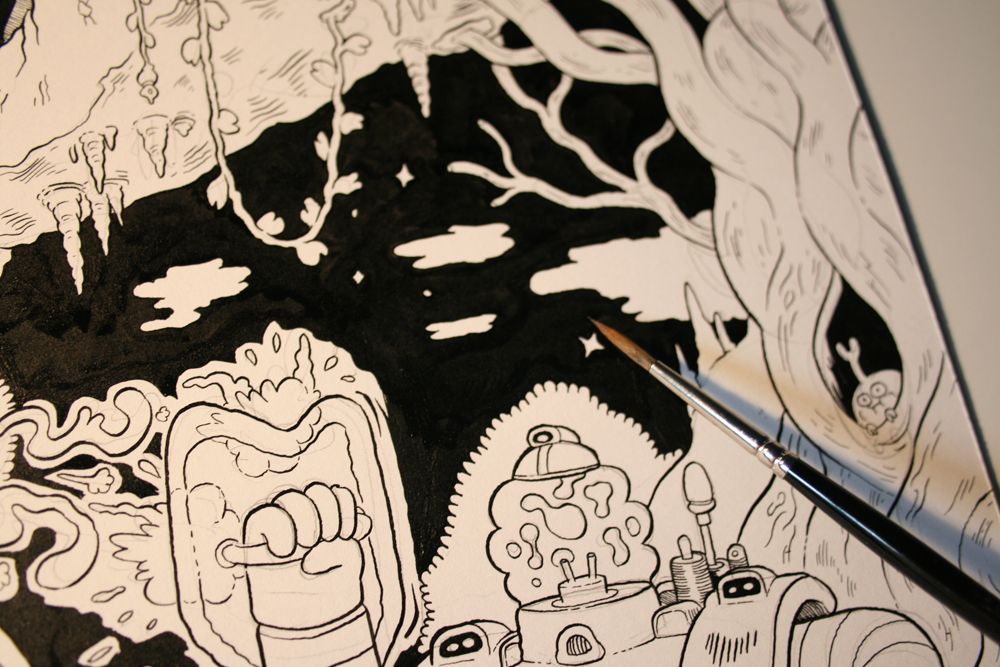
Fill in those black spaces. For this you can pretty much use any brush, but I have a winsor & newton series 7 thingy, I think size 1.
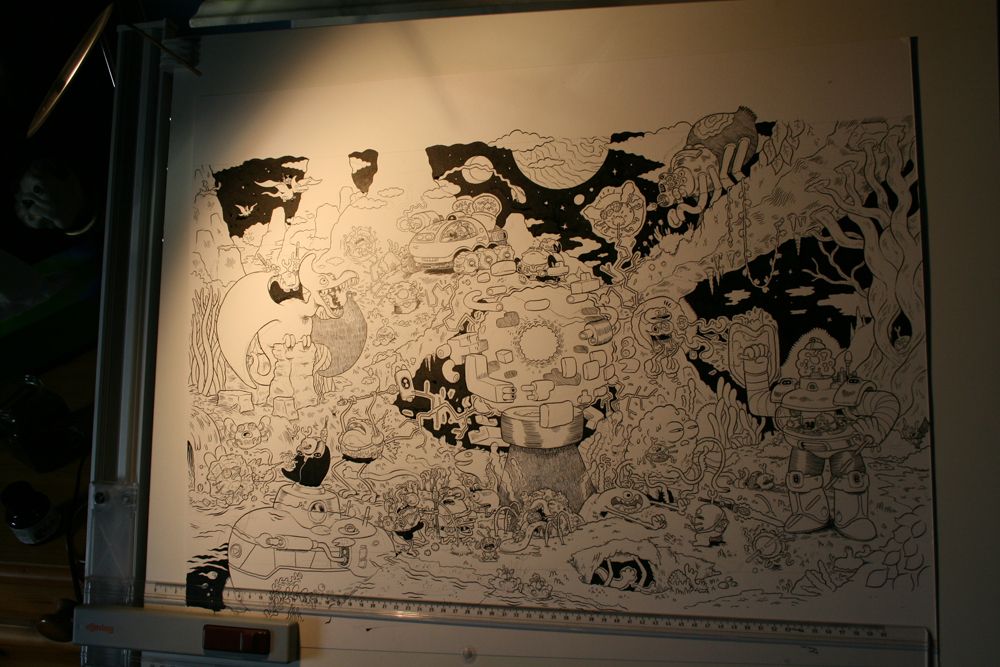
Almost done.
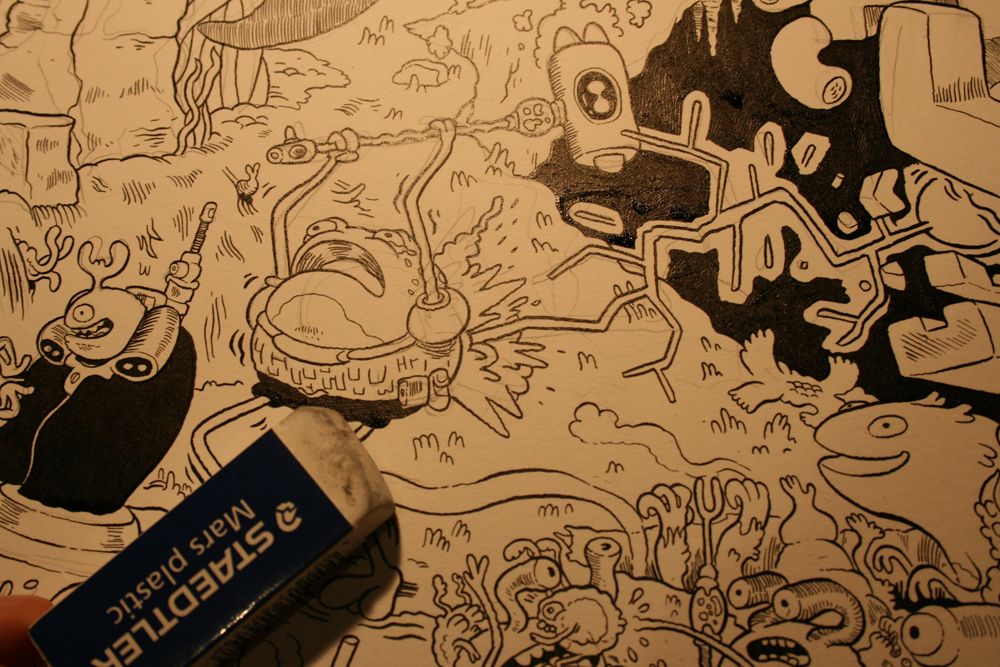
Wait for the ink to dry and start rubbing out those pencils. I'm using a staedtler rubber here, but any rubber will do. Then scan it and you're done! I'll do another follow up tutorial thing soon to show scanning and colouring on photoshop soon. Any more questions let me know.
I am now on twitter: @nickedwards2