Something Wicked Tut - Photoshop Elements
My first tutorial! Since so many were asking about how I achieved the look, I thought I might as well make some use out of my holidays and tell people!
Tell me if you've got any problems.
Probably not dial-up safe, lots of images.
Made with Photoshop Elements, probably translatable.
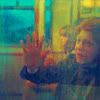
From this: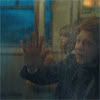
to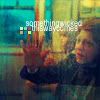
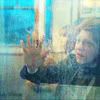
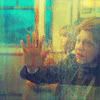
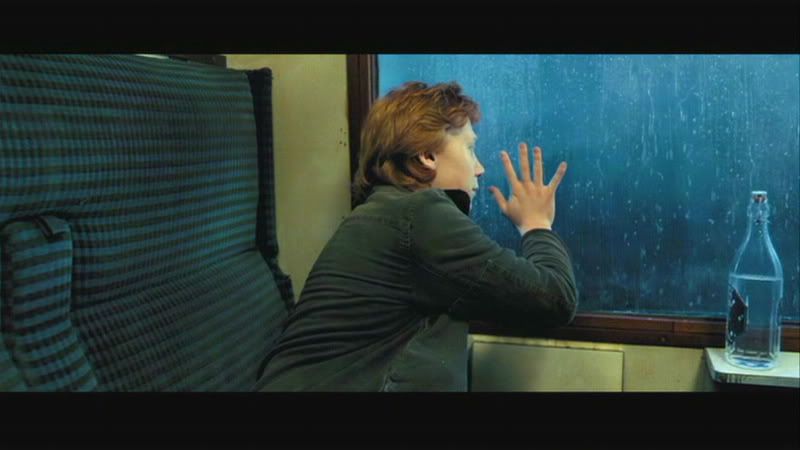
I started with this cap from Harry Potter and the Prisoner of Azkaban, by beizy.
I set it to screen multiple times (it’ll vary with each base). It looks like crap, but don’t worry… I’ll fix it :)
-->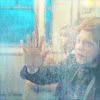
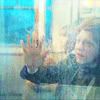
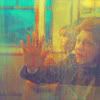
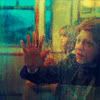
I then took this cap (again, by beizy) and prepped it as a base (screen and soft light).
The result was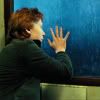
.
Set that base to soft light over the other icon.
-->
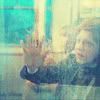
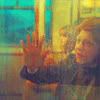
Take the original base, duplicate it, drag it to the top and set it to screen. Have faith! It’ll look great ^_^
-->
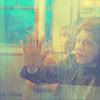
Then set
(#080839) to Exclusion on top.
-->
Make a gradient map with this gradient. (I’m afraid I lost the credit for this gradient when I uninstalled Elements. If it’s yours tell me!) Set it to Soft Light.
-->
Once again, take your base, duplicate it and drag it to the top. But just to mix things up, set it to soft light!
-->
Duplicate the gradient map layer and drag it to the top. Keep all settings the same.
-->
More duplicating! Yay! Anywho… duplicate the original base again and set it to soft light at opacity 50%.
-->
Now get another gradient map up! Except this time we use… this gradient! (Again, by the same unknown maker… help me!) Once again, set it to soft light.
-->
Now we grab a pretty blue (#cae3ff)
and set it to color burn!
-->
And then we grab a pretty… almost white… (#f9fcff)
and we set this one to color burn as well!
-->
Guess what? GRADIENT MAP TIME! Yep, another one. This time it’s the good old default
.
Set it to Soft Light.
-->
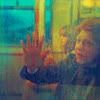
And that’s all! Just add text and decorations and what not and Yay!
My reconstructed icon:
Original icon: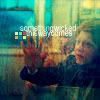
Not too shabby, eh?
I want to see any icons that are made by using this tutorial, if any :)
Tell me if you've got any problems.
Probably not dial-up safe, lots of images.
Made with Photoshop Elements, probably translatable.
From this:
to
I started with this cap from Harry Potter and the Prisoner of Azkaban, by beizy.
I set it to screen multiple times (it’ll vary with each base). It looks like crap, but don’t worry… I’ll fix it :)
-->
I then took this cap (again, by beizy) and prepped it as a base (screen and soft light).
The result was
.
Set that base to soft light over the other icon.
-->
Take the original base, duplicate it, drag it to the top and set it to screen. Have faith! It’ll look great ^_^
-->
Then set
(#080839) to Exclusion on top.
-->
Make a gradient map with this gradient. (I’m afraid I lost the credit for this gradient when I uninstalled Elements. If it’s yours tell me!) Set it to Soft Light.
-->
Once again, take your base, duplicate it and drag it to the top. But just to mix things up, set it to soft light!
-->
Duplicate the gradient map layer and drag it to the top. Keep all settings the same.
-->
More duplicating! Yay! Anywho… duplicate the original base again and set it to soft light at opacity 50%.
-->
Now get another gradient map up! Except this time we use… this gradient! (Again, by the same unknown maker… help me!) Once again, set it to soft light.
-->
Now we grab a pretty blue (#cae3ff)
and set it to color burn!
-->
And then we grab a pretty… almost white… (#f9fcff)
and we set this one to color burn as well!
-->
Guess what? GRADIENT MAP TIME! Yep, another one. This time it’s the good old default
.
Set it to Soft Light.
-->
And that’s all! Just add text and decorations and what not and Yay!
My reconstructed icon:
Original icon:
Not too shabby, eh?
I want to see any icons that are made by using this tutorial, if any :)