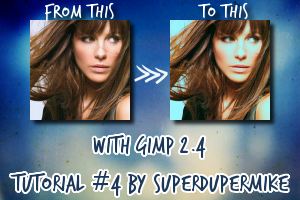
Kate Beckinsale Icon Tutorial

Difficulty: Easy
Translatable?:Yes
Steps: 5
I started using this picture of Kate Beckinsale.
Step 1:

Crop it,sharpen it and do whatever you want so it can look nice ;)
Step 2:

Duplicate your base and set it to Screen at %50
Step 3:

Duplicate your base ,bring it to the top and set it to Overlay at %50
Step 4:

Copy Visible(Shift + Ctrl +C) ,Paste it on the top of your layers(Ctrl + V)
Channel Mixer:
Red: 175,-100,-10
Green: -5,104,6
Blue:5,30,70
Step 5:

Set that layer to Darken Only at %100. (In Phtoshop Darken Only is probably just Darken)
Other results with this tutorial:


Show me your results
Feel free to Friend me,if you like what you see.