Vivid touch for B&W/PS 7.0
From 
to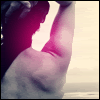
step 1.
You always need a base. Here's mine:

step 2.
Now to get it a little more clearer go to Image>Adjustments>Brightness/Contrast... and set them like this:
Brightness: 0
Contrast: +10
result:
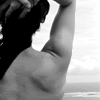
step 3.
Add a new layer and fill it with #00225A and set it to Exclusion, opacity 100%.
result:

step 4.
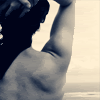
Now duplicate the base twice, set them to Soft light (one at opacity 100% and the other one at opacity 30%) and drag the both of them on the top. Merge layers.
result:
step 5.
Add this brush (by me, superbeicons)

and set it to Screen, the opacity depends on your taste. You can move it where ever you want to, maybe to highlight some part of your pic. Then add a stroke and you're done!

Other icons made with this technique:
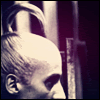


to

step 1.
You always need a base. Here's mine:

step 2.
Now to get it a little more clearer go to Image>Adjustments>Brightness/Contrast... and set them like this:
Brightness: 0
Contrast: +10
result:

step 3.
Add a new layer and fill it with #00225A and set it to Exclusion, opacity 100%.
result:

step 4.
Now duplicate the base twice, set them to Soft light (one at opacity 100% and the other one at opacity 30%) and drag the both of them on the top. Merge layers.
result:

step 5.
Add this brush (by me, superbeicons)

and set it to Screen, the opacity depends on your taste. You can move it where ever you want to, maybe to highlight some part of your pic. Then add a stroke and you're done!

Other icons made with this technique: