Manga Coloring Tutorial

INTRODUCTION
This tutorial will show you how I color manga using Adobe Photoshop. This is a great way of coloring your manga especially if you are indecisive of what color you want to use. With this you will be able to change the color at any stage.
This tutorial is made for Photoshop CS2 and above
This tutorial is also written by a MAC user. I will try my best to find out what some of the short cuts are for PC users but that's the best I can do.
We are going to be using Quick Layers Masks. For those of you who already know how to use Quick Layer masks I apologize because I will be explaining them here.
LETS BEGIN
CHOOSE AN IMAGE
Lets start with a manga image. I am going to use one from the uber fabulous BECK:Mongolian Chop Squad (if you are looking to read it I suggest going here

CROP THE IMAGE
If you don't want to color the whole image I suggest cropping it using the crop tool. If you don't know how to do this I would go here
For this turotial I have decided to color the whole page because I am bored and feel like doing so.
INDEXED COLOR TO RGB
Most of the time when a scanalator saves a manga they will save it as an indexed color file (jpg, gif and png can be saved this way along with anything else) which basicly means that it is a two bit color. Since we are coloring this manga we have to change this Indexed color image into an RGB.
To Change the color setting go to the tool bar on the top of the program
image >> mode >> RGB

SEPARATING THE LINE ART
We are going to make a Quick Layer Mask.
They are a little confusing to learn at first but once you understand you'll soon fall in love and never go back to the old way of doing things!
I've been using Quick Layer Masks for how ever long and I do not remember how I used to color manga!
In the layers palete switch to the Channels palette

If this is not showing go to the top toolbar
Window>>Channels
MAC USERS
Hold down Command/Apple and click on one of the channels
PC USERS
Hold down Ctrl and click on one of the channels
You will see that you have now selected the white areas of your image
Invert the selection
MAC
Command+Shift+I
PC
Shift+Ctrl+I
Now the line art is selected
With the lines still selected go back to your Layers Palette and click

at the bottom of the layers palette and select solid color...
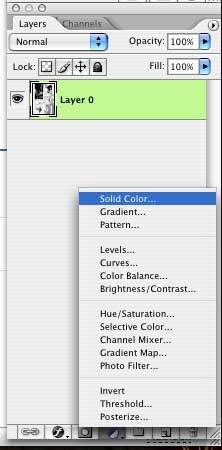
Select a color in the color picker dialogue box and click ok.
I went with black.
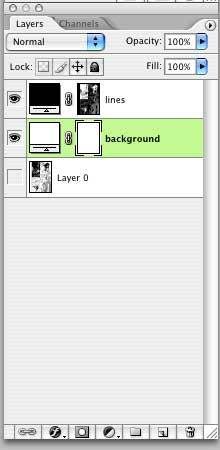
Lets make another Quick Layer Mask. But this time it will be the background.
I chose white.
Your layer palette should look something like this now.
ADDING COLOR
With one of the hardest parts over with you will soon learn real fast how wonderful and easy Quick Layer Masks are.
Lets start coloring.
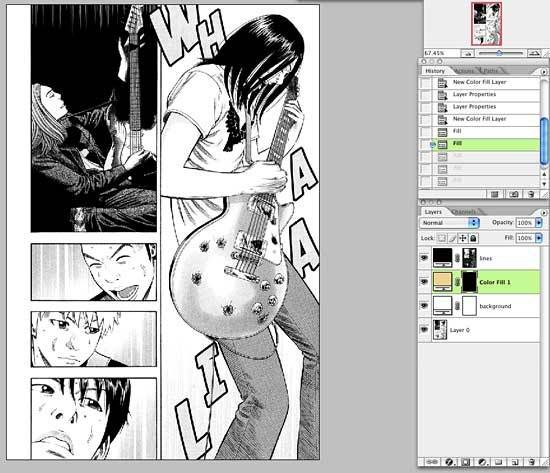
I'm going to color the skin first.
Make another Quick Layer Mask and choose a color that is close to a skin tone.
I choose #efd8a6
But there is a problem. The whole image is that color!

Working on this new layer, take your paint bucket tool (

) and fill the layer black.
The color disappears...this is because the color will only show up where there is white in the layer.
Shortcuts
MAC
command+delete = fills the layer with the background color
alt/option+delete = fills the layer with the foreground color
PC
ctrl+delete = fills the layer with the background color
alt+delete = fills the layer with the foreground color
Now change your active color to white. Get your Paint Brush Tool (

) and start painting!
To select a paint brush size simply right click or if you are a mac user with no right click mouse hold the ctrl button and click.
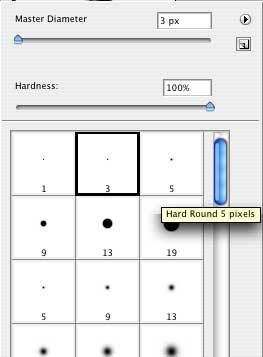
Use a hard brush with the opacity set to 100%. Make sure to zoom in while coloring
If you make a mistake with coloring simply switch the main color to black to erase what you have done and switch it back to white to continue coloring!
When you are finished you should have many layers.
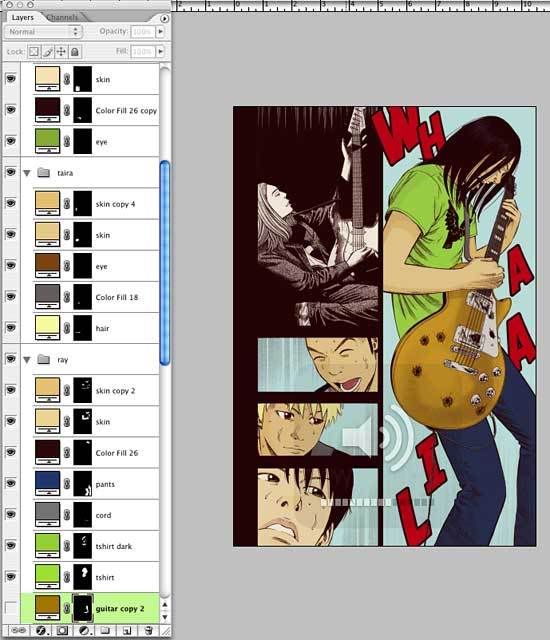
If you ever wanted to change the color that you are using just simply double click the color and the color picker should come up!
FINISHED
Well here is my finished product.
I changed a few colors around.
I like to color things a little plain with not too many digital graphics added.
