Tutorial #1: How to Create a Texture.
glimmerlessasked me to create a tutorial explaining how I made these textures. I've tried to recreate the effect, without making a texture that's exactly the same, since that'd be quite pointless. It's my first tutorial, so feel free to be harsh.
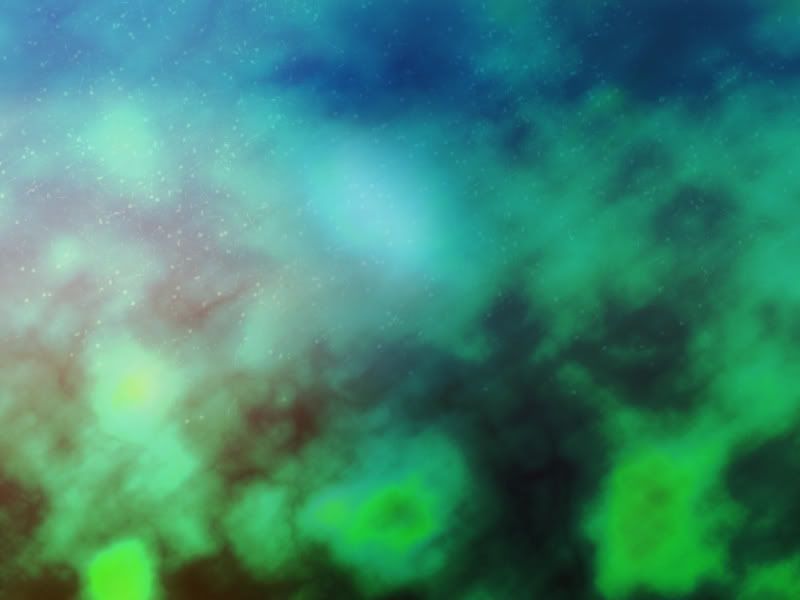
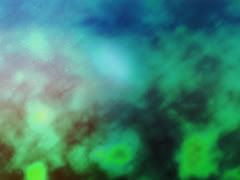
This is the result.
Textures can be made a million and one ways. I, personally, just like to go with anything that feels right. I never really sit with a particular texture in mind, because if I did, it would end up being something completely different anyway, which would frustrate me. And nobody likes frustration.
Before we begin:
[x] I use Photoshop CS2, but I'm pretty sure this is translatable to other versions. I don't know how well this translates to PSP.
[x] Just so you know, I always make 800*600 textures and then crop to 100*100 squares.
[x] To save you people using dial-up, I'll show a smaller version of the texture.
[x] I'm a layer whore. Thought you might like to know.
[x] Some knowledge of Photoshop is required.
One.
Start Me Up.
Here I had the sudden urge to start with a gradient. So I did. This one uses 3 colors, #43B6E6, #ACE9E0 and #A7D97E. I like to use a big brush to draw 3 lines, one with each color, and then blur. Don't ask me why. I just do. You can be a normal person and use your gradient tool, tho.

Experimenting a bit, I decided the colors were a little too bright, so I made a Hue/Saturation Adjustment Layer and lowered the saturation.
Two.
The Oldest Trick in the Book.
Because I'm lame. And I can. So shut up.
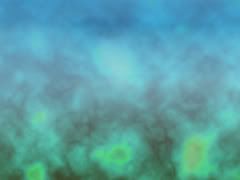
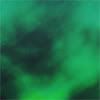
Make a new layer and pick your foreground and background color. I chose #663012 and #70906B. Go to Filter/Render/Clouds. Repeat this (Ctrl+F) until you find something that you like. Then go to Filter/Render/Difference Clouds. Repeat this around 4-6 times. [view image]
Invert this (Ctrl+I) and set it to Linear Burn. Then, add a layer mask and use your gradient tool to make the upper part invisible. You will see that this makes the upper part texture-lacking. We don't want that. It is not healthy. So use a black brush, with 0% hardness at around 15% opacity so that some texture can magically appear. Or you can just use a grey and white gradient. But I like things the hard way.
Three.
The Attack of the Killer Pastelly Gradients >.>
That's right. Pink and green, to be exact.
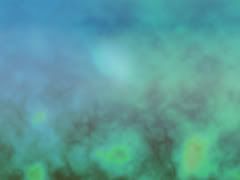
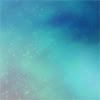
In a new layer, make a gradient using #7EB479 and #F38EB6. Set it to Darken, 50%. This will fuck up most highlights, so we must turn to our beloved layer masks to save some of them. Before it's too late. [view image]
Duplicate this layer. You can keep the layer mask if you want. I deleted it. Set this to Colour Burn, 50%.
LOOK MOMMY! It's SHINY!

Four.
Pretty Dirty.
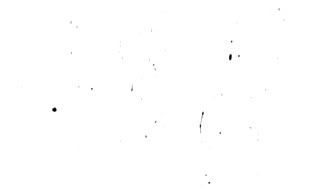
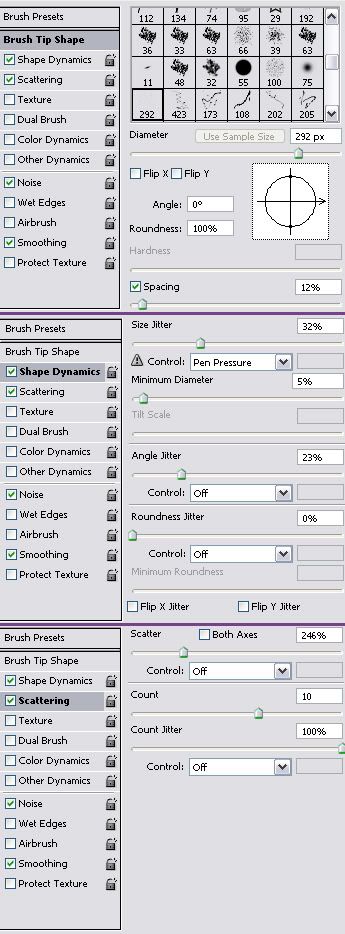
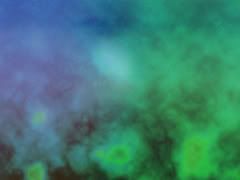
In yet another layer (hey, it's a texture, what did you expect?), use the first brush in my Splatter set to add some noise in the upper part of the texture, using white (as in #FFFFFF).
If you are unable to use the .abr file, open this in PS, and in your brushes palette (That's here, kids), change these settings.
Set this to Soft Light, 30%
[bigger]
Five.
Run Baby Run.
a.k.a., movement.
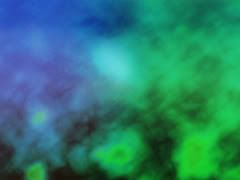
In a new layer, go to Image/Apply Image (or just stamp visible, Ctrl+Shift+Alt+E), and then apply Motion Blur (Filter/Blur/Motion Blur).
My settings: Angle: 32/Distance: 44.
Set this to Overlay, 70%.
Six
Any Colour You Like.
Again, I find the colours to be a little bright. The lines are also a bit harsh. We have to fix that.
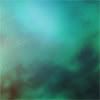
New layer. Make a new gradient. I like to use complementary colors, so here I used a light-ish yellow (#F0E377) and a pretty purple (#764289). Set this to Overlay, 100%.
This is important, since not only does it improve the colors, but it also brings out some details. So do this, don't just lower the saturation.
Oh, shiny *g*
[full size]
And we're done. Kind of. Because, of course, a texture is never finished. There's always something else that you can add. So play around. Discover new techniques. Use more brushes. Made a texture you didn't like? Save it. You can use it to make others. It gives very nice result with few steps.
And once you're happy with your texture, you can crop it to 100*100 squares for your icon making pleasure ;P
Pretty *o*
I'd love to see your results :D
Other Stuff
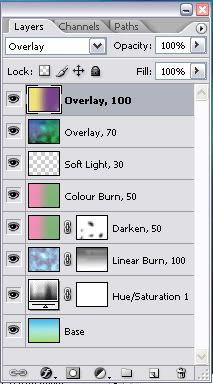
You can check out my layer palette here.
Please do not copy this exactly. Experiment!