Animated Icon Tutorial
Ok... This is a simple tutorial that a promissed to pensive1 198928293 years ago... (I'm sooo sorry for the delay). I don't know how useful it'll be, but... here it is. :D
Big thanks to angellorexx to help me with this. I owe you a... er... hug. LOL =d
Programs:
1. Virtual Dub;
2. Adobe Photoshop CS2;
3. Adobe Image Ready.
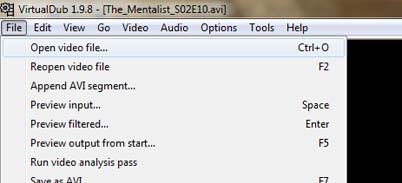
:: Open the video file with VirtualDub.
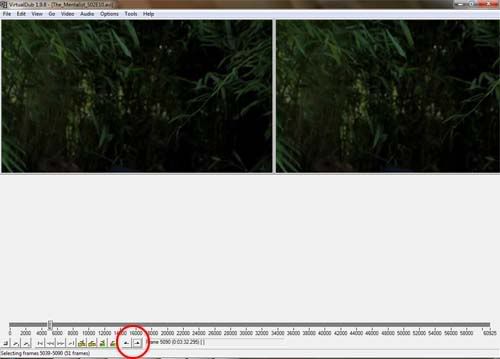
:: Use the arrows to select the scene you want to capture.
:: Follow the steps to save the frames:
File > Export > Image Sequence
A window will be open.
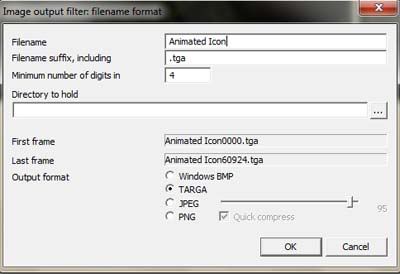
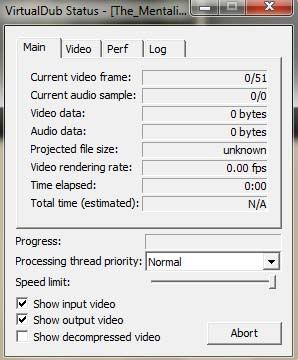
:: Choose a directory in your computer to save the frames, change the output format to JPEG and click OK. VirtualDub will save your scene frame by frame.
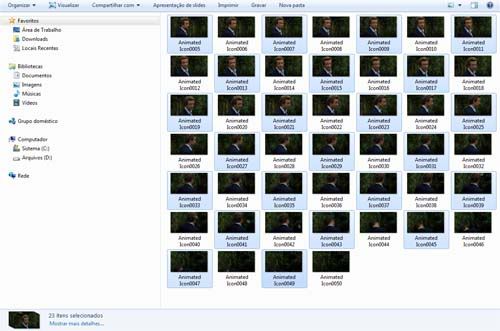
:: When the program finish saving your caps, open the directory and try to reduce the number of caps as much as possible. You can delete half of the caps this way:
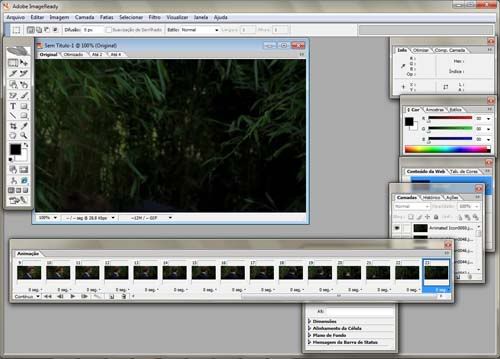
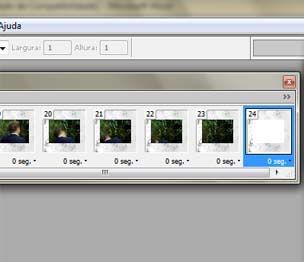
:: Finished these steps, open Image Ready and go to File > Import > Folder as Frames. Select the folder you saved the caps and click OK. You’ll have something like this:
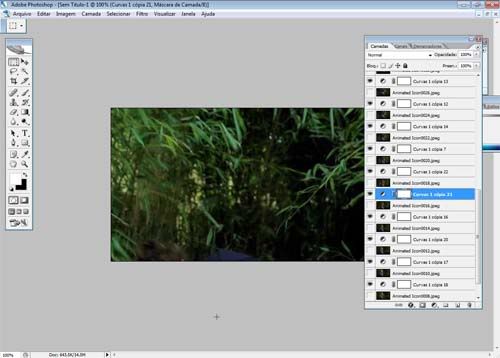
:: Switch the file to Photoshop.

:: Once in the PS, you’ll edit the image. Change the colors whatever you feel like, making sure to repeat the process with all the layers.
:: Go to Image > Imge Size and set image height to 100 px.
Next, Go to Image > Canvas Size and change it to 100 x 100.
Now you have to resize the layer so they can fit in the 100 x 100 background. Go to Edit > Transform > Scale to make this step (you also can cut the image if necessary).
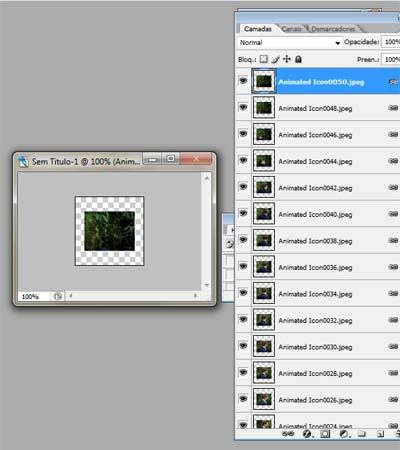
At this point, your file will look like this:
:: Fill the background with some color or texture of your choice.
You may add a black or white layer with the same size of the frames if you want the scene to fade in the end.
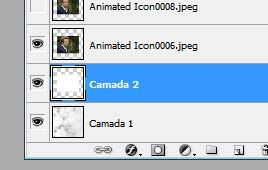
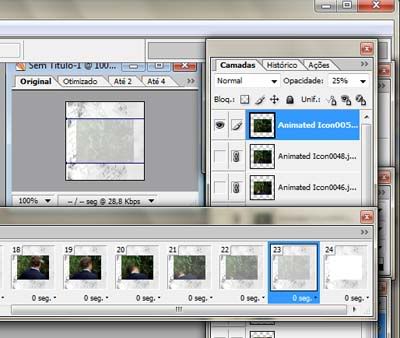
:: Now, switch it back to Image Ready. Create a new frame in the animation bar with only the background and white frame visible.
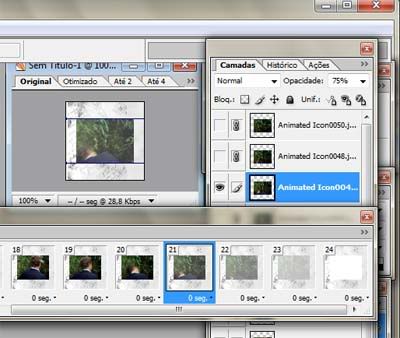
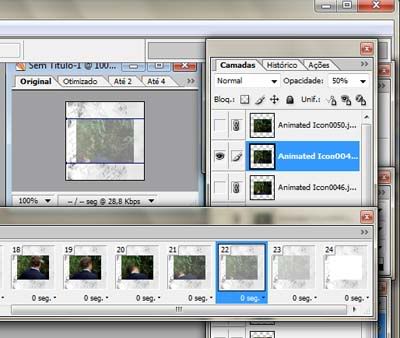
:: To make the scene fade in the end, change the opacity of the three last frames to 75%, 50% and 25% respectively.
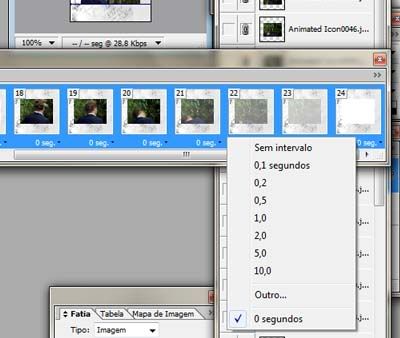
:: To finish, select the frames and set the time to 0.1 if you think it’s necessary. Set the background to a superior number.
:: Open the optimization window, change the color and go to File > Saved Optimized As and choose .gif.
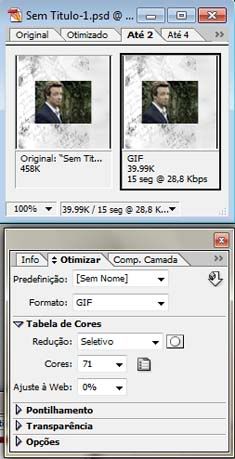
:: If the icon is bigger than 40k, you might have to make some changes. In this case, I resized and desatureted the image a little.
Final size: 39.99K
It’s done. :)
Big thanks to angellorexx to help me with this. I owe you a... er... hug. LOL =d
Programs:
1. Virtual Dub;
2. Adobe Photoshop CS2;
3. Adobe Image Ready.
:: Open the video file with VirtualDub.
:: Use the arrows to select the scene you want to capture.
:: Follow the steps to save the frames:
File > Export > Image Sequence
A window will be open.
:: Choose a directory in your computer to save the frames, change the output format to JPEG and click OK. VirtualDub will save your scene frame by frame.
:: When the program finish saving your caps, open the directory and try to reduce the number of caps as much as possible. You can delete half of the caps this way:
:: Finished these steps, open Image Ready and go to File > Import > Folder as Frames. Select the folder you saved the caps and click OK. You’ll have something like this:
:: Switch the file to Photoshop.
:: Once in the PS, you’ll edit the image. Change the colors whatever you feel like, making sure to repeat the process with all the layers.
:: Go to Image > Imge Size and set image height to 100 px.
Next, Go to Image > Canvas Size and change it to 100 x 100.
Now you have to resize the layer so they can fit in the 100 x 100 background. Go to Edit > Transform > Scale to make this step (you also can cut the image if necessary).
At this point, your file will look like this:
:: Fill the background with some color or texture of your choice.
You may add a black or white layer with the same size of the frames if you want the scene to fade in the end.
:: Now, switch it back to Image Ready. Create a new frame in the animation bar with only the background and white frame visible.
:: To make the scene fade in the end, change the opacity of the three last frames to 75%, 50% and 25% respectively.
:: To finish, select the frames and set the time to 0.1 if you think it’s necessary. Set the background to a superior number.
:: Open the optimization window, change the color and go to File > Saved Optimized As and choose .gif.
:: If the icon is bigger than 40k, you might have to make some changes. In this case, I resized and desatureted the image a little.
Final size: 39.99K
It’s done. :)