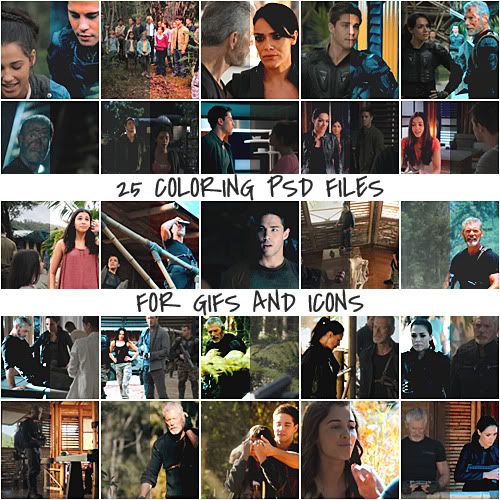
How to make a .GIF (with coloring .PSDs)

Click on the image to go to the download link. Use the .PSDs files for .GIFs, icons or other art. :)
Before you start, I'd like to remind you that I am by no means a pro when it comes to .GIFs as I only started making them last month (October). Despite that I hope you will find this five-step-guide useful and not too confusing.
If you have questions, you can either ask them via tumblr or on the LJ post.
Step One - Set Up
- Download KMPlayer.
- Once you've installed it, open your video file and press pause. Note: I always use .MKV files, the WEB-DL from iTunes.
- Press F2 to open the Option panel.
- Go to General > Keys/Global Control > Keys/Remote Control. Select &Capture from the menu.
- Click on Frame: Quick Capture - Ctrl+A.
- Assign another hotkey (I use <) to make the whole capturing process easier. Note: This key will only work as long as this file is open. After closing your file, it will be set to the default hotkey.
- Go to Association/Capture > Capture. Select the folder you want your caps to be stored in.
- Then select from the Format menu JPG (middle).
- Now you're finished with the set up. Click Close.
Step Two - Capturing
- Press your assigned hotkey (here <) to capture the current image.
- Press F to go to the next frame. Note: To go back a frame, press Shift+F.
- Repeat the two steps until you've captured the whole scene or as much as you want.
- Important: The more caps you have in the end, the higher you end-size of the .GIF will be! Less is more in this case. :)
- I found that 20-28 caps work quite well and let you use up to 256 colors in Photoshop later.
Step Three - Preparing the images
- Open Photoshop. Note: I work with CS3 but I think most functions are still the same in the new versions.
- Go to File > Scripts > Load Files into Stack.
- Click Browse and select your images (quick select them with Ctrl+A).
- Click OK and wait until your images have been loaded.
- Resize your images to a width of 245px.
- Go to Window > Animation to open the animation panel and convert the panel to frame animation by selecting it from the panel's menu or clicking the button in the lower right corner.
- Select Make Frames from Layers from the menu.
- Optional: In some cases you might have to select Reverse Frames from the menu to get the right order of the frames.
- Select Select All Frames from the menu and set the frame delay time to 0.1 seconds.
- Set the looping option to Forever.
Step Four - Adding layers
- Open one of the .PSD coloring files.
- Select all the layers (except the example image layers of course) and drag them into your canvas.
- Important: Make sure that the coloring layers are always on top of the layer palette.
- Check the layers and either add/remove them or change their settings until you're satisfied. Note: You can always make further changes later if the end result (the actual .GIF) is still too big in the end.
- The darker the image, the more frames the .GIF can have and the higher the maximum number of colors can be.
- Adding a Lighten layer with a color between #111111 and #282828 can help reducing the size of the .GIF as well while keeping a higher number of colors.
Step Five - Saving as a .GIF
- Go to File > Save for Web & Devices.
- In the lower left bottom you can see the end size of your .GIF.
- On the right size, next to Colors you can select a number between 1 and 256. Note: The lower the number, the lower the size of the .GIF will be but it will also reduce the quality of the .GIF (it will be a mess of grainy pixels).
- Option A: The size is under 500KB.
- Perfect. Go and save your .GIF and make the next one.
- Option B: The size is above 500KB.
- Before you reduce the number of colors, go back to the animation panel and try deleting a few frames (either from the beginning or the end or in equal numbers) to lower the size of the .GIF.
- If the size is still above 500KB, start to reduce the numbers of colors in the Save For Web & Devices panel by ten (10) at a time first and then one by one.
- If that didn't help either, go back to your layer palette and darken your image. Maybe that does the trick.
- If the size is finally under 500KB, click Save and your finished!
The END. :D