Wreath Robe a la Francaise: Underskirt Done!
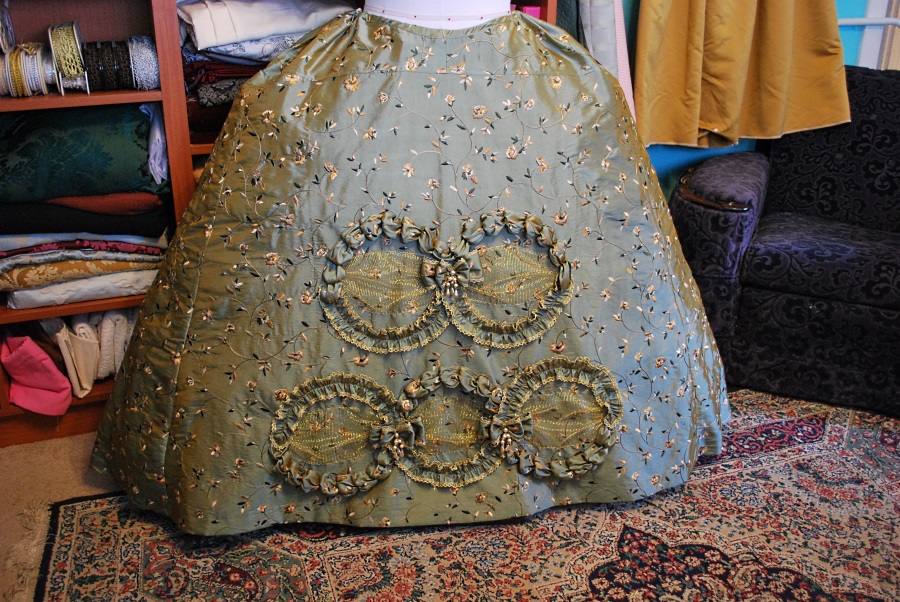
I have completed the underskirt for the robe a la Francaise I'm building over that pink lacy monster pannier I made a few weeks ago. The photos really don't convey how enormous this thing is! It is so gloriously ginormously gigantic, my client will feel like she should be roaming the rooms of Versailles. Well, that is, if she is able to exit her dressing room. The door is likely too small to allow this awesomeness to pass.

I have always loved this extant dress, and I'm so pleased that this gown I'm making lends itself to doing this style of furbelows on the skirts! I won't be copying the whole gown style, just the skirt furbelows. There's not a lot of info on this gown out there, I think it's in The Royal Ontario Museum, but seriously, I have no idea. I couldn't find it except repeated ad nauseam on Pinterest.
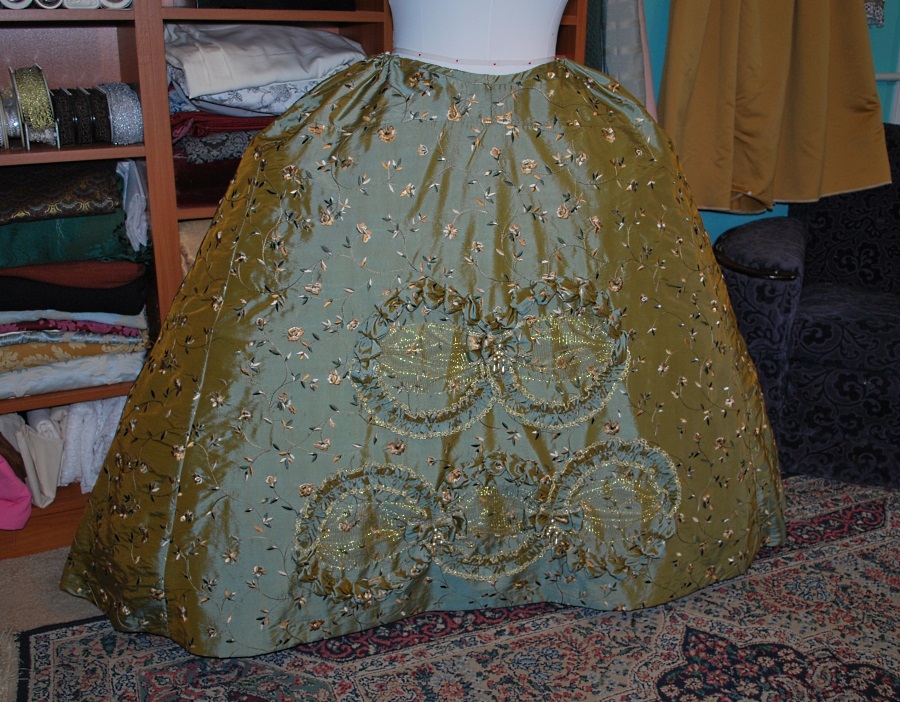
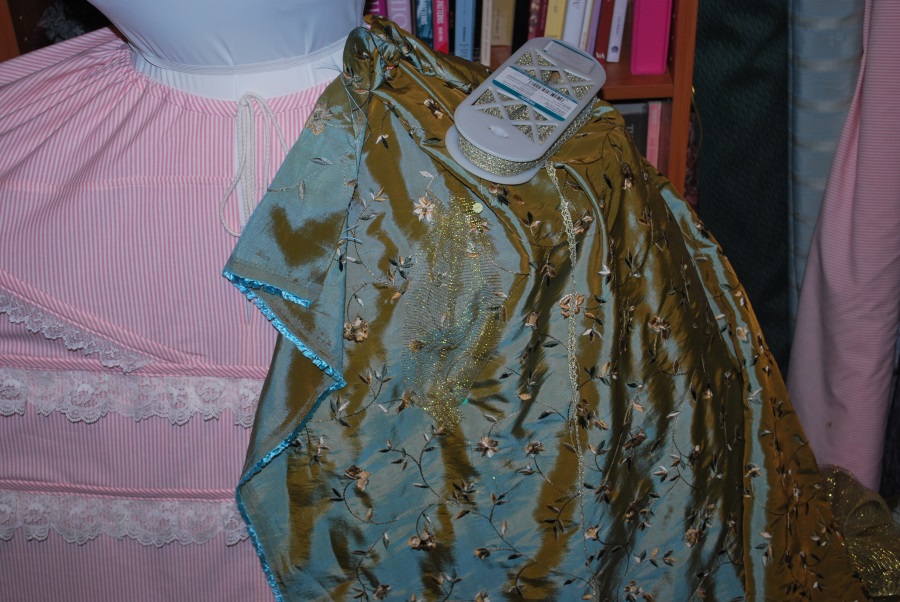
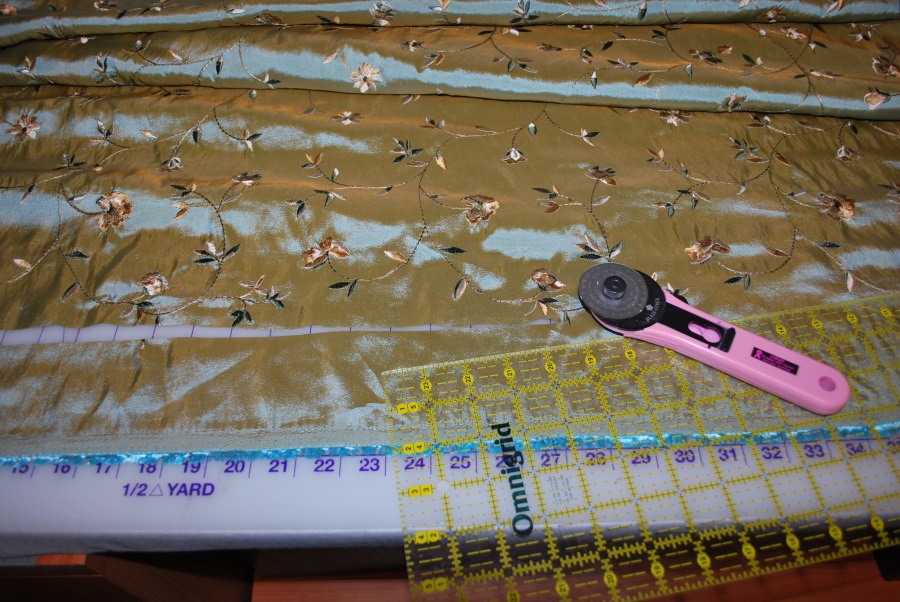
...and again, I am working with an iridescent fabric that is impossible to photograph. So, you will see pics here with flash, and without. The fabric was sent to me by my client to use, it is an embroidered poly taffeta with a turquoise weft and an apricot warp. Although taking its picture is a bitch, the fabric was lovely to work with and didn't give me any trouble at all. I freaking LOVE fabric that doesn't give me hassle! I think fabric that hassles you should be outlawed. I also used MOAR STASH! Goodbye thin gold lace! Goodbye gold mesh! I just love kicking my stash out the door.
I was going to make the underskirt the same way I've always done, but I decided to do something totally different this time... I used the pannier pattern to make the skirt. I really did! It used way less fabric-- always a good thing-- and it just fit over the pannier so darn perfectly. I may do this again, as it was super simple. These gown are so fussy and take forever to make-- any shortcut I can find I'm going to take!

I took the front panel and added a layer of fusible interfacing to the back, to support all the furbelows that were going to be on the other side.
These gowns always take miles and miles of furbelows, and that sucks up the fabric really fast... this time I thought I was mightly clever to shear off the edges by the selvedges, where there wasn't any embroidery-- I managed to procure 26 yards worth of strips without actually using any of the embroidered fabric! Woohoo!
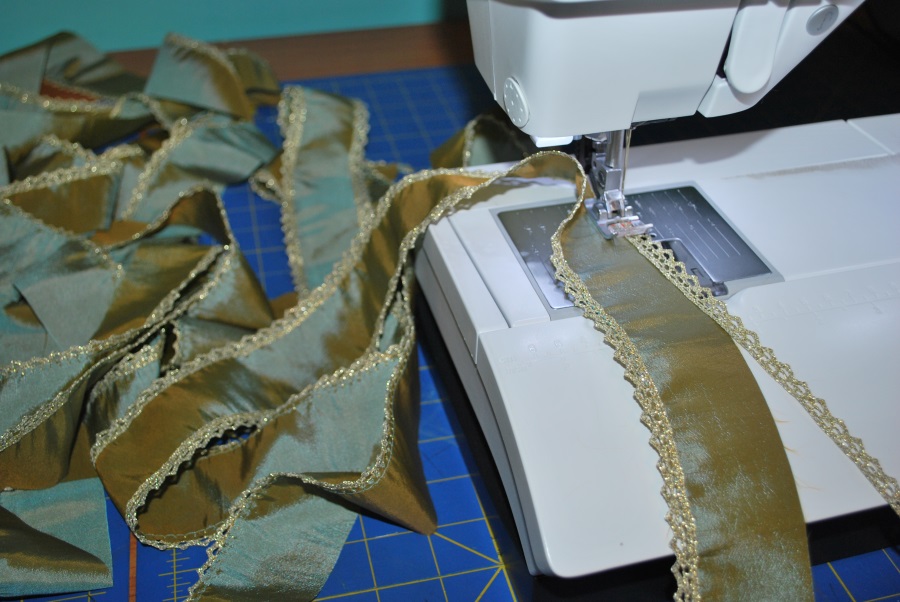
Then I used my serger to ruche it all up, thinking I would snake it around the gown and then edge with the gold lace...

Uh, NO. It looked totally completely WRONG. I just hate it when my grandiose ideas just don't pan out. Darn it! It looked so amazing in my head. Back to the ol' drawing board!

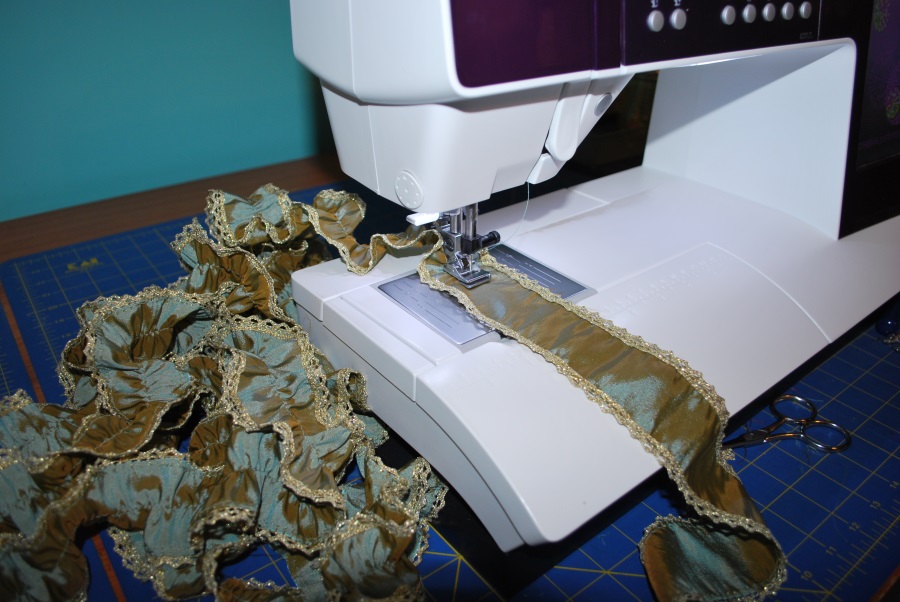
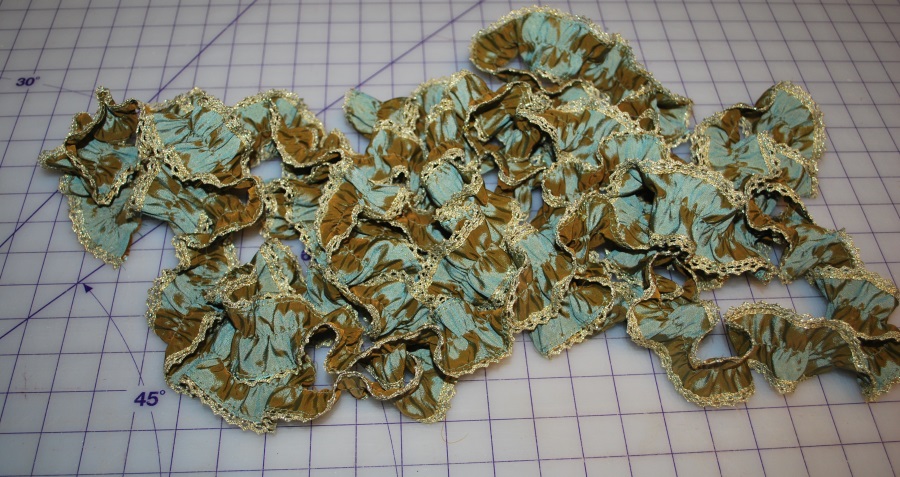
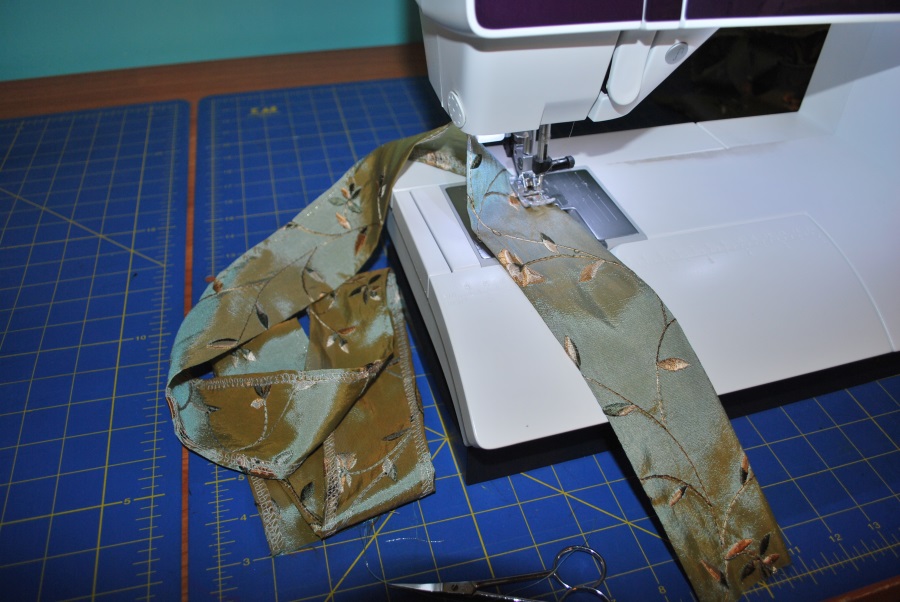
Luckily I have about 50 yards of this little gold lace, so I trimmed the strips down, and sewed it to the edges.
I used a reverse blanket stitch to attach it, it was the best way to control the raw edge so the stringy-dingies weren't shedding all over the place making me crazy. It also saved me the hassle of finishing the edges somehow-- narrow hem or fray check or overlocking-- none of which would have looked good at all.

Looks pretty! But it sure uses loads and loads of trim. These gowns are not kind to the wallet, for sure.

Using my gathering foot to ruffle it all up. Gads that took a long time!
Ready to rock the skirt!
I used paper cut-outs to help me visualize the design, and guage the correct size needed.
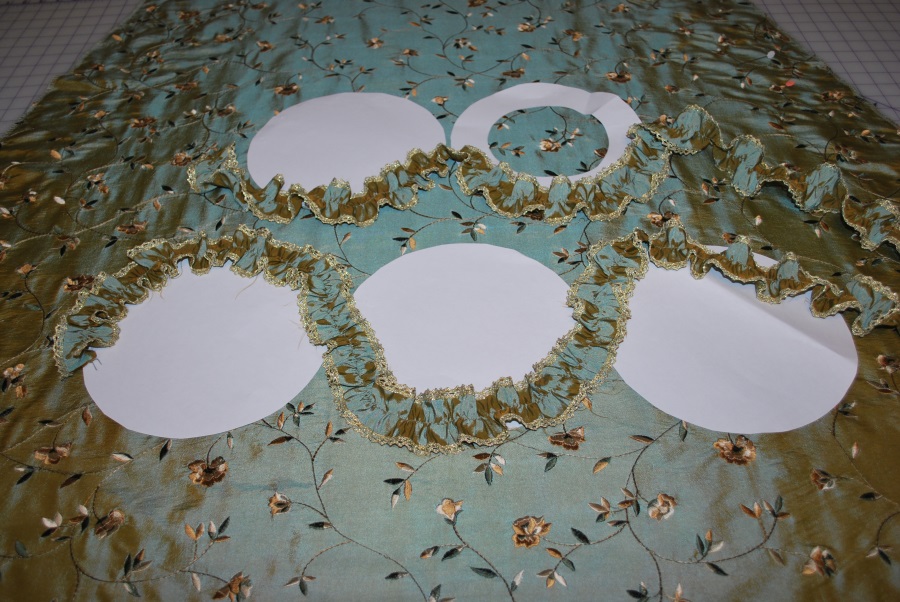
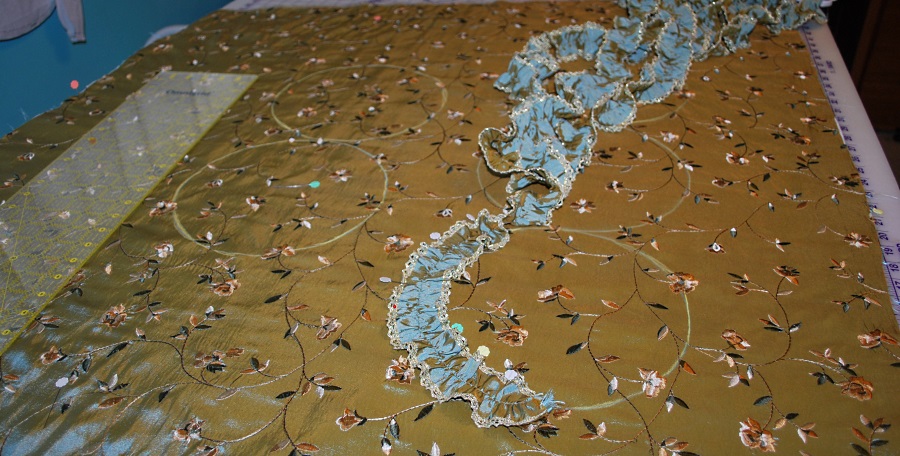
Then used a compass and chalk to draw out perfect circles.
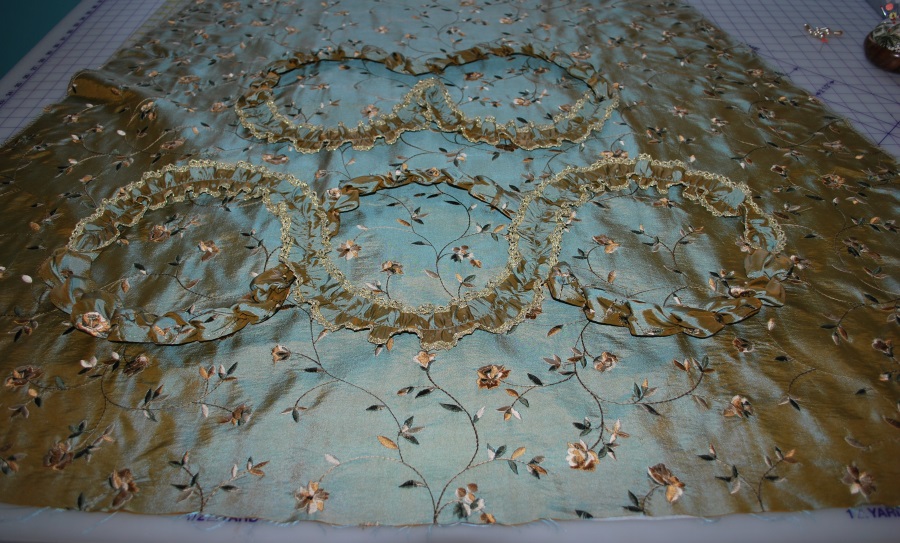
The ruffly bits all sewn on:

...and the rest ready to adorn the main gown! Looks like she got lei'd!

For the remaining furbelows, I didn't have enough of the gold lace to edge the puffs, so I spent way too many hours figuring that out-- finally decided to narrow hem with a metallic gold topstitch, which worked out perefctly. Can you imagine having 50 yards of lace and it not being enough? LOL!
Now on to the other half of the furbelows, the puffs. Oof. This took me three days to get right. I was trying to make it like the extant gown, but I just couldn't get it done. It looked stupid every which way I tried. They were just little stuffed rolls, I have no idea why I couldn't get the job done!
Whatever, I finally said Fuck It and did the same ol' puffs I always do. I did pleat them a different way, so there is that, but seriously, I could not keep wasting my time trying to get something different to look as fabulous as the puffs I always make.

Yep, fabulous!
Then it was time to add the gold mesh strips to the inside of the wreaths.
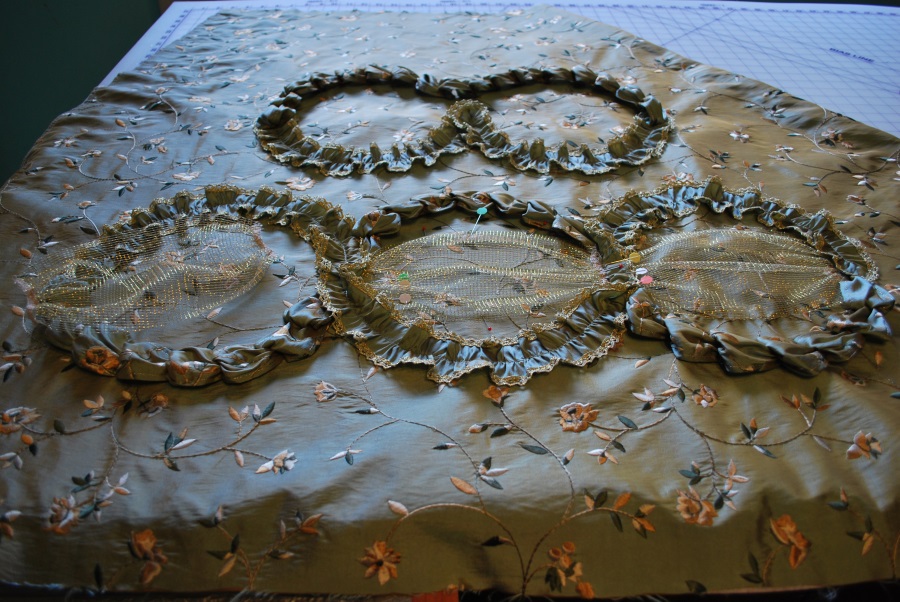
I really love the way that looks!
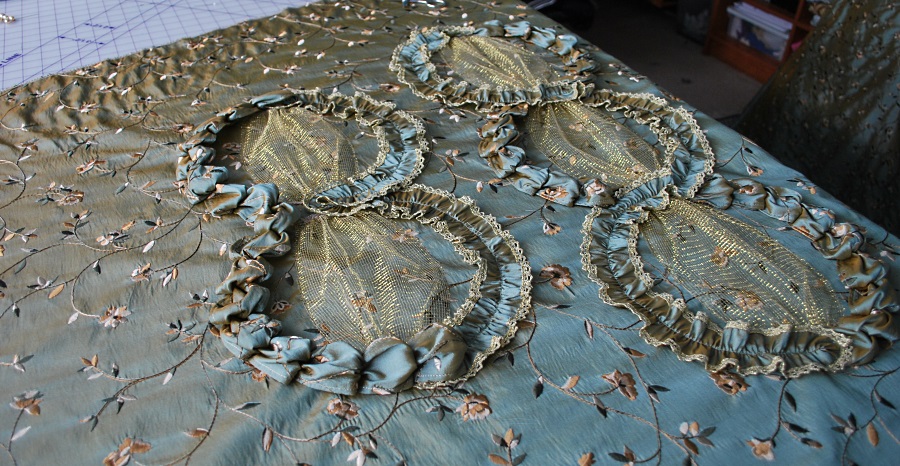
After I got all those on, I finished assembling the skirt by adding the yoke and drawstring casing to the waist.

But then I was TOTALLY STUCK. I had planned to punctuate the wreaths with rosettes made from gold lace... but that just looked like ass. Really. I played with it and played with it and I could not make the lace look how I envisioned it in my head. Finally I gave up and headed to the fabric store to see if I could find something-- silk flowers, ribbon, anything!-- that I could make a pretty little whoopdidoo. I found a nice rose gold organza ribbon that matched the embroidery fairly well. But then, playing with it at home-- NOPE. It was all kinds of wrong. Into the ribbon bin it went, for some unknown future project.

Almost totally defeated, facepalming at my inability to make that damn lace look good, the answer suddenly popped in my head like a lightbulb:

Bows! The ubiquitous bows. So simple, and yet so perfect. THIS is the right thing for the wreaths. I am so relieved! This looks way better than the stupid lace rosettes I was trying to make.

And, for good measure, I threw some pearls on there, too. Pearl tassels! Because PEARLS!

All done. Well, there was miles of blind hemming to do, but then all done.


On to the main gown!