Royal Cloak: Done!

I have a lovely client named Alisa, from The Ladies of History, and for her next cosplay she would like to be Catherine the Great. She sent me three and a half yards of blue velour upholstery fabric and a vintage fur stole to make the cloak with... Only 3.5 yards? With a nap? For a cloak? That has to go over an 18th century gown? I just about fainted. It couldn't be done! Cloaks need loads of yardage to look nice, a skimpy cloak just looks stupid, especially if you're going to portray a Queen! I had no idea how I was going to make this work.
I spent some time pondering it-- I had 130 inches of 54 inch wide velour couch fabric, with a nap. She is a very petite person. I had to make this work somehow, right? I could do this?
My first step was to eliminate using the right side of the fabric. It was clearly upholstery fabric, anyone looking at her would think, "Golly, she looks like she lost a fight with a sofa!" and I just couldn't let that happen. Thankfully, she didn't care about the front or back of the fabric, she deferred to my taste. So, the back it was. Now I could piece the cape without any regard to nap, as the backside of the fabric looked pretty cool, and not at all like a sofa. But, there was a very very minor difference between rightside up and upside down as to the faint design/nap on the backside of the fabric, so I had to be very very VERY careful when I sliced up the pieces.
So, before I cut, I made little paper mock ups to decide which cuts would garner the most swing in the cape. Turns out, by slicing rectangles into triangles, I could create a nice semi-circle cloak with a short train with just 130 inches of fabric. It would only work because she's so small. If this were a cape for myself I'd just have enough to make a sarong and call it a day.
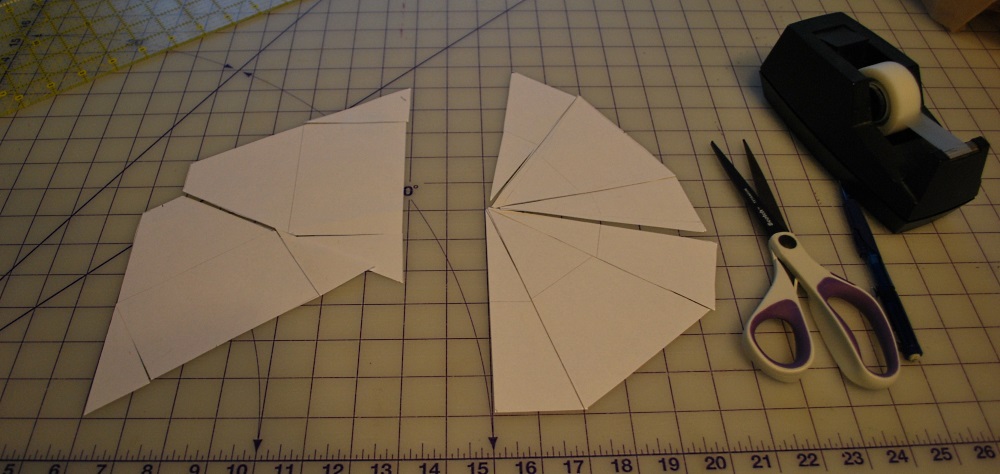
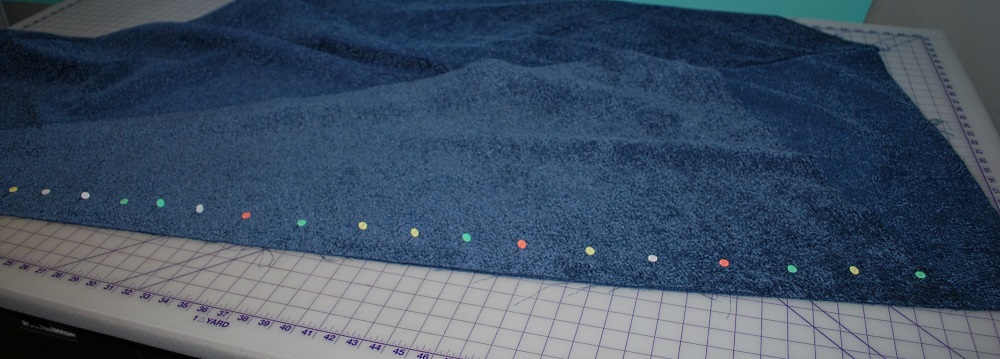
Once that was decided, I knew I had so little of this fabric, that one wrong cut would spell disaster. Naturally, I screwed up with the very first cut, right off the bat. GAH!! I cut the back panel out upside down. It's not the end of the world, of course, as the difference is very subtle, but it wasn't my plan! I wanted it the other way! Nothing I could do about it, what's done was done and I just had to deal with it. Thankfully no one but me will notice. Well, now you, since I told you. Clearly, I shouldn't have told you.

So, I rearranged the triangles into a semicircle and cobbled together a cloak. Well, it took a few tries, of course, the triangles had to be offset a certain way to be able to accomodate the panniers and the train in the back, and still fit around the shoulders and fall down the front in a pleasing way... I'm too embarrassed to tell you how many times I had to stitch rip panels and redo them-- again and again-- until it was right. Sometimes I'm just really dumb.


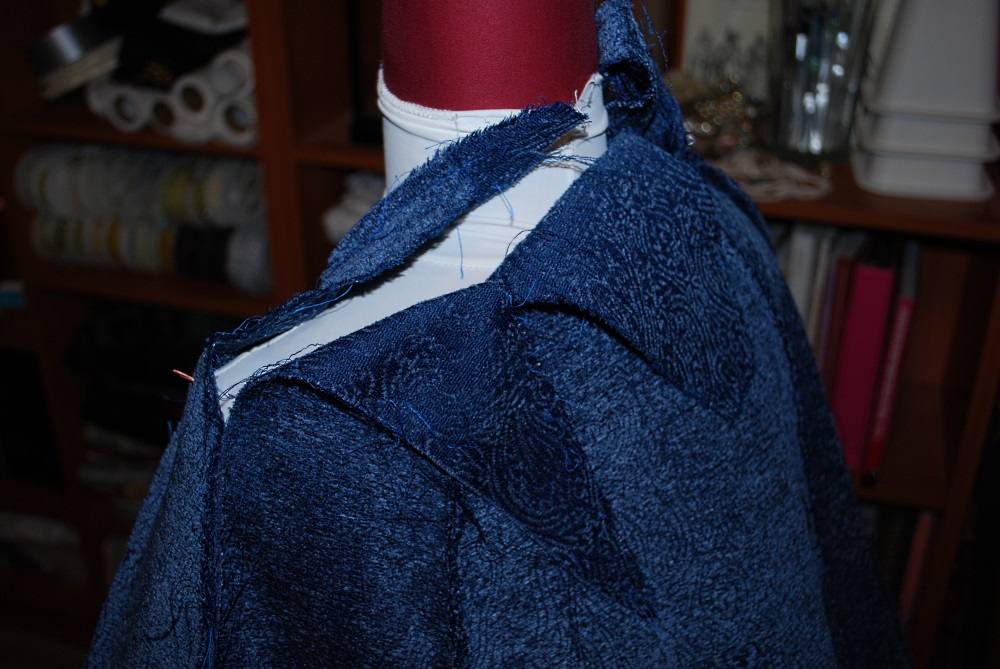
Anyway, I fitted up the shoulders so the heavy fabric would cup her shoulders and stay in place a little easier-- I think if the cloak fell out of place it would choke her to death. It's so heavy!! At least she'll be warm. Hopefully no one will call for a Catherine the Great Tea in the heat of summer! I probably should tell her to start some weight training now, so she can be strong enough to wear the cloak when the time comes. It must weigh about 15 pounds!! (edit: Okay, I weighed it-- it's eight pounds. STILL!!!! That's heavy!!)
You may not know this about me, but I have stash. Not just fabric, but jewels, too. I have loads of jewelry findings and pearls and fake gems and such-- many years ago I fancied that I would be some awesome Renaissance Jewelry designer and bought a ton of stuff... well, nothing panned out (I think you have to work hard or something, which I never did) and so I have drawers full of stuff that I occasionally use on the costumes I make. I am using this cloak as a perfect opportunity to get rid of some stash. I'm going to bling the ever loving crap out of this cloak. She doesn't know I'm blinging her cape, it wasn't part of the deal we made. I just wanted to. This is such a great idea for many reasons-- not the least of which is to clear out stash. It will trick the eye of the beholder so they won't notice so much that the cape is weirdly pieced or inside out or upside down, and they will also not notice that it is not as full as it should be for a queen. Plus, most importantly, it will delight Alisa, because she LOVES bling. Like, really really loves bling. Everyone is a winner here!
So, I counted out what I would need. I'm a little surprised I counted it out to make sure I had enough-- that's not really my style. I'm more like, WHATEVER! I have loads, it will work! Shut up!

First I had to assemble the main components, prying open the prongs, gluing the pearls into the mountings, resetting the prongs, sticking wires through the pearl drops and looping them to the setting.

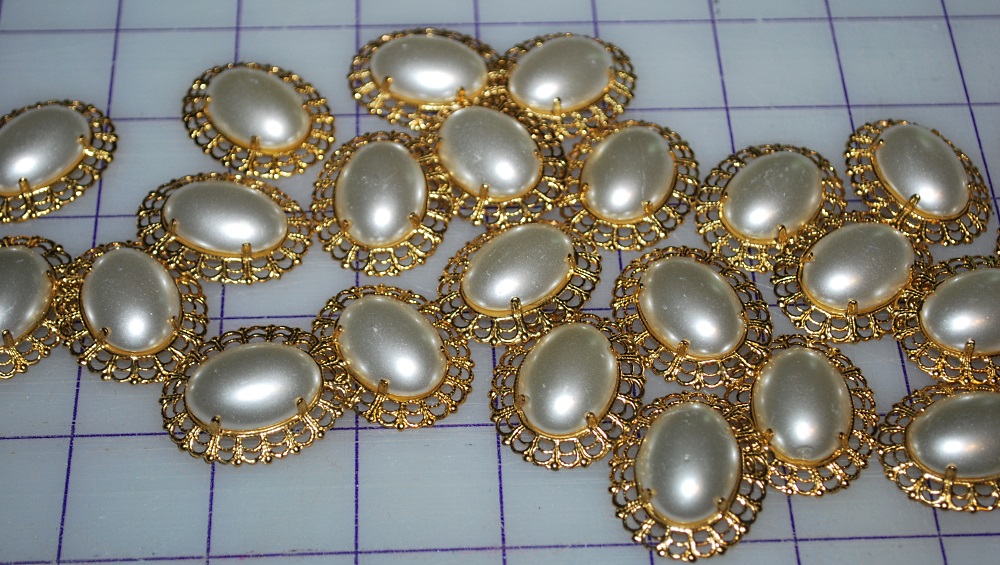
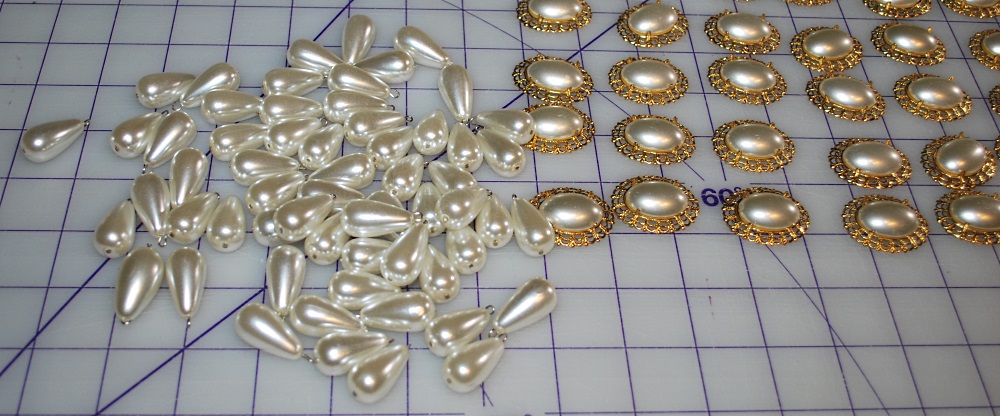

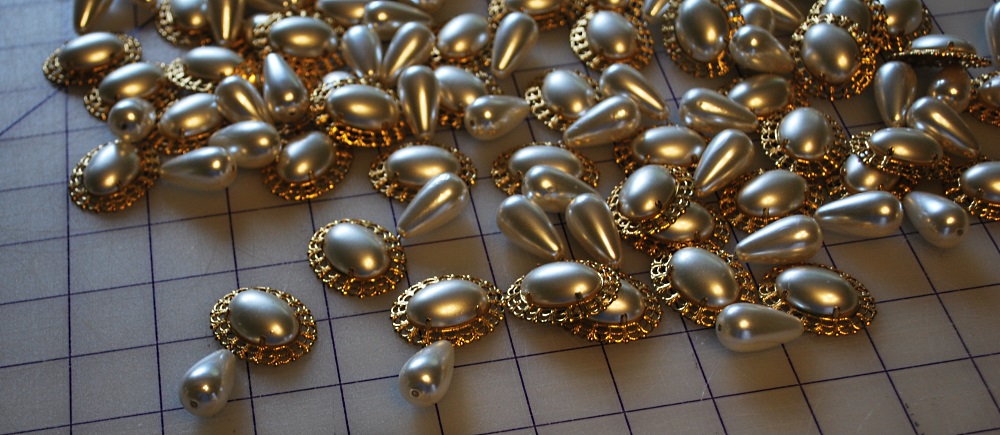
At first I thought they should be set vertically, but then I realized it would look as if she got tangled up in a 1990's era Claire's mall shop. Setting them sideways made them look much better.
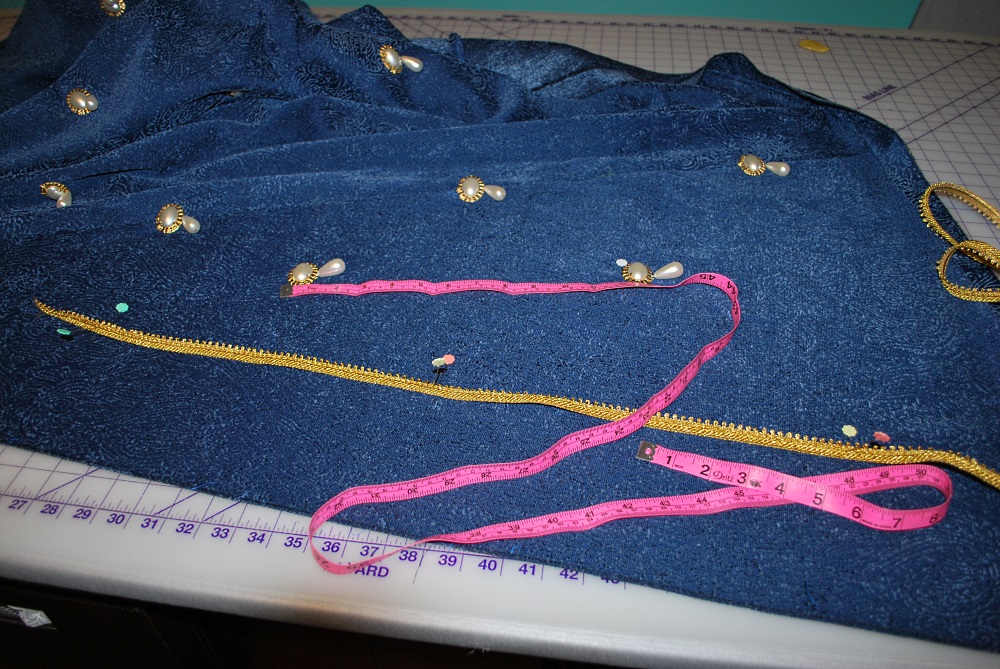
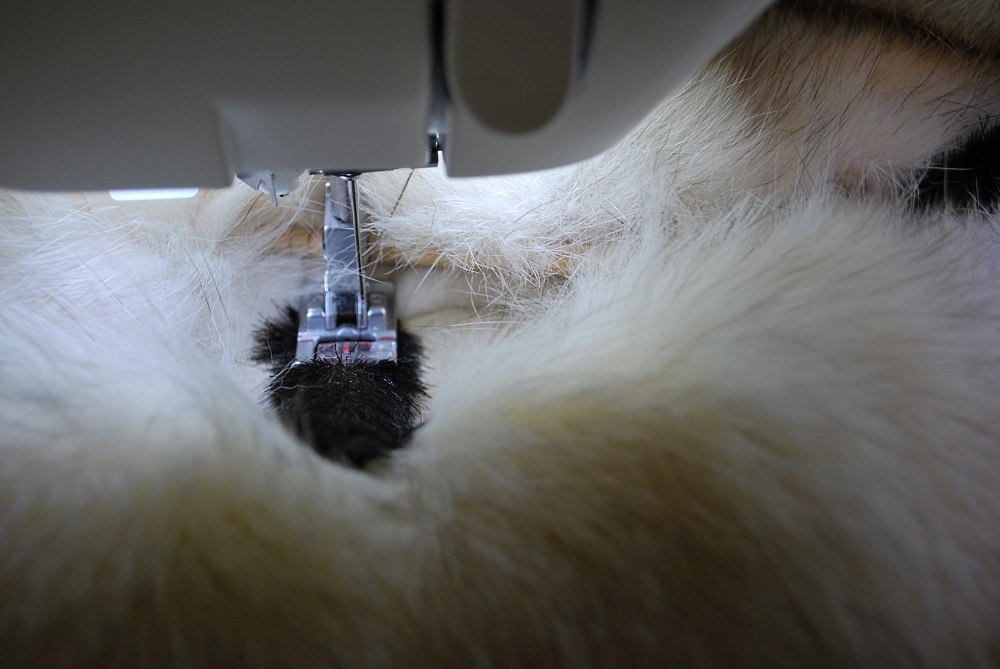
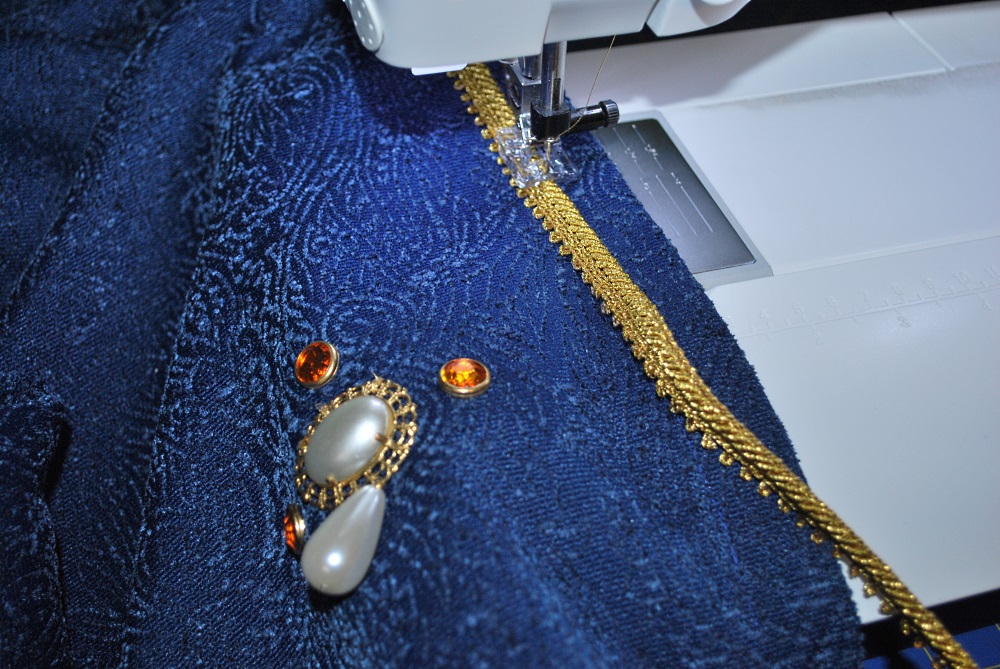
So, I marked where they should go, and started sewing them on. Hand sewing was absolutely out of the question, it would have taken me weeks! So I just used the machine (sans foot) and tacked each one down with a tight wide zig zag stitch in metallic gold thread. Worked out pretty well! Went quickly and looks nice.

I was dismayed to see that white fur hair hanging out there, but decided to keep the picture in anyway-- FUR WAS EVERYWHERE. It could not be reasoned with.

Then came the little fake citrine stones-- glue, glue, glue and more glue-- I'm shocked I didn't fumble and smear glue all over the place. That's what usually happens.

But, just gluing the stones down made them look cheap and fakey. BUT, setting a bezel around them really brought it out of amatuer hour. They were easy to set, but took a toll on my fingers-- no, every jewel-setting tool I own did not work for these little bastards. I had to set them with fingers, a screwdriver and the underside of a computer case panel. (Any sheet/piece of metal would do, this is what I had. My husband's office is a computer building junkyard. It worked perfectly!)

You have to pierce the fabric with the prongs, roll it around a little to get the prongs bending inward, and then push down to firmly set them, the prongs sliding easily on the metal sheet. Works, but man my fingers hurt after that! I need to invest in a different bezel mounting tool of some kind. I own several, but none worked for this. I also had to flip the cape over and go over each of the 1080 prongs with a screwdriver to push them down extra firmly until they were all smooth to the touch and lost in the velour. She doesn't need any pokey surprises when she sits down!
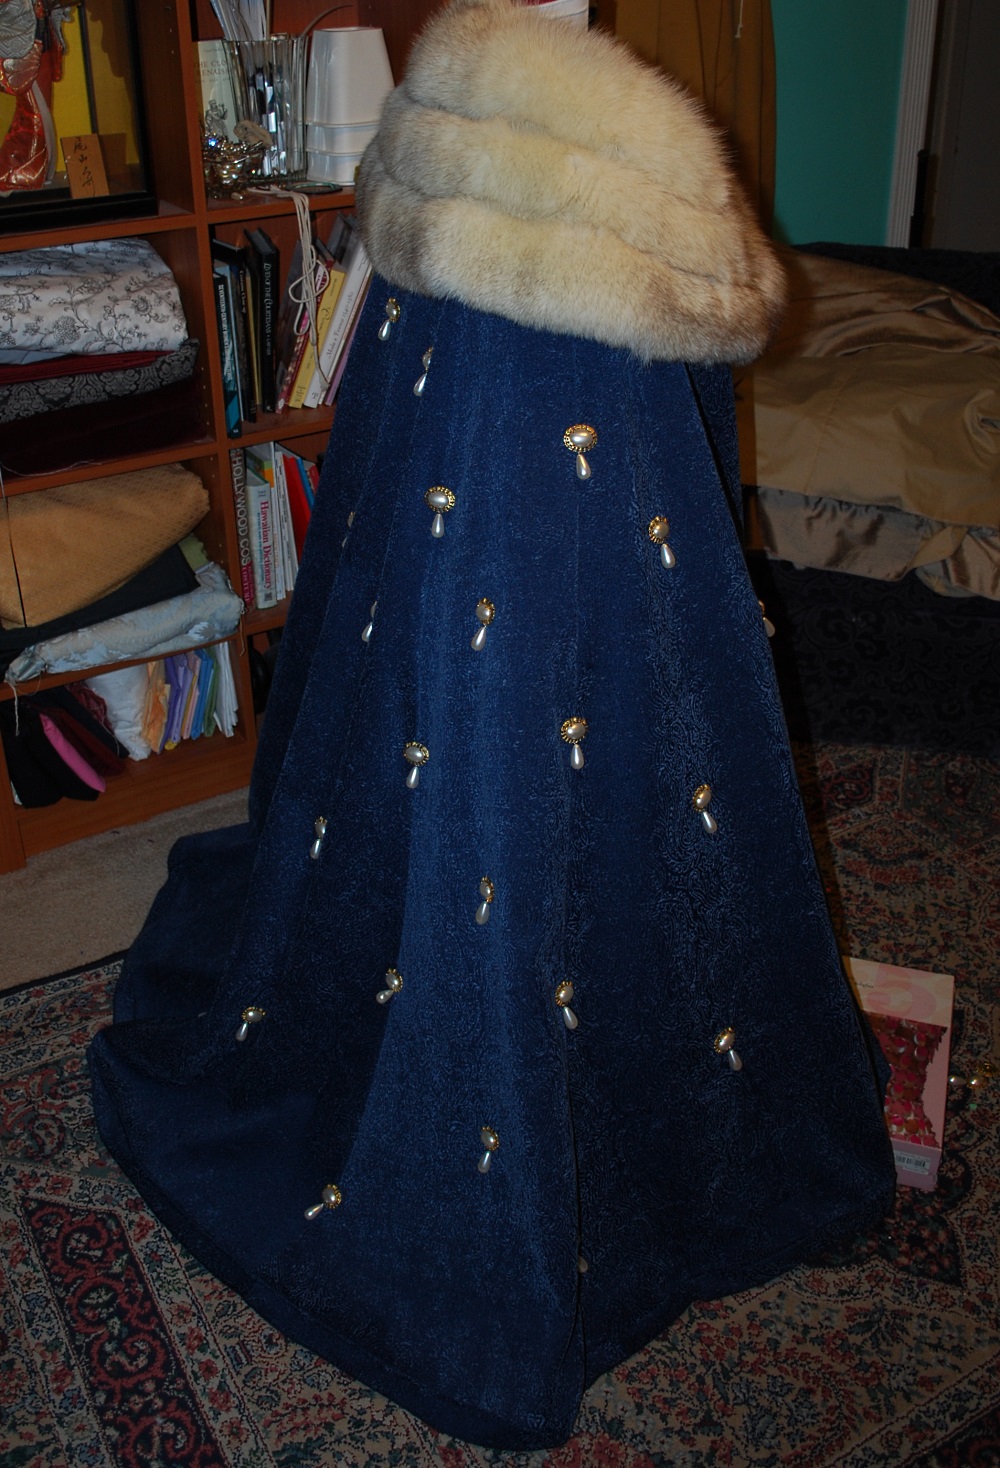
Voila! Blinged up and looking royal!
Next was to make the ermine tails for the fur capelet that would be mounted around the shoulders. Oh, I had it all figured out! Get the fake fur:
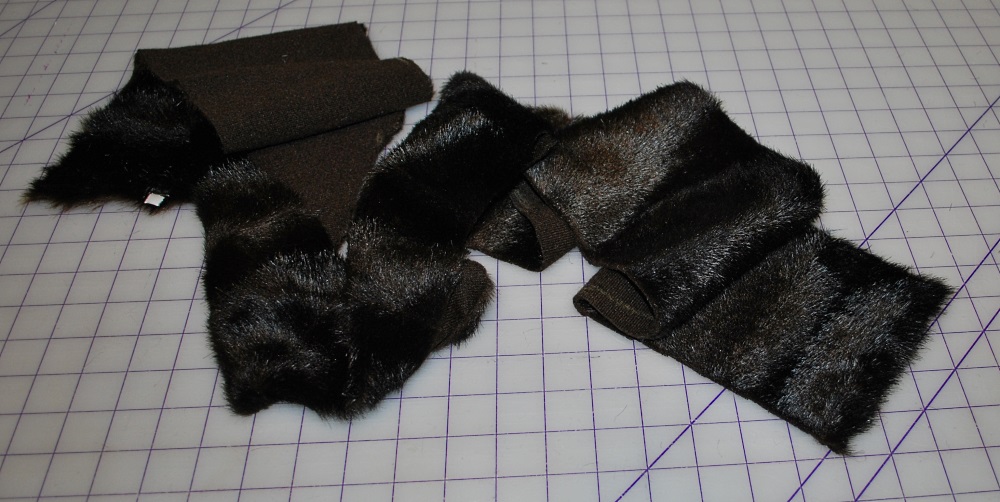
Cut out little squares:

Fold them in half and sew diagonally:

Trim and vaccuum:
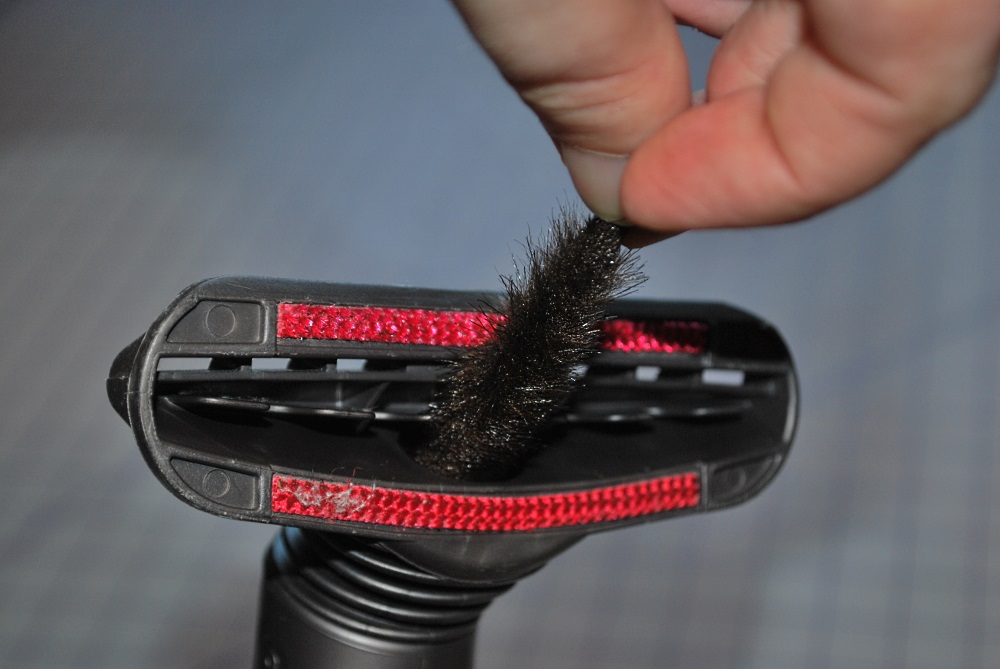
(I'm glad none of them got sucked down the black hole, I managed to hang on! Never work with fur without a vaccuum!)

...and sew to the fur. Luckily this fur had two wide stipes of leather hidden in there-- that's where I tacked the tails to. I didn't want to do anything to ruin the fur-- I think these types of vintage items are precious, and I would never want to damage them or change them. As it is, the fur can be snipped off the cloak, snip off the tails, and be right back to a glamorous vintage stole.
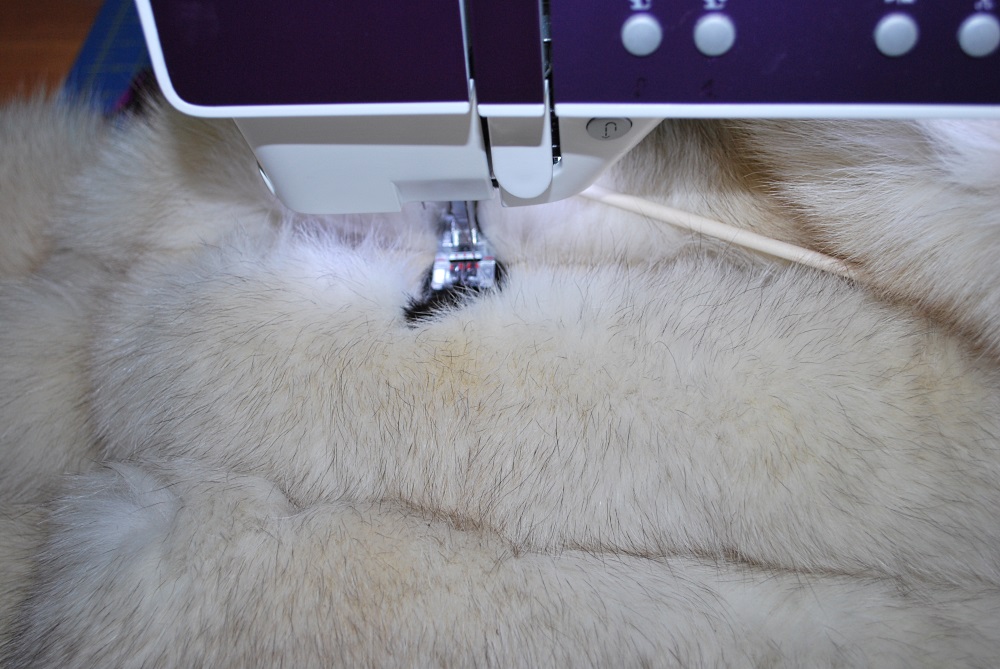
Egads that was rough to do.
I was pretty pleased with the tails I made, they looked like ermine tails. But.. hey... waittaminute... after all that work, I decided they looked stupid. They looked stupid! I did a few test runs before I made them all, and liked what I did... but now they look stupid? WTH!! They were all sticky-outy and stiff and just looked... wrong.

DAMMIT!! So, I went back to Mill End and picked up some more fake fur, and made different tails. These do not actually look like ermine tail tips, but they do look "right." I think it was a problem with how puffy the stole is, and it made the stiff little tails stick out weird when not perfectly positioned and get lost in the fur. So, I had to make larger, softer ones that would lay nice on the super puffy fur and always be in position and lay nice. It does look better now, but DANG!



Next up was the lining-- I used a plain silky cream fabric-- and matched it all up. How I namaged to not take pictures of it I don't know.
Adding the neck facing for strength:

That tiny pile of scraps was all I had left of this fabric-- I used almost every inch! The facing had to be pieced!
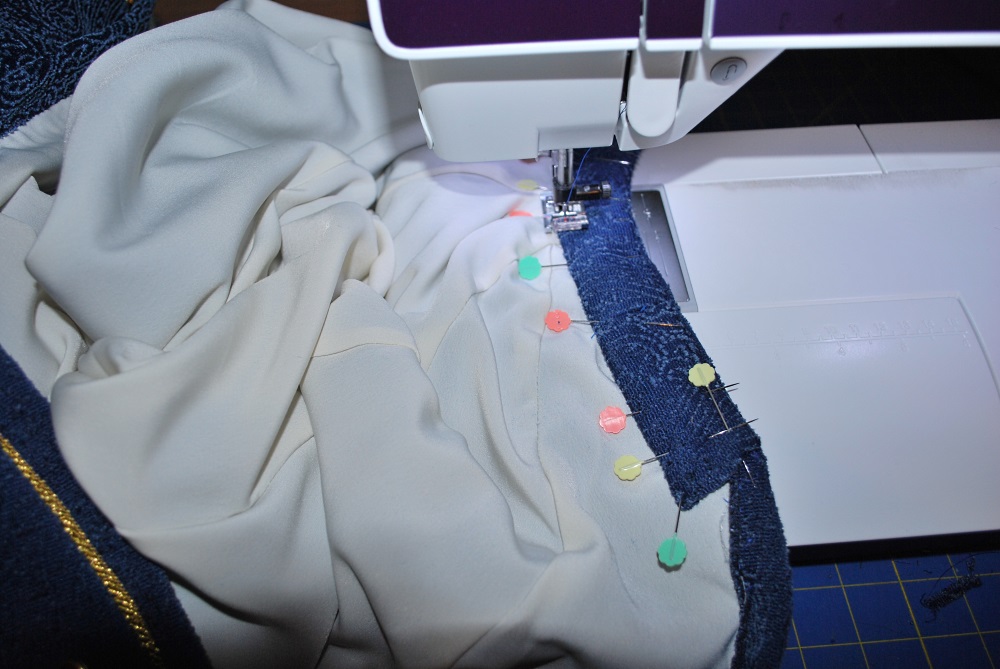
Sewing down the hem... easiest way to hem a circular hem ever! I trimmed off about 1.25 inches, used the serger to finish the edge (very thin narrow 3 needle setting) and simply sewed it back to the hem, flipping it up and pressing. Then, simply top stitching it down.
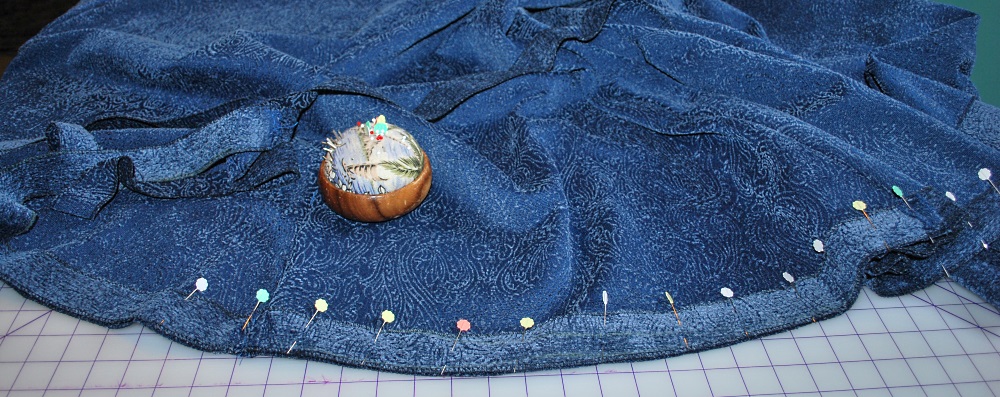
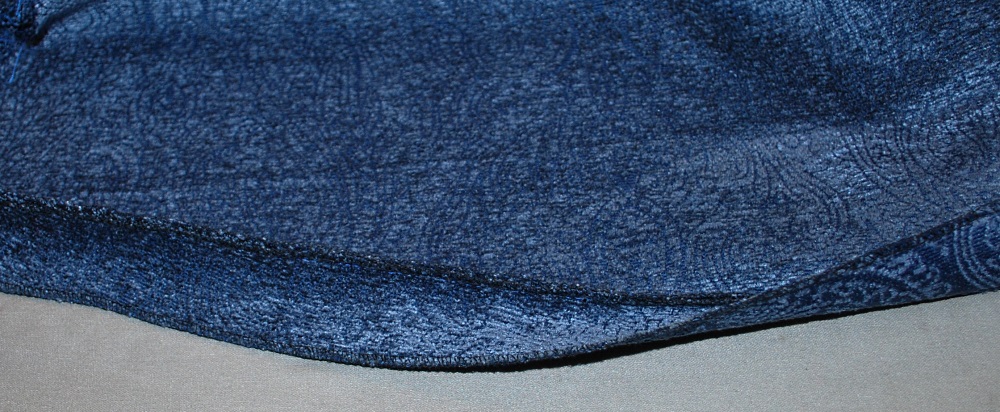
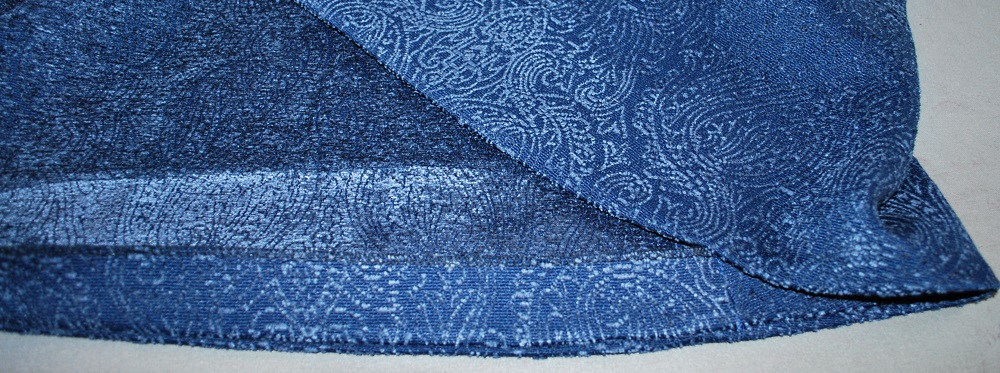
I had to hide the topstitching, so I used this nice metallic gold trim and sewed it down around all the edges. This part was seriously hazardous! After the third needle snapped and shrapnel flew, I got a clue and whipped out the safety glasses. I broke SEVEN needles getting this trim on!
Lastly, the cloak had to be held closed somehow. It is fitted to the shoulders, and really very very heavy, so it didn't need much of a closure. I bought two suspender clips, and then strung together some pearly jewels to drape across the front. Yeah, that looked stupid. Remove. I don't even have any photos of it, that's how stupid it looked.
Decided instead to make a gold rope tassel tie across the front-- I did want to go the easy route and just use a tasseled chair tie in gold, but could I find one when I needed one? NOOOoooOOooo. So, I just made one out of the excess gold trim I already used on the cape-- I had to snip the rope off the base, but it was no big deal to do that. Added tassles, and sewed them on to either side of the neckline. Pretty! (They still have their plastic sleeves on them, I'll let Alisa remove them to preserve their neatness!)

Finally, I just had to hand sew the fur around the neckline. Not fond of hand-sewing as you know, but it had to be done-- respect the vinage fur! I had a really hard time getting this right! I thought I could just whip stitch the edge of the fur lining to the edge of the cape neckline and call it good. Well, uh, NO. After I did that, I decided she would surely look like she was being choked down the hole of a giant hairy doughnut. Not an attractive look. So, I had to mess with it until I decided it looked "right" and whipstitch it in place. That really wasn't as easy as it sounds. This also created another mess I had to backtrack on-- before the fur position alteration, the fur covered up all the messy bits around the neckline, like weird seams, a small pucker, where the rope tassels were attatched, etc. So, I had to undo the ties and sew them again on the underside, and then try to trick the eye and hide some seams and puckers and thread tacks with more trim. Ooof.


There! All done!

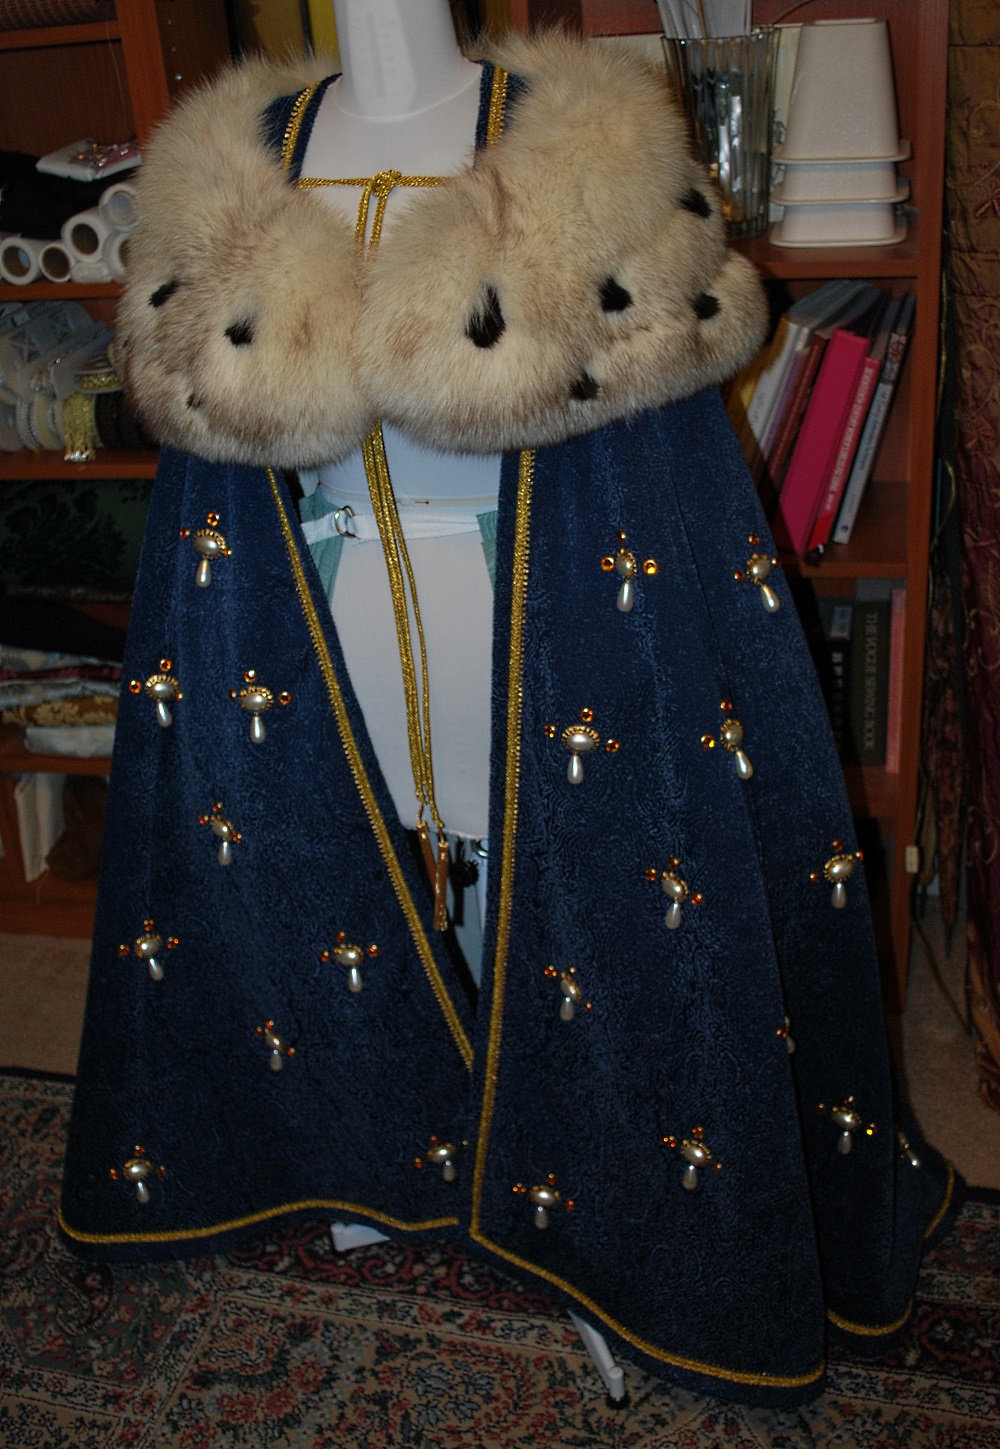


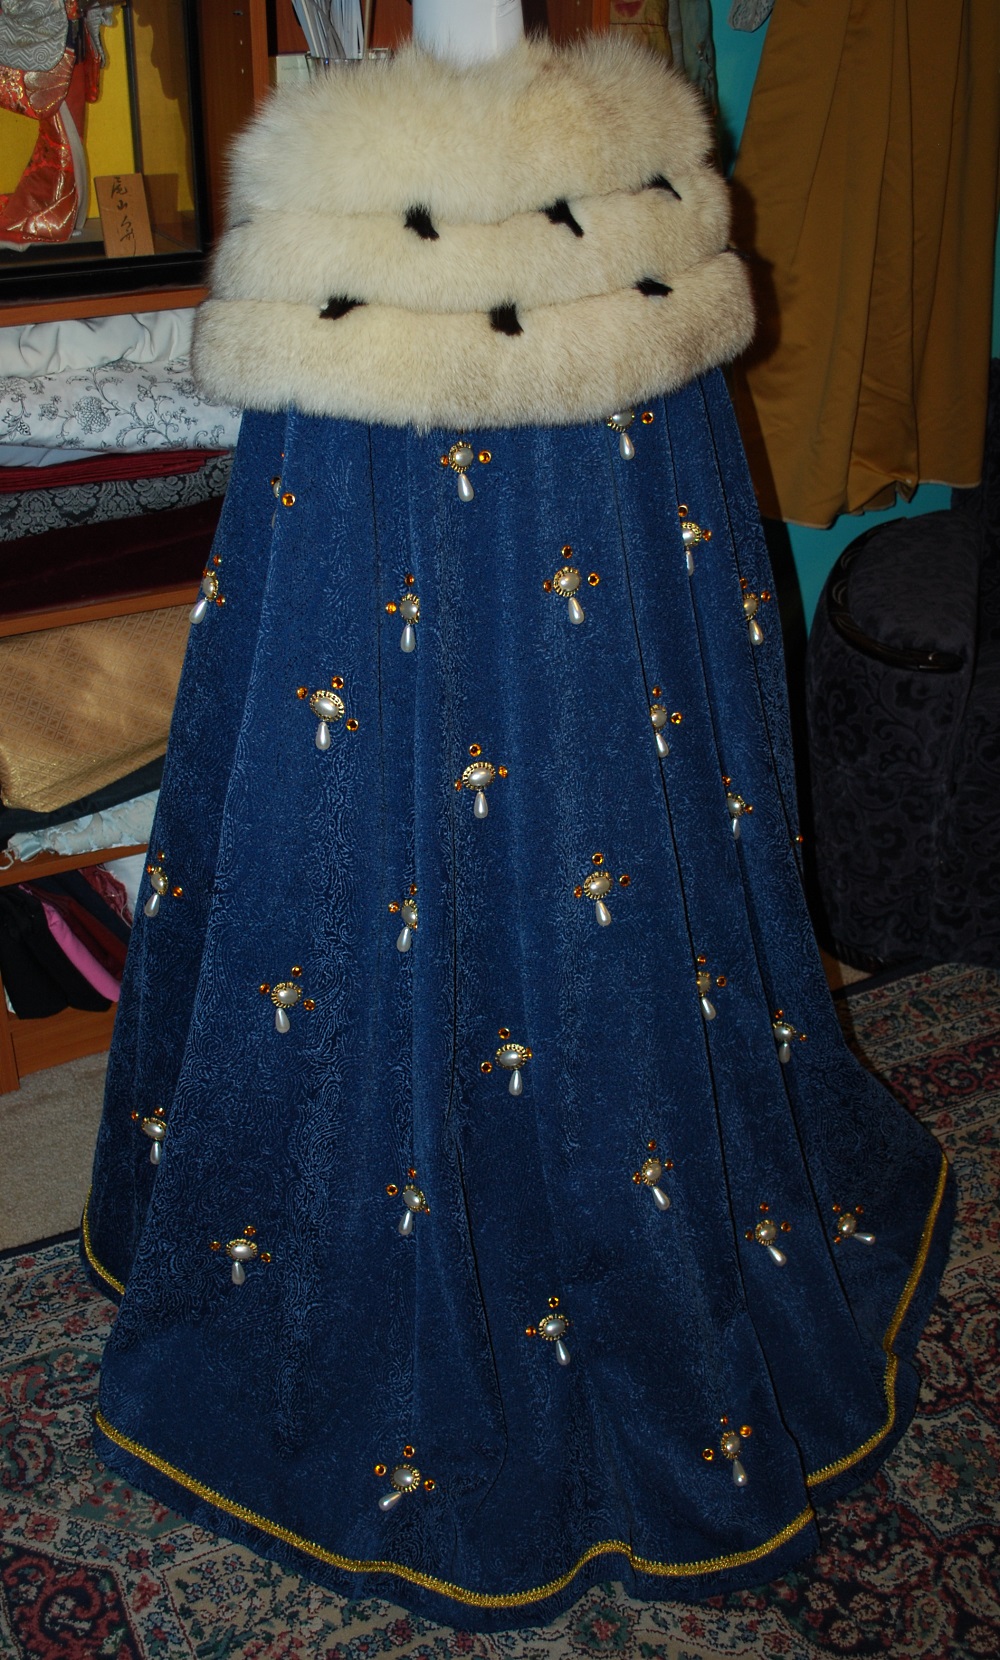


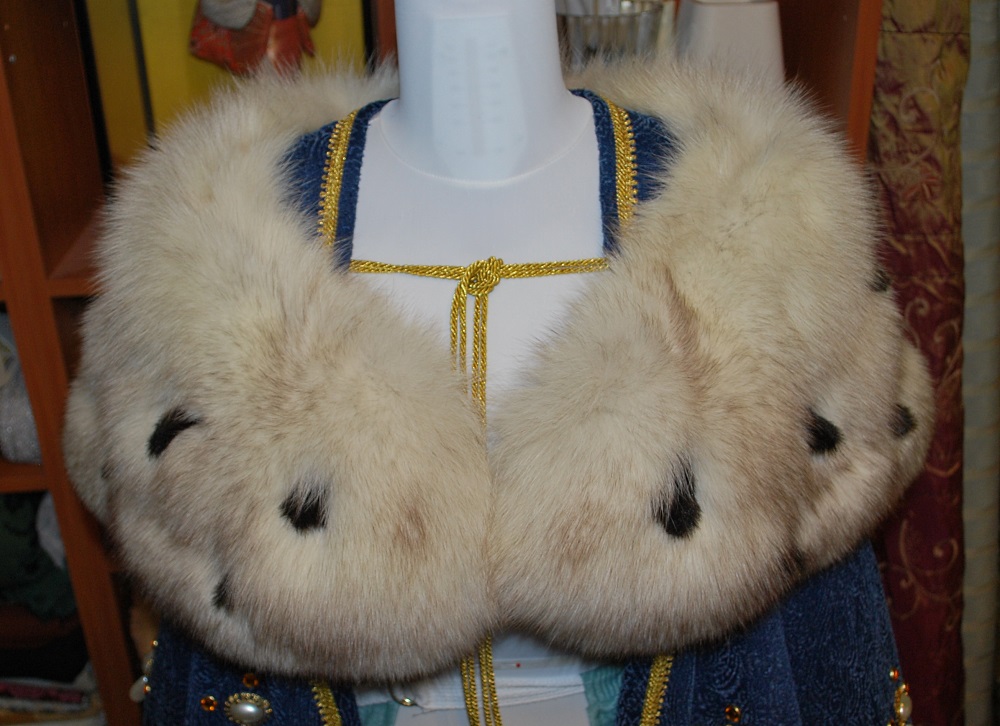
I know she'll love it. Now I have to get started right away on her gown-- I took waaaay too much time to make this cloak!