Walkthrough/WIP: Midwinter Blessings
I thought I would share a little walkthrough of what I've done thus far on the gift piece. Progress shots under the cut. Click on the thumbnails for full-sized views.

1. Creating a new file in Gimp and setting the resolution to be more print-friendly (best resolution is 300 dpi, but my laptop can't handle files that size, so I usually work at 150 dpi), I copy the sketch into the new file on a seperate layer, enlarging it to fit the canvas size I chose (since I'm going to put it in the Zazzle shop I'm building, I'm creating an 18x24 in. piece). Then I lower the opacity and add another layer, tracing the sketch with my Wacom pen so I will have line art of the piece to work with.

2. I create a gradient on the background layer, using a succession of pale blues, violets, greens, and yellows.

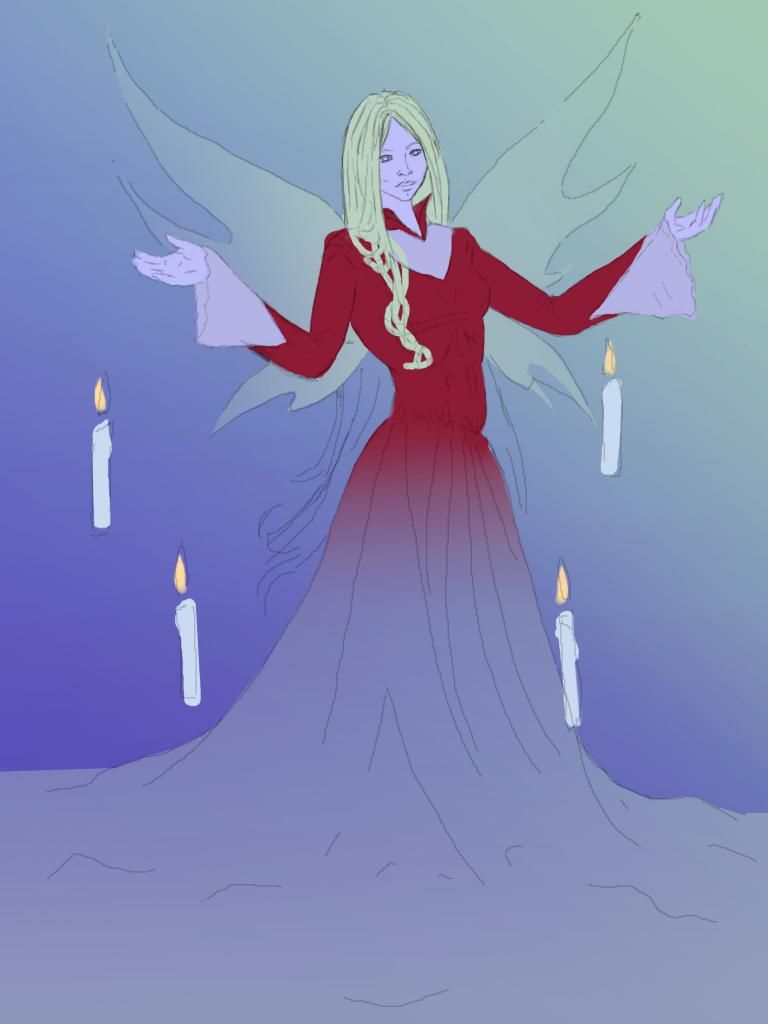
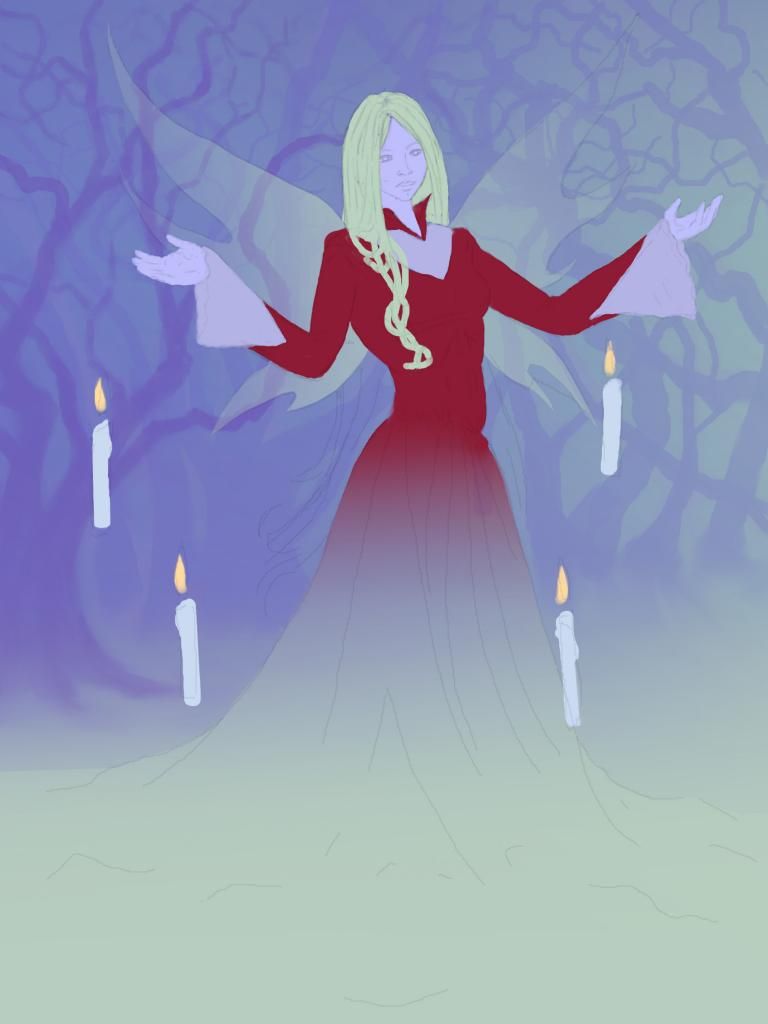
3. I create a new layer and began painting in the basic colors at 100% opacity. I create a new layer for each element to make it easier to edit. With the skin, hair, etc., I don't bother with the lasso tool because I don't like the sharp edges it creates, but I use the lasso to select the skirt of the dress and the wings so I can apply a gradient to them.
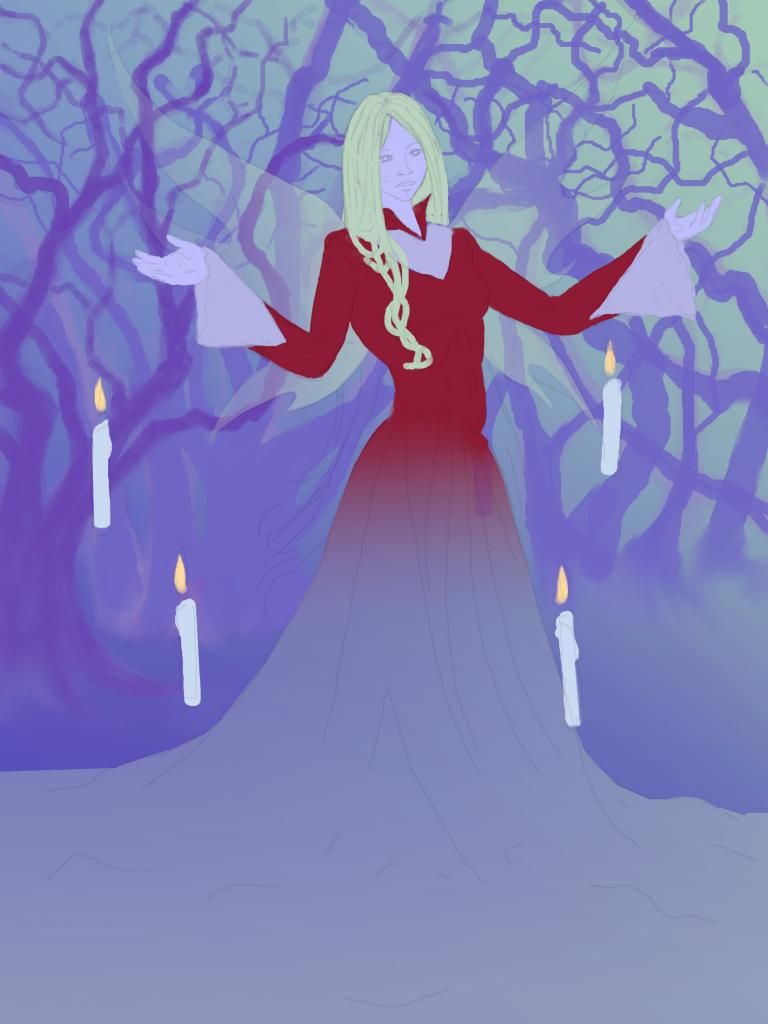
4. I decide I want some hint of trees in the background, so using the paintbrush tool, I model some trunks and branches. On another layer, I model more tree stuff with a lighter color to give a feeling of depth. I also lighten the opacity of the line art a bit.
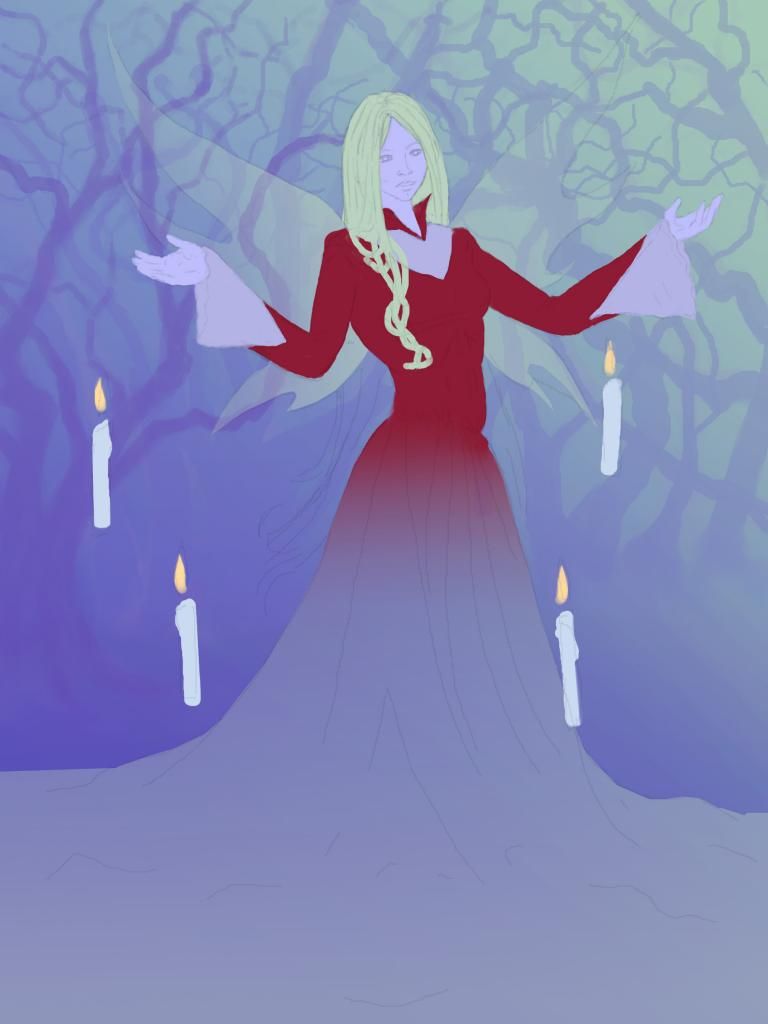
5. As the trees are still too dark, I lower the opacity on the layers to let them fade into the background a bit.
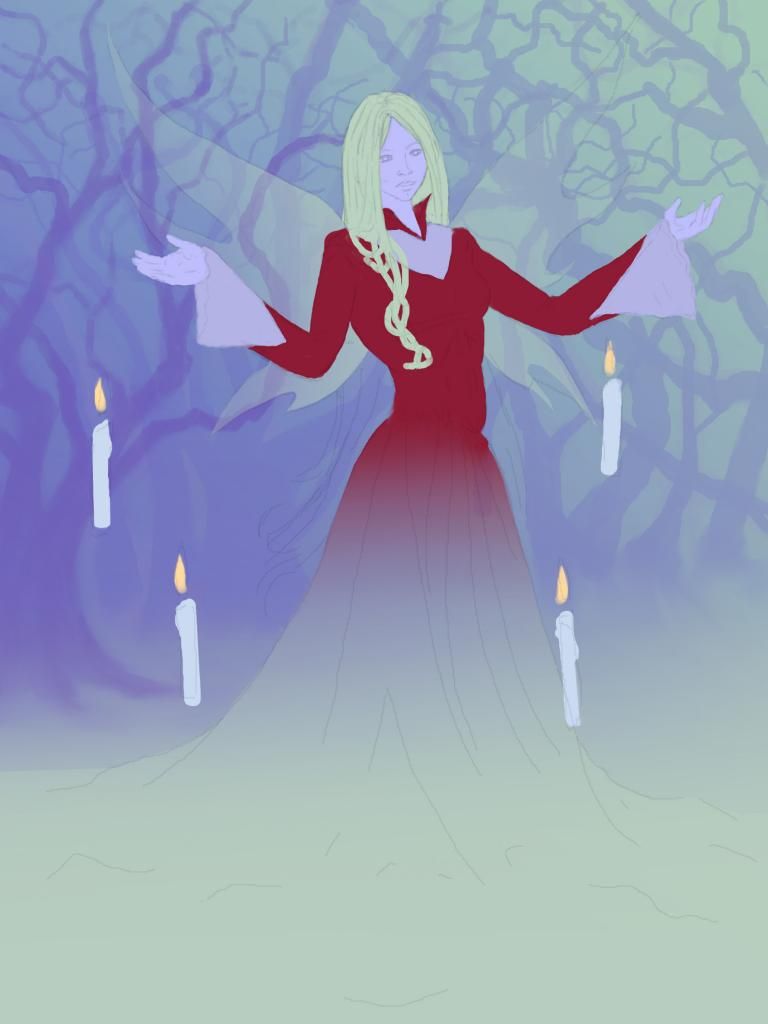
6. More gradients for the snow, the trees, and finally a light source in the forest.

If you enjoy the work I create for Silverflame Art, you can help to support it by participating, commenting, and spreading the word! Tips from those able to contribute financially are also very deeply appreciated.

1. Creating a new file in Gimp and setting the resolution to be more print-friendly (best resolution is 300 dpi, but my laptop can't handle files that size, so I usually work at 150 dpi), I copy the sketch into the new file on a seperate layer, enlarging it to fit the canvas size I chose (since I'm going to put it in the Zazzle shop I'm building, I'm creating an 18x24 in. piece). Then I lower the opacity and add another layer, tracing the sketch with my Wacom pen so I will have line art of the piece to work with.

2. I create a gradient on the background layer, using a succession of pale blues, violets, greens, and yellows.

3. I create a new layer and began painting in the basic colors at 100% opacity. I create a new layer for each element to make it easier to edit. With the skin, hair, etc., I don't bother with the lasso tool because I don't like the sharp edges it creates, but I use the lasso to select the skirt of the dress and the wings so I can apply a gradient to them.

4. I decide I want some hint of trees in the background, so using the paintbrush tool, I model some trunks and branches. On another layer, I model more tree stuff with a lighter color to give a feeling of depth. I also lighten the opacity of the line art a bit.

5. As the trees are still too dark, I lower the opacity on the layers to let them fade into the background a bit.

6. More gradients for the snow, the trees, and finally a light source in the forest.


If you enjoy the work I create for Silverflame Art, you can help to support it by participating, commenting, and spreading the word! Tips from those able to contribute financially are also very deeply appreciated.