femme8: a quick & dirty corset
I'm still being a bit of a neat freak, so it's only quick & dirty for someone with a perfectionist streak.
When I mocked this up & tried it on way back at the end of July, I completely forgot to mark the waistline on it, and it's not marked on the pattern. So, yes I didn't include a waist stay on this corset. If it only survives a couple of outings that's ok ... as I'm happy to make this corset pattern again.
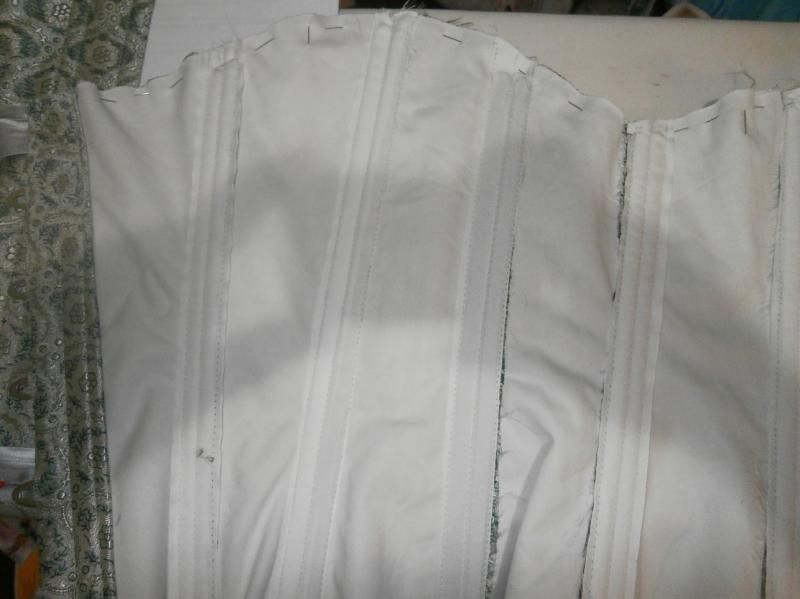
It's a single strength layer, with the brocade flat-lined to the coutil. I pin basted it, and am patting myself on the back as it's worked so well. I also graded the seams coutil only, and pressed them to the sides. I used 1: cotton tape for the boning channels and stitched all seams from top to bottom ... read somewhere to do this with boning channels so just did it for everything so I wouldn't forget.

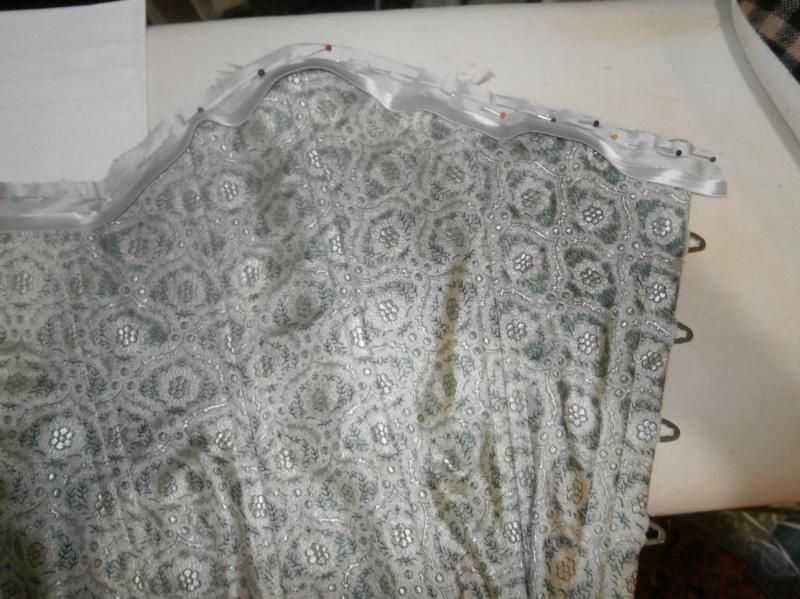
I cut the brocade one piece at a time, flipping the cut piece & matching the brocade pattern & cutting the other side to exactly match. Ugh. because the pattern isn't cut all on straight grain the brocade is too.The only things left to do is stitch down the grey satin binding & set the grommets. Oh, must make a modesty panel for the back. aaargh.

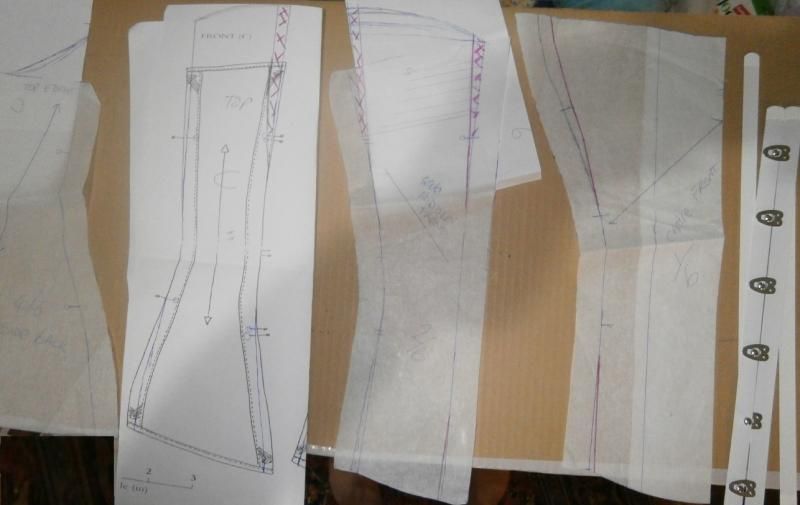
Back in July I scanned the pattern & saled it to 100% on the vertical axis & on the horizontal axis I scaled to the waist I wanted. Now this isn't the same as scaling the pattern to 100% and slashing & spreading to reach the waist measurement. Doing it this way adds more to the bust & hips too, which is fine as I still have an hourglass figure, despite being heavy. I scaled the front pieces even more horizontally so I could have a larger bust, and the fitting removed all this 2nd lot of extra in the bust. I also needed to add more height to the side bust (+ a little on the side back) with nothing on the centre front piece.

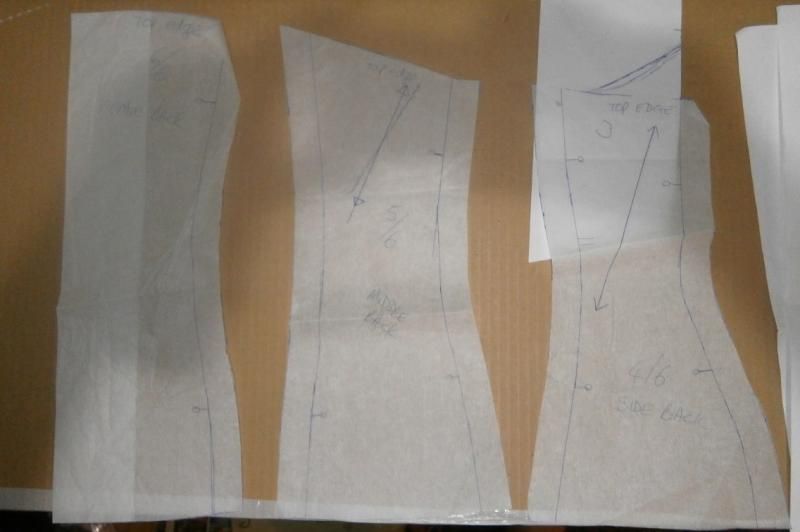
The back pattern pieces were fine with my first uneven scaling.

When I mocked this up & tried it on way back at the end of July, I completely forgot to mark the waistline on it, and it's not marked on the pattern. So, yes I didn't include a waist stay on this corset. If it only survives a couple of outings that's ok ... as I'm happy to make this corset pattern again.
It's a single strength layer, with the brocade flat-lined to the coutil. I pin basted it, and am patting myself on the back as it's worked so well. I also graded the seams coutil only, and pressed them to the sides. I used 1: cotton tape for the boning channels and stitched all seams from top to bottom ... read somewhere to do this with boning channels so just did it for everything so I wouldn't forget.

I cut the brocade one piece at a time, flipping the cut piece & matching the brocade pattern & cutting the other side to exactly match. Ugh. because the pattern isn't cut all on straight grain the brocade is too.The only things left to do is stitch down the grey satin binding & set the grommets. Oh, must make a modesty panel for the back. aaargh.

Back in July I scanned the pattern & saled it to 100% on the vertical axis & on the horizontal axis I scaled to the waist I wanted. Now this isn't the same as scaling the pattern to 100% and slashing & spreading to reach the waist measurement. Doing it this way adds more to the bust & hips too, which is fine as I still have an hourglass figure, despite being heavy. I scaled the front pieces even more horizontally so I could have a larger bust, and the fitting removed all this 2nd lot of extra in the bust. I also needed to add more height to the side bust (+ a little on the side back) with nothing on the centre front piece.

The back pattern pieces were fine with my first uneven scaling.
