Winner's Tutorial, Challenge #120 (texture) by pensnest
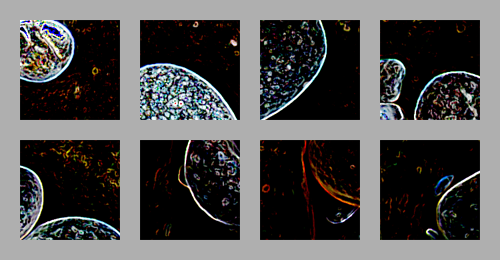
This set was made in PS5 (on a Mac), using basically Filters and Layer Modes. The specifics may not be available in other programs or versions of Photoshop, but the general method is available to anyone.
For this Textures tutorial, I think I'm going to have to go with a General Method rather than specifics.
What I like to do when making textures is to mess around with Filters and layer modes. In this case, I've tried to make it clear in the Layers Palette what I have done, so I will start with that.
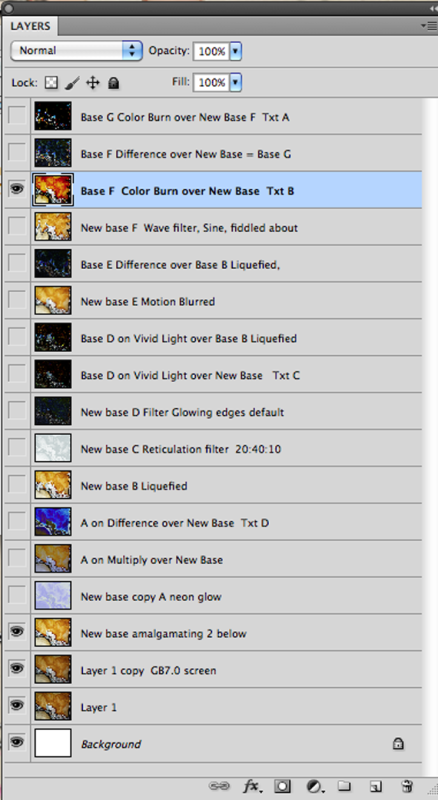
Starting from the bottom (forget the Background layer, for some reason I must have opened it onto a blank document):
Layer 1 is the original picture. Here's a segment of it as a reminder-it's the same crop as the rest of the landscape images in this tutorial, so you can see the changes clearly.
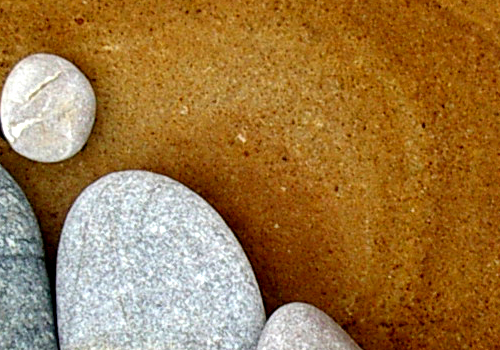
Next up, a copy of layer one with a bit of Gaussian Blur applied (7.0), set to screen.
Next up is an amalgamation of these two layers, which I call my New Base.
From here on, it's a question of duplicating a base layer and applying one of Photoshop's many Filters, then combining these in ways that seemed promising. I've tried to give them new names, eg the New Base copy filtered with Neon Glow became A. I then tried A on Multiply over the New Base, and then on Difference. You can see from the thumbnails that the effects are quite interesting. (If anyone wants to see any in more detail, I can easily post them, but I thought I wouldn't make this post ridiculously image-heavy.)
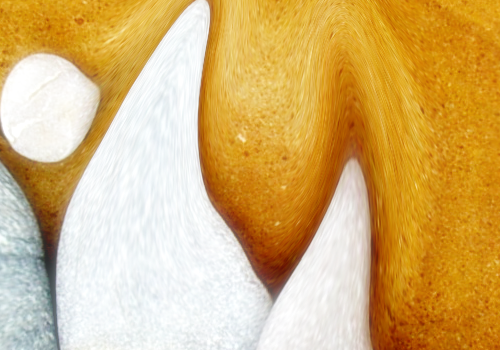
New Base B Liquefied: PS5 has a very fun thing in the Filters menu called Liquefy, and I've done a rather larger image for you to get a better look at this-essentially you can pull bits of the image out of shape. You'll see, further down, why this is fun.
The Reticulation filter (the 20:40:10 were the settings I used) gave me another blue, with a lovely rough texture this time.
Then the Glowing Edges filter became D, and I duplicated it and set it to Vivid Light over the New Base. This was actually what became the winning texture (set 1), and here is a piece of it, first as the Glowing Edges layer on its own,
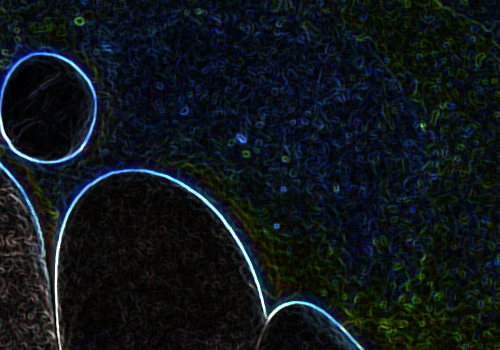
then as it looks when set to Vivid Light over the Base.

And, just for fun, how it looks when it's over the Liquefied base.
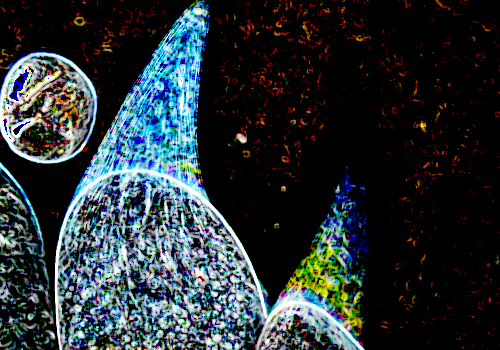
I kept going, because this is fun. Various more filters and layer modes tried-the Difference mode is fun, you get a really nice dark blue with light glowing edges using Difference.
You can have a lot of fun with the Wave filters, too, but I ended up not being that interested in those, except for using F, which was a Sine Wave filter, on Color Burn over the New Base, which created texture 4 from the voting page. Here's the same piece of base showing you the textures, and also another view which maybe makes things clearer.
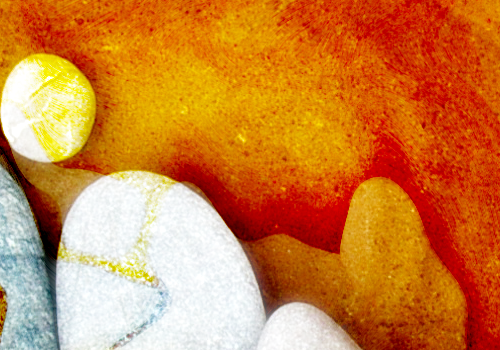
, and
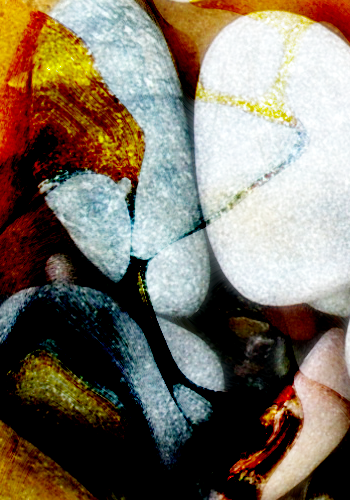
And the other entry I did was the very top one, which as you can see was a combination of various filtered layers on top of one another. I used crops from this for texture set 6.
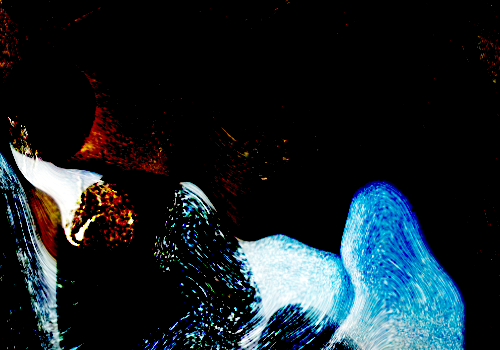
After that, I needed to make sure that I had Normal copies of the combinations I liked best, which I then cropped into squares. Some were 100x100 crops, others I cropped at 200x200 or some random size with the ratio set at 1:1 and then reduced to icon size. It's a matter of what looks good at the time. I selected what seemed like the most promising eight of each set. I doubt I could replicate that exactly, but I hope this seems like a useful and interesting method of turning a source picture into textures. I promise you it's fun!