kiba icon tutorial
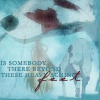
today, we will be making this icon:
I made this using PSP7, but it can be translated to any art program
you will need to following images for this icon:
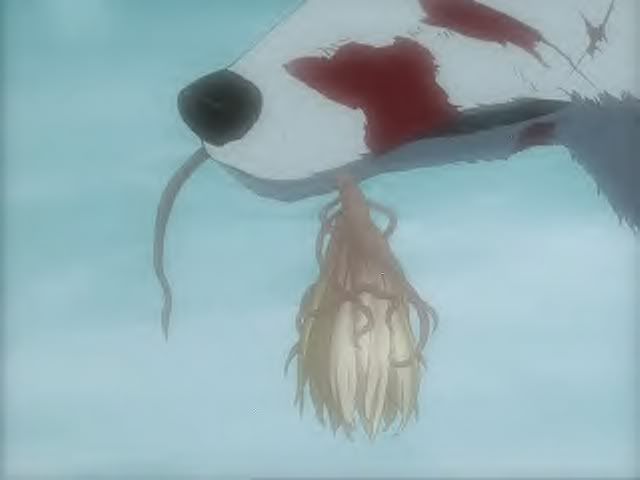
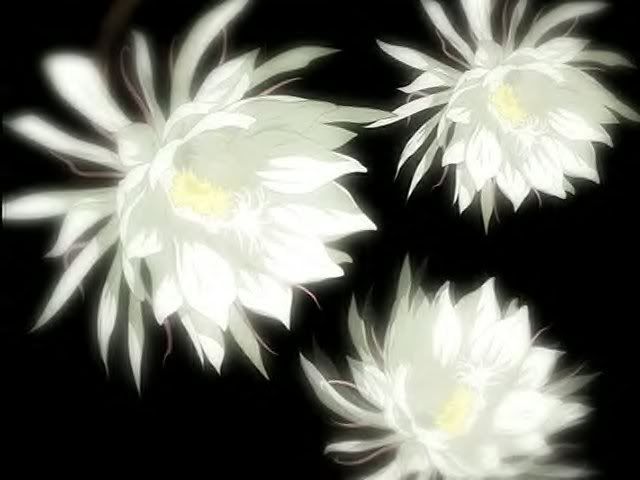
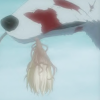
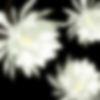
step one: crop and resize the image of the lunar flower and the image of kiba's muzzle so they are both 100 x 100
step two: duplicate the resized kiba image and set the blend mode to screen (opacity 50%). then flatten the image
it should now look like this :
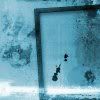
step three: use the motion blur filter on the resized lunar flower image (effects > blur > motion blur > set radius to 2.00)

>
step four: copy the lunar flower image and paste it over the resized kiba image and set the blend mode to soft light (opacity 70%)
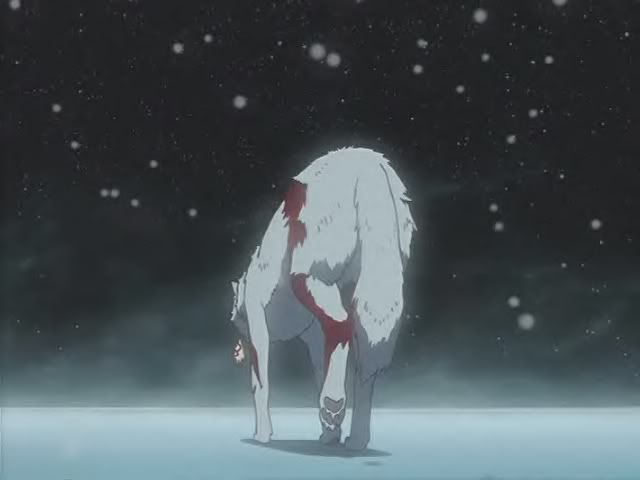
step five: take the image of kiba walking and cut him out using the freehand selection tool (set the feather to 2)
step six: resize the cut out kiba so the height is 60px. Then paste him into the icon on a new layer and set the blend mode to normal (opacity 65%)
step seven: I used the following two brushes.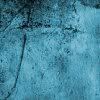
I cut, resized and colorized them for this icon (these brushes were made by icons_with_love). take the first brush and paste it over the icon as a new layer (set the blend mode to soft light opacity 70%)
step eight: take the other brush and paste it over the icon as a new layer and set the blend mode to soft light (opacity 35%)
step nine: flatten the image
step ten: text time! for the first three lines, I used the color #3B7F8E. The font is garamond at 6 px and it's all in caps.
step eleven: the last word is in the color #5A4043. The font is carpenter ICG at 24 px.
step twelve: I took this brush,
and stamped it once over the image to finish. (the color for the brush is #56A2AF)
that is how you make a blended kiba icon
I made this using PSP7, but it can be translated to any art program
you will need to following images for this icon:
step one: crop and resize the image of the lunar flower and the image of kiba's muzzle so they are both 100 x 100
step two: duplicate the resized kiba image and set the blend mode to screen (opacity 50%). then flatten the image
it should now look like this :
step three: use the motion blur filter on the resized lunar flower image (effects > blur > motion blur > set radius to 2.00)
>
step four: copy the lunar flower image and paste it over the resized kiba image and set the blend mode to soft light (opacity 70%)
step five: take the image of kiba walking and cut him out using the freehand selection tool (set the feather to 2)
step six: resize the cut out kiba so the height is 60px. Then paste him into the icon on a new layer and set the blend mode to normal (opacity 65%)
step seven: I used the following two brushes.
I cut, resized and colorized them for this icon (these brushes were made by icons_with_love). take the first brush and paste it over the icon as a new layer (set the blend mode to soft light opacity 70%)
step eight: take the other brush and paste it over the icon as a new layer and set the blend mode to soft light (opacity 35%)
step nine: flatten the image
step ten: text time! for the first three lines, I used the color #3B7F8E. The font is garamond at 6 px and it's all in caps.
step eleven: the last word is in the color #5A4043. The font is carpenter ICG at 24 px.
step twelve: I took this brush,
and stamped it once over the image to finish. (the color for the brush is #56A2AF)
that is how you make a blended kiba icon