Make-up tutorial
A make-up tutorial: neutral eyes with a modern red lip.
As promised, here's a make-up tutorial for you all. I tried to cover all the basic stuff needed for a good make-up, that I've learned. I'm not a professional make-up artist, nor have I taken any classes, all that I know I've learned from trial and error. Youtube videos are also quite helpful ;P
Sorry that some photos are a little off focus, still trying to get the hang of my new camera.
Start with a fresh clean base. It's important to wash your face twice every day - in the morning and in the evening to take off your make-up. Don't use regular soap! It dries the skin. It's better to use a face cleansing gel.
After washing, I use a toner to reset the skins pH level. Then I apply a moisturiser.
Choose your products according to your skin type, for example I have very oily skin.
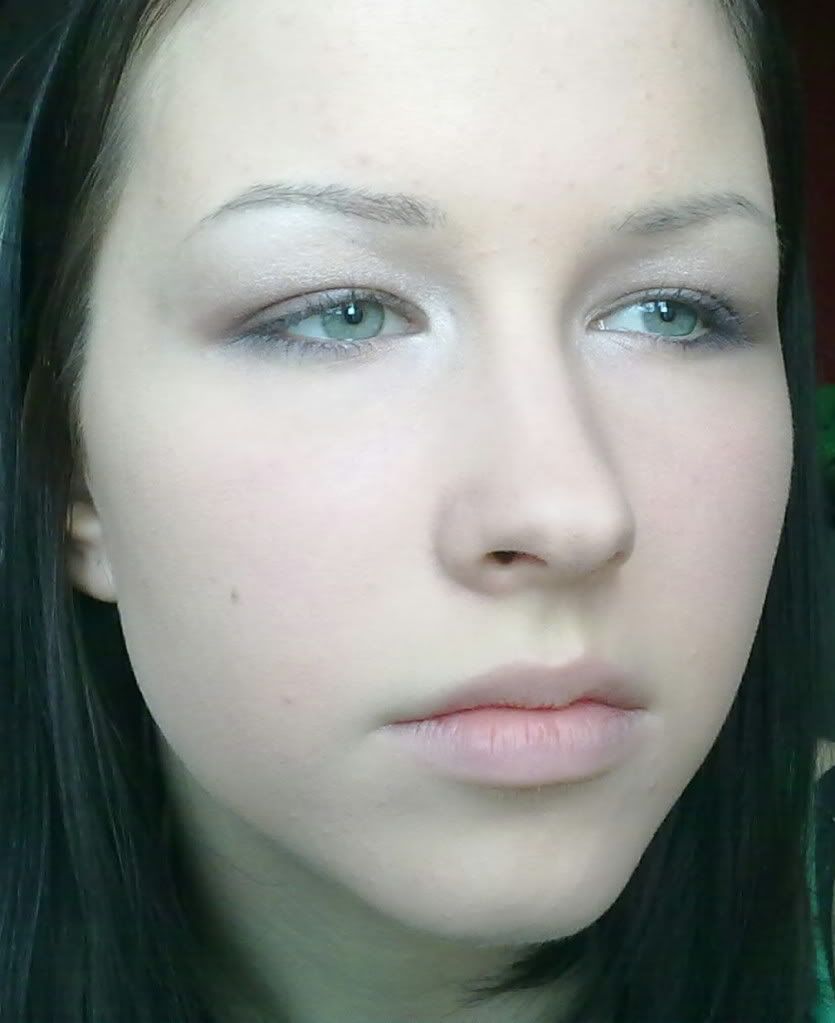
Teehee no make-up :P

Mix your foundation with a little bit of moisturiser. It helps to blend the foundation into the skin and the finish will look more natural.
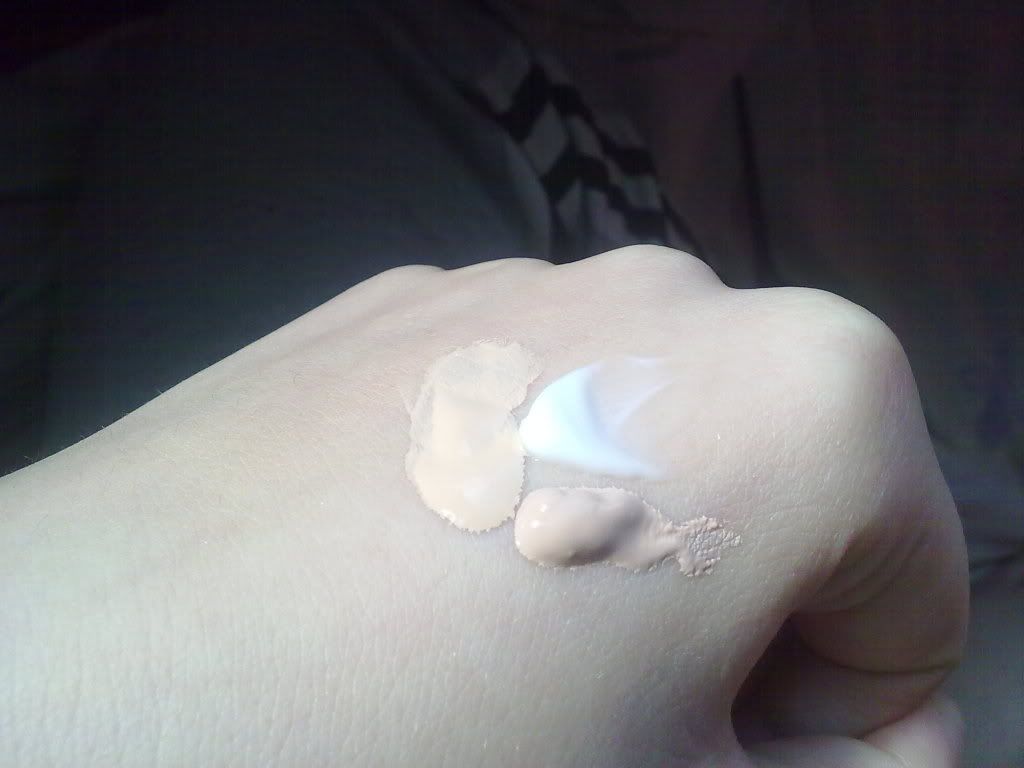
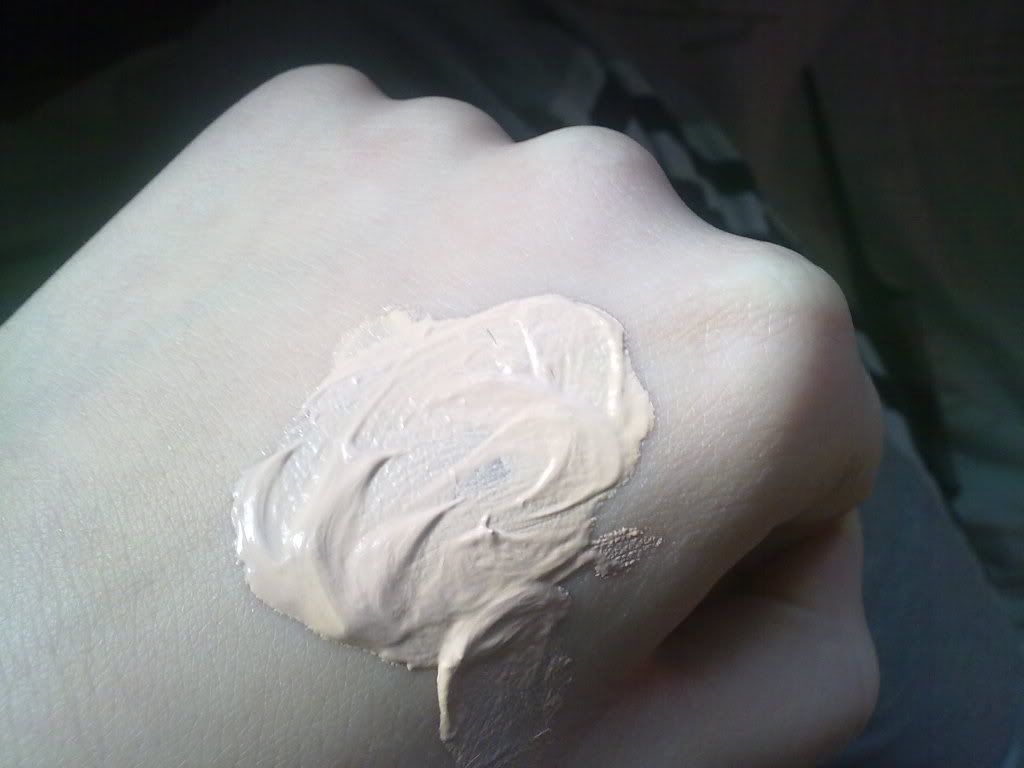
I mix two foundations together - Maybelline Dream Satin liquid in 004 Light porcelain and L'oreal True Match in W1 Vanilla ivory. That's because Maybelline is a bit too pink and L'oreal too yellow. When picking foundation, it's safer to go with a shade lighter, because foundations tend to dry a little darker than what they originally were. Also avoid any foundations (actually any cosmetics) that have Dimethicone, Mineral Oil or any Parabens in it, they disturb the skin's natural metabolism and clogs the pores. (Maybelline's foundations actually do have Dimethicone in it, but I just can't afford anything else ;__;)
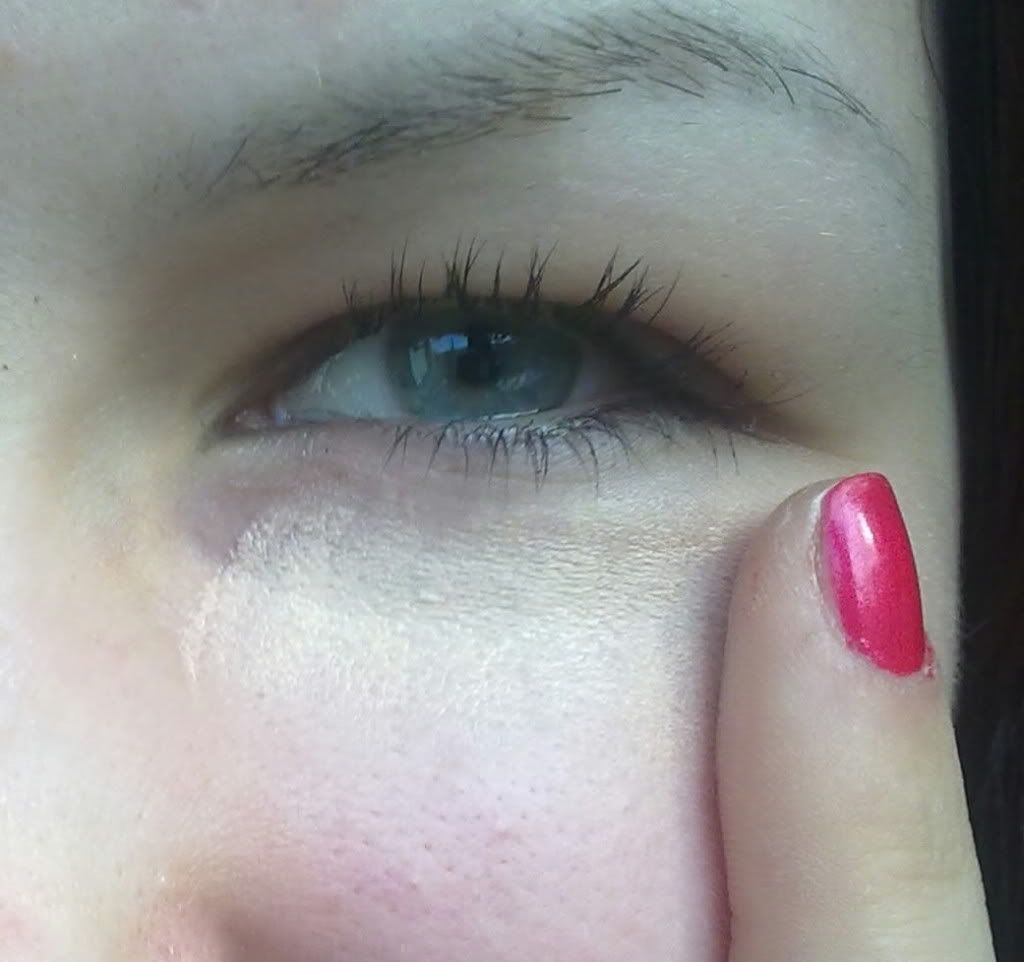
I like to apply my foundation with my fingers. You can also use a brush or a sponge if you prefer. When picking out a foundation brush, take something fluffier instead of flat, it will be easier to blend. When applying with a sponge, after you've covered your face, dot your face again with the clean side, it will give a nice airbrush finish and removes any streaks.
If needed, apply a concealer to needed areas.
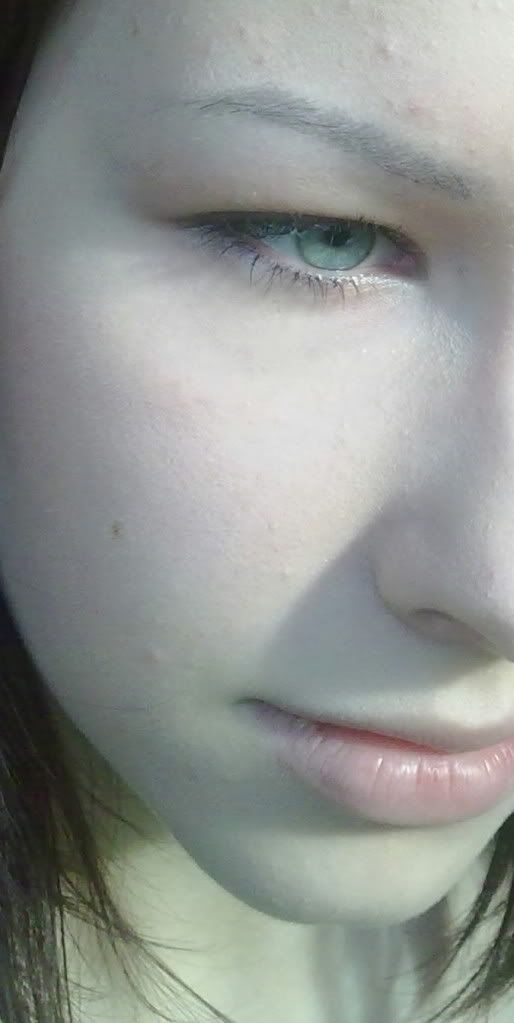
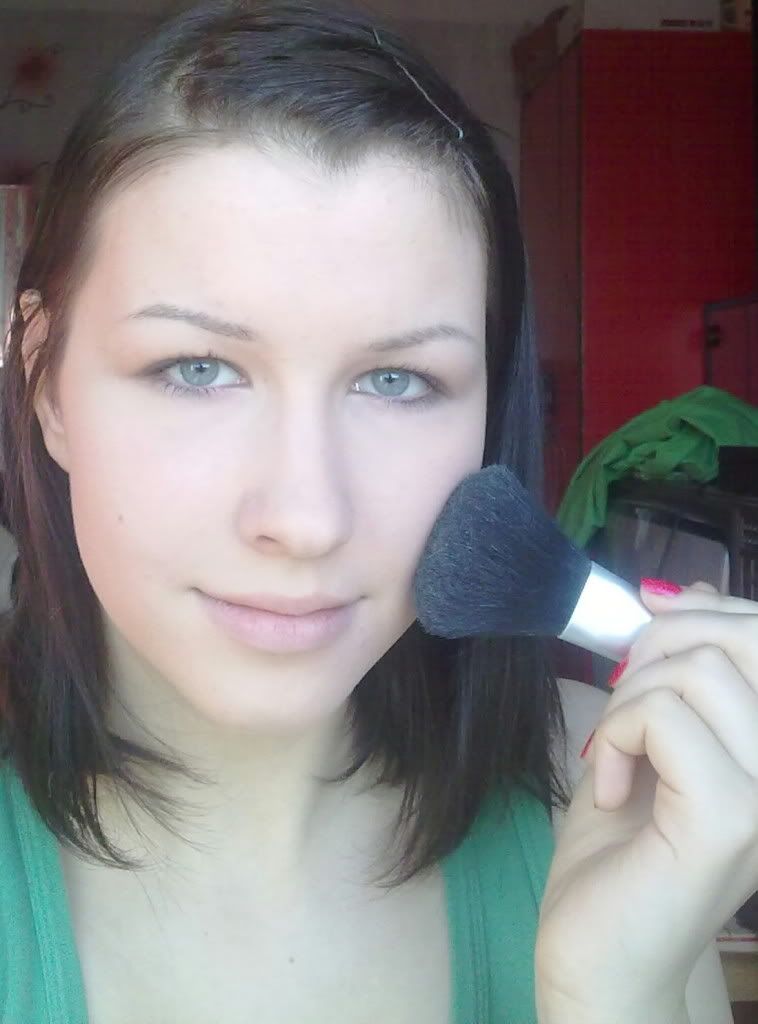
Now powder your face to set the foundation with a big fluffy brush ^^ I just use a translucent powder. Try to find a powder without talc in it. It's not yet official, but tests have shown that talc can cause lung cancer if breathed in.
Next apply an eyeshadow base. I like to use one from Manhattan, because it's the only one accessible in Estonia. But it is good actually. Other recommended brands are Too Faced and Urban Decay. If your eyelids do not get oily during the day, then you can skip this step. An eyeshadow base prevents eyeshadows from sliding of and becoming streaky, it also helps the eyeshadow to stick onto the skin, making colours more vibrant. If you don't own a base, then you can also use a light eyepencil, but the shadows won't last as long.
Now taking a light skin tone colour with a pearly finish, apply it using a big fluffly eyeshadow brush to your entire inner lid and to your browbone.
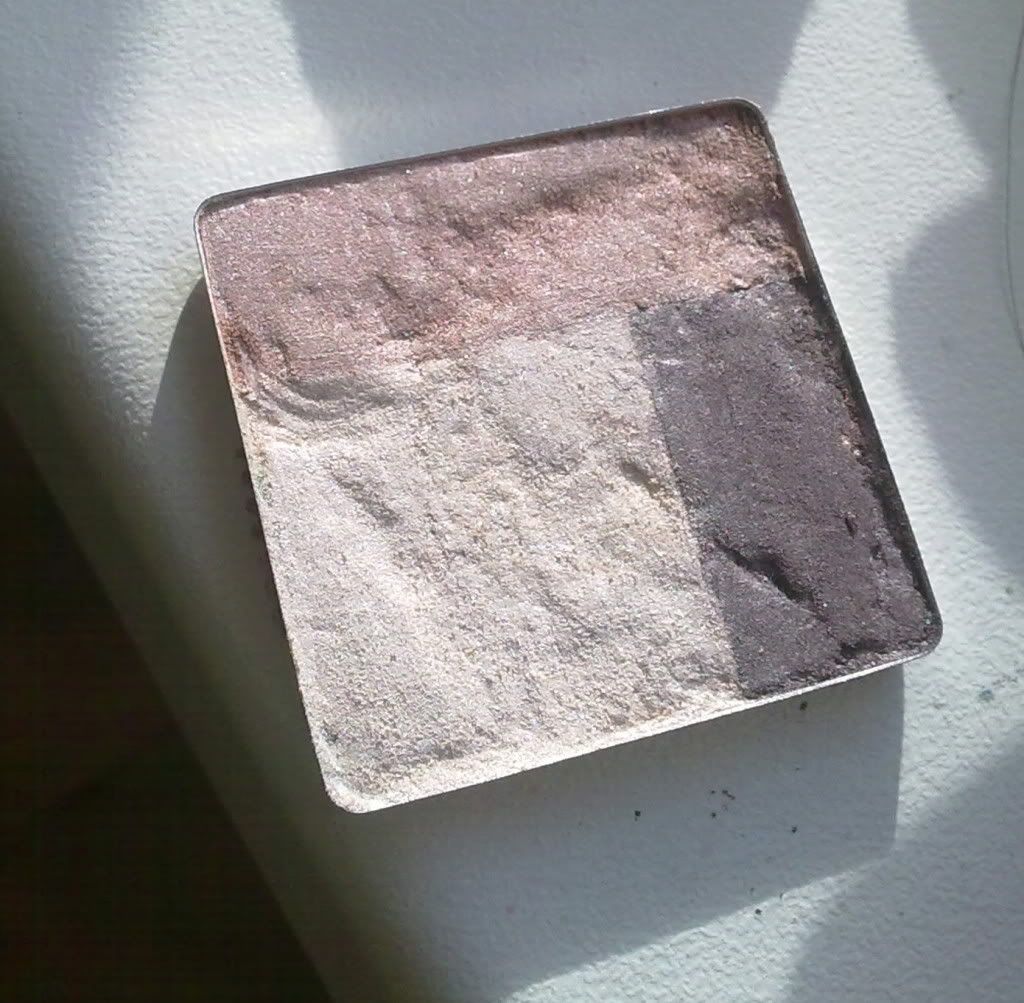
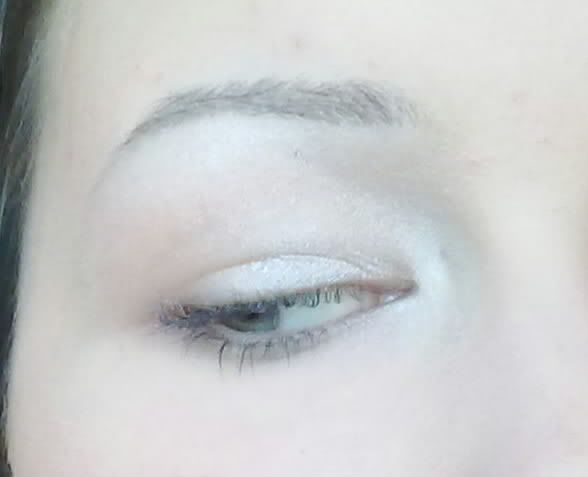
I used the lightest colour. Don't know what brand it is, sorry.
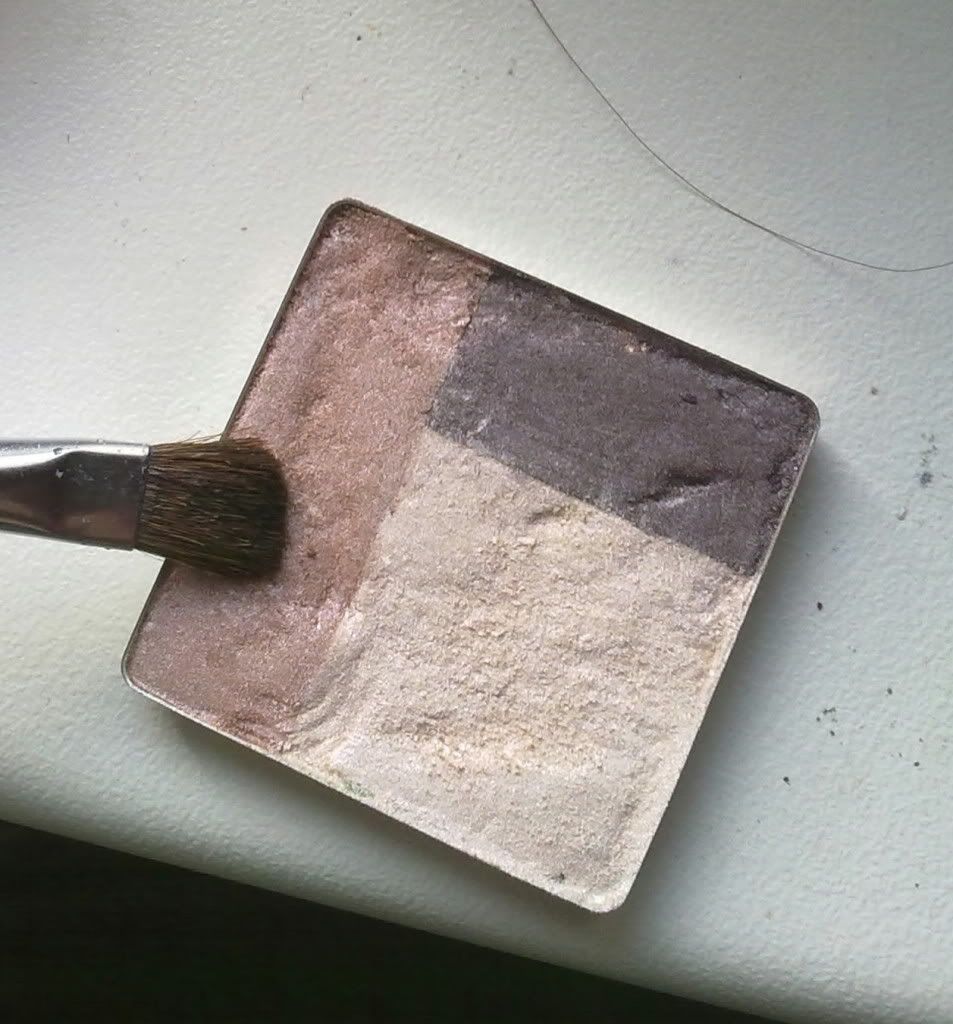
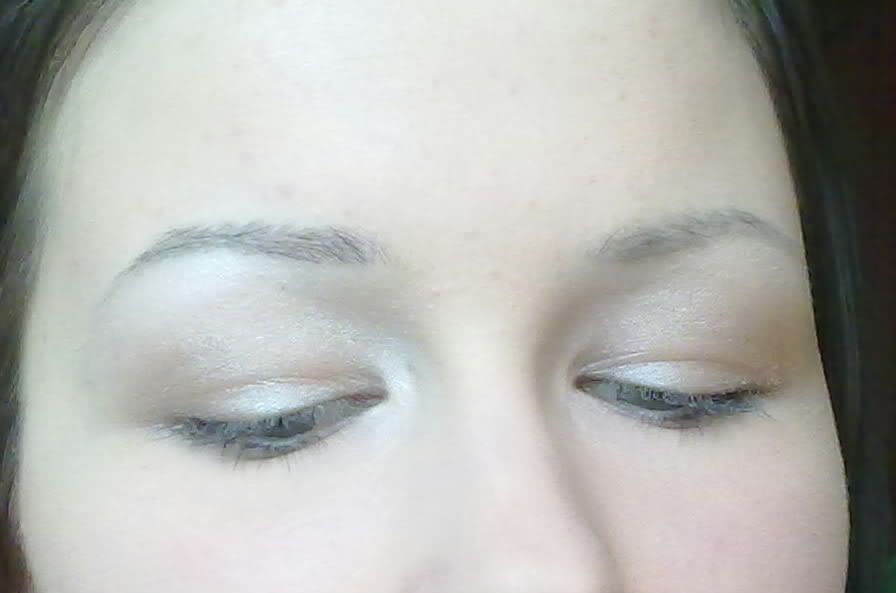
Next take a medium warm brown and apply it with a paddle brush over your eyelid up until the crease.
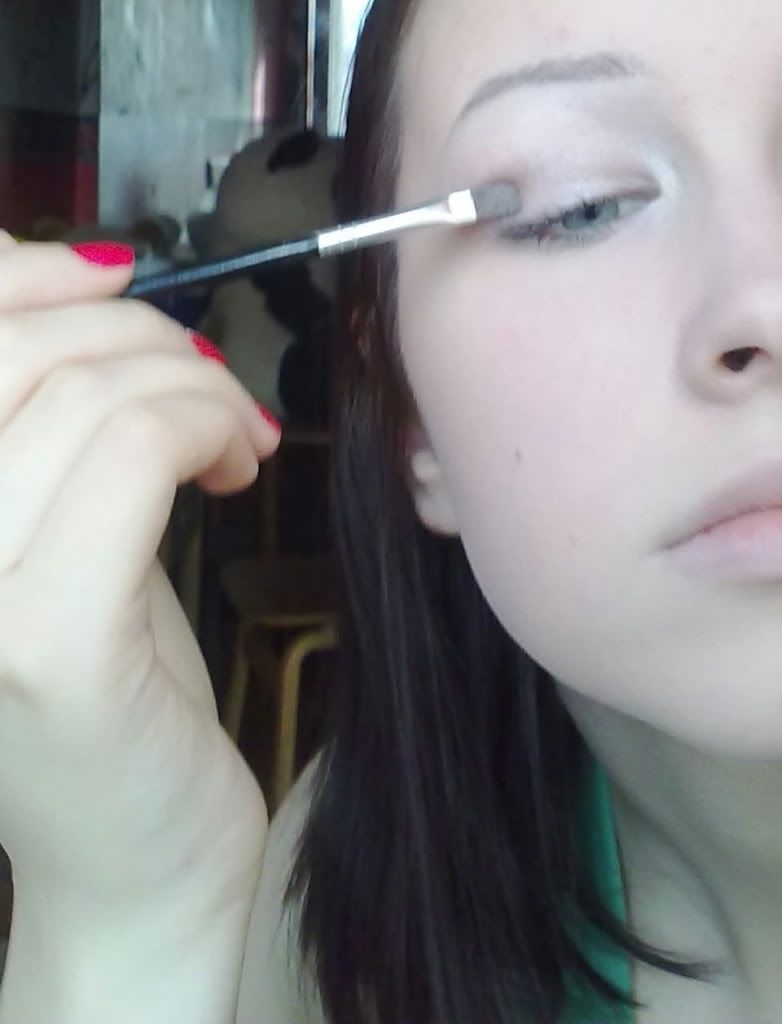
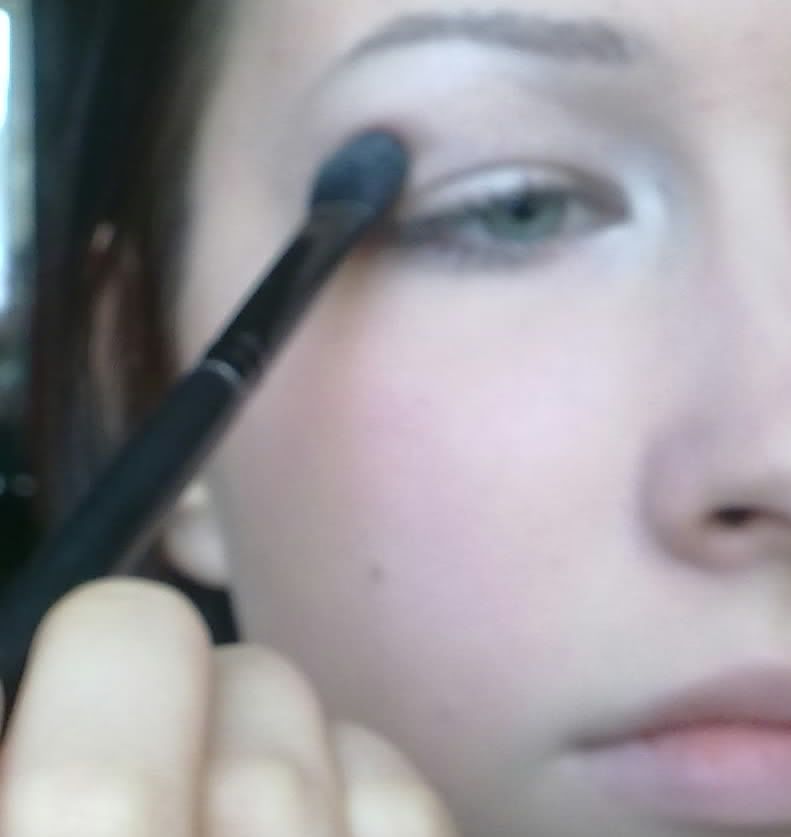
Then blend the edges with a fluffier brush in a wind-wiper motion.
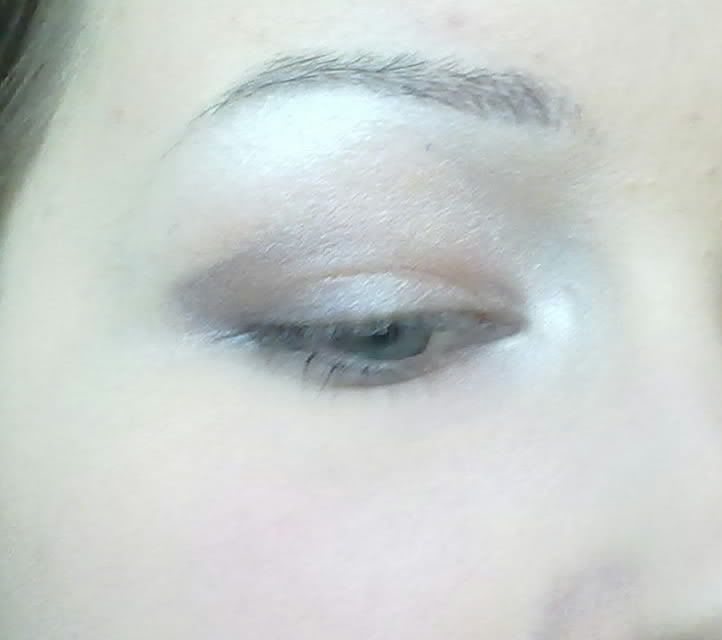
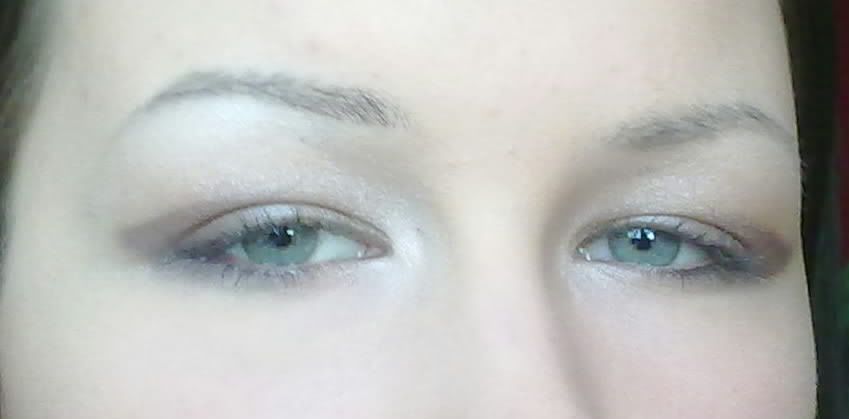
Then take a dark brown and apply it in the outer V, creating a slightly angular shape.
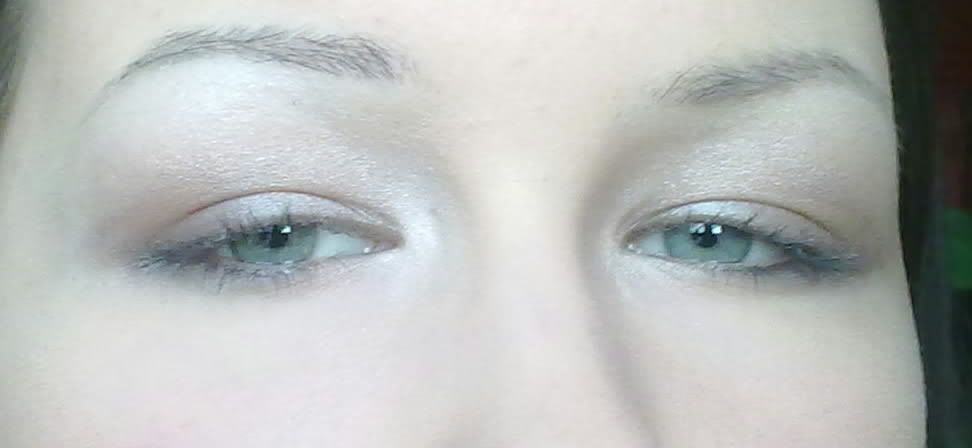
Blend it with a fluffy brush again.
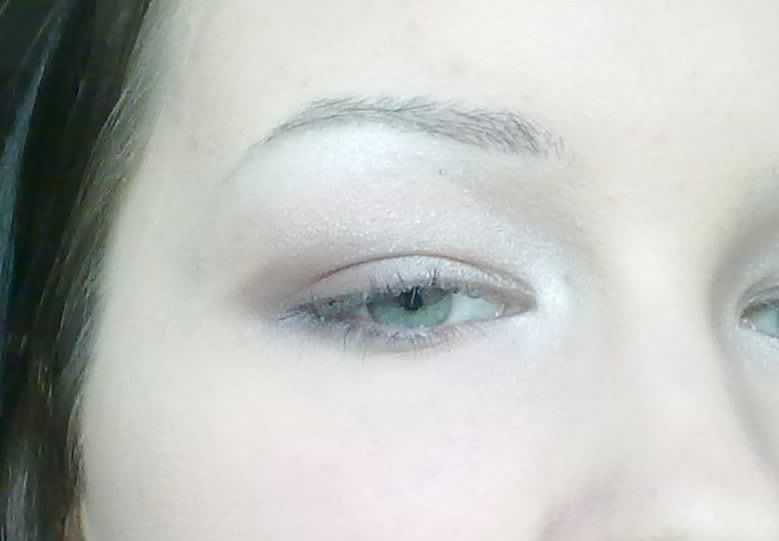
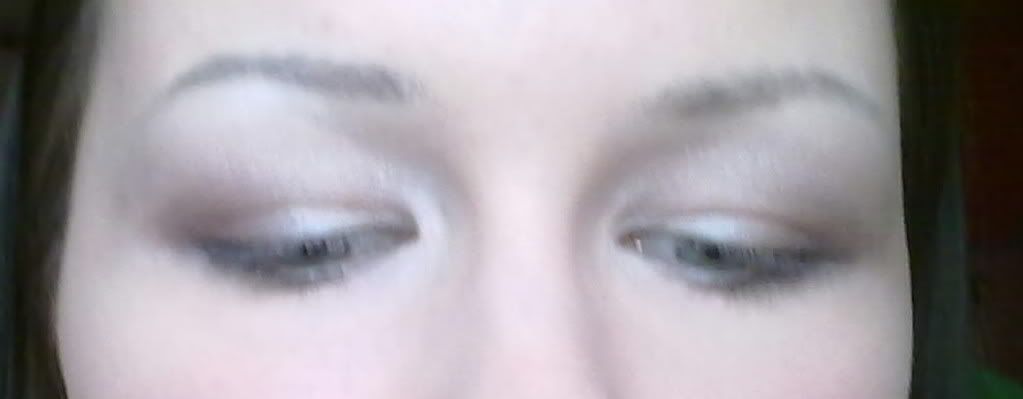
Apply some more to make it darker and blend again. Go back and forth between adding and blending to make sure it looks nice and stays on longer.
Apply the same shadow on the outer 1/3 of your lower eyelid.
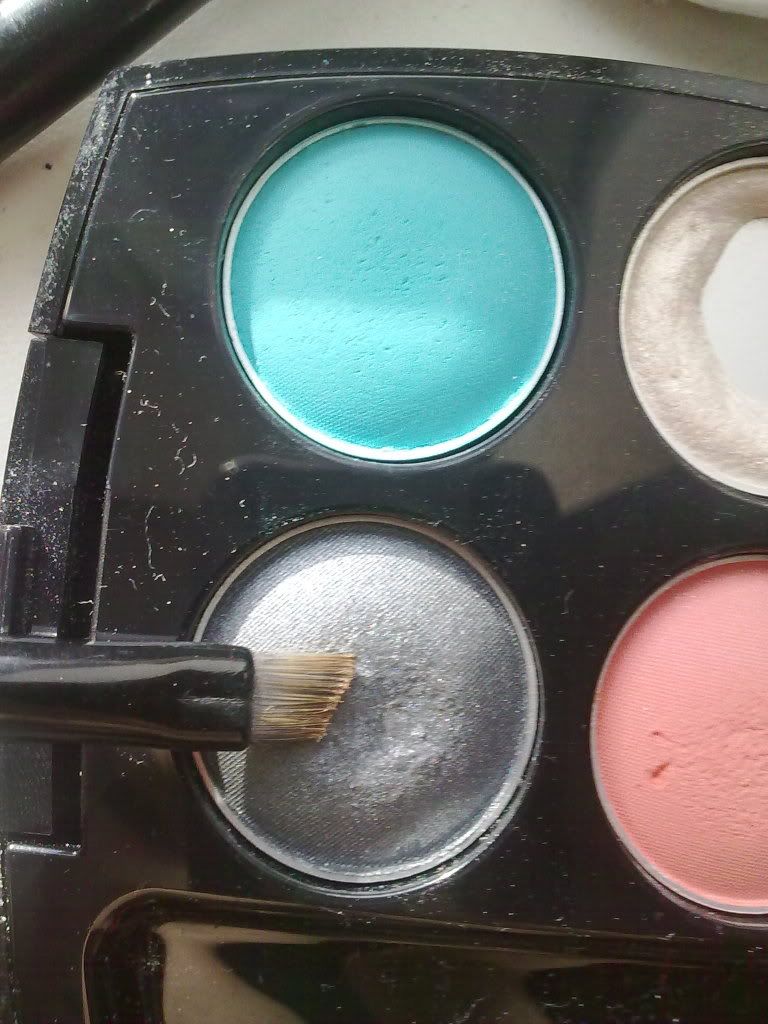
Then take a SHINee shiny black (doesn't really need to be shiny, I just happened to have this one close by) and apply it with an angled brush as close to your lash-line as possible, then feather it out. This won't make the liquid liner seem so harsh.
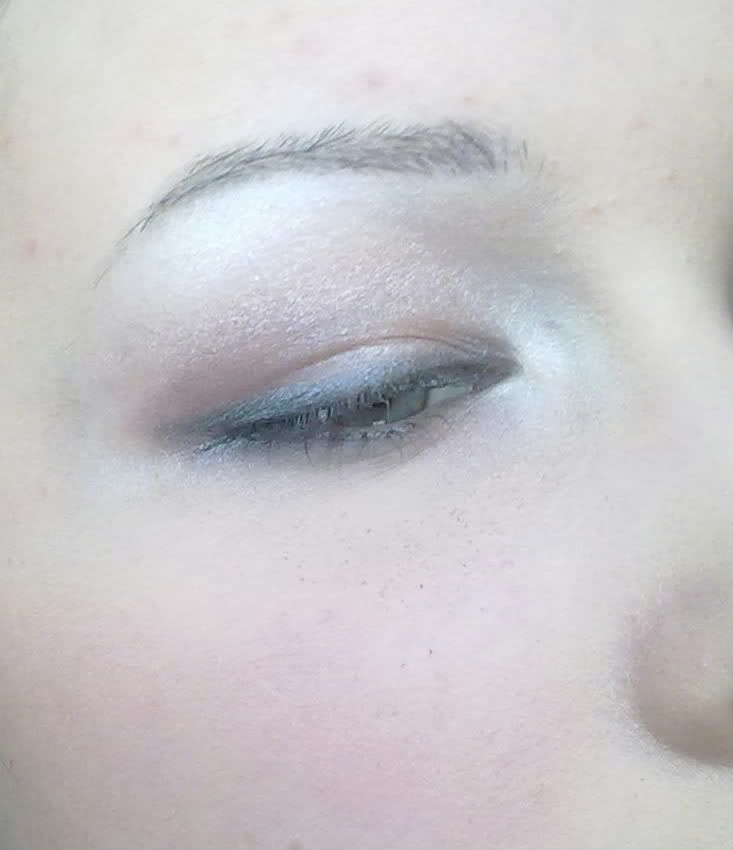
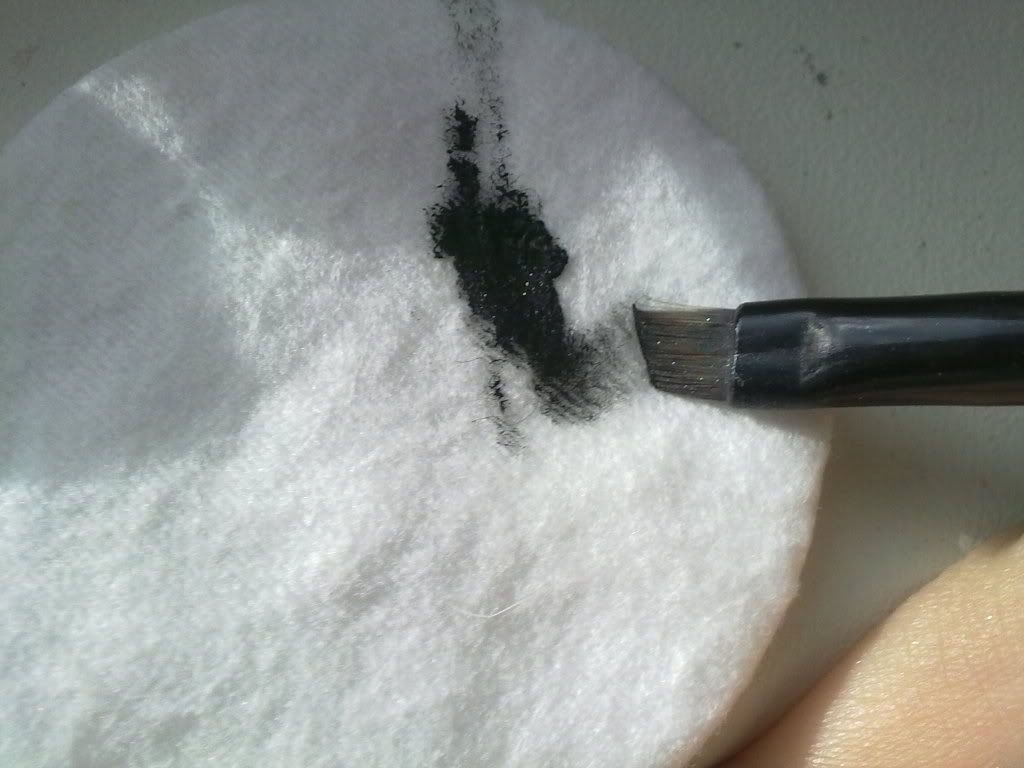
Then take a gel eyeliner, dip your brush in it, remove the excess, and in small strokes line your lashline as close as possible, lightly feathering it out. Try not to tug at your eyelid.
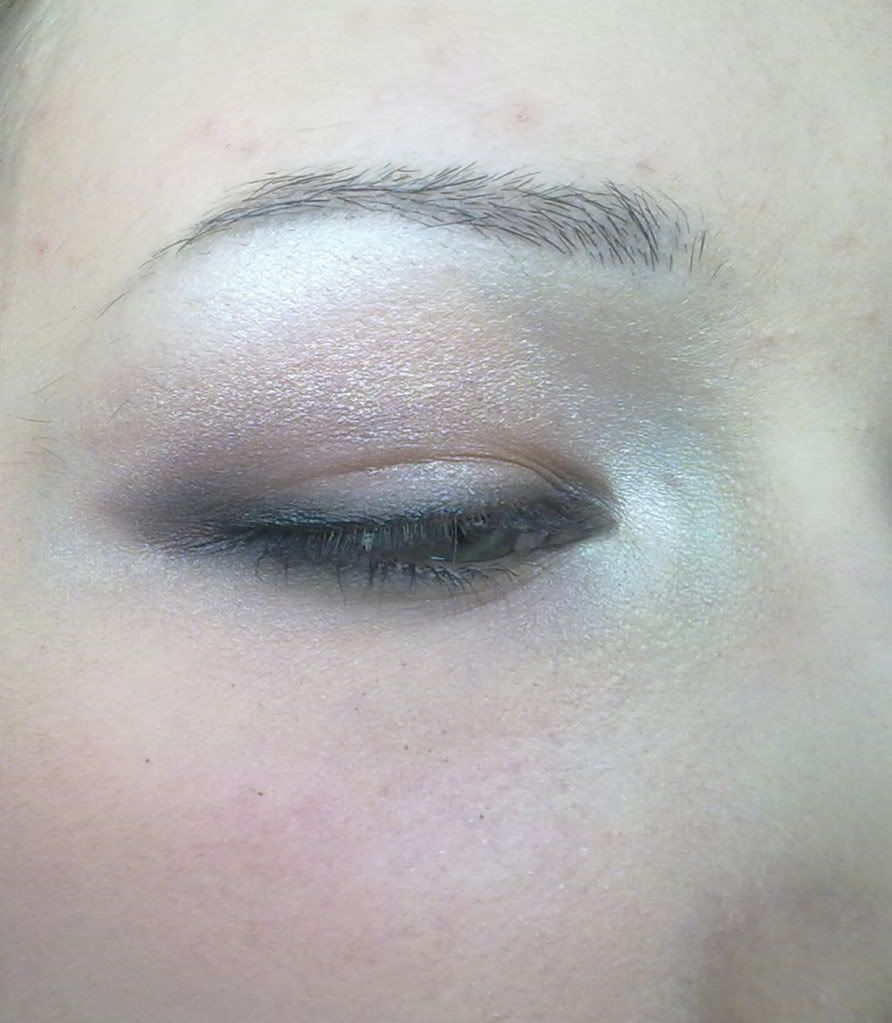
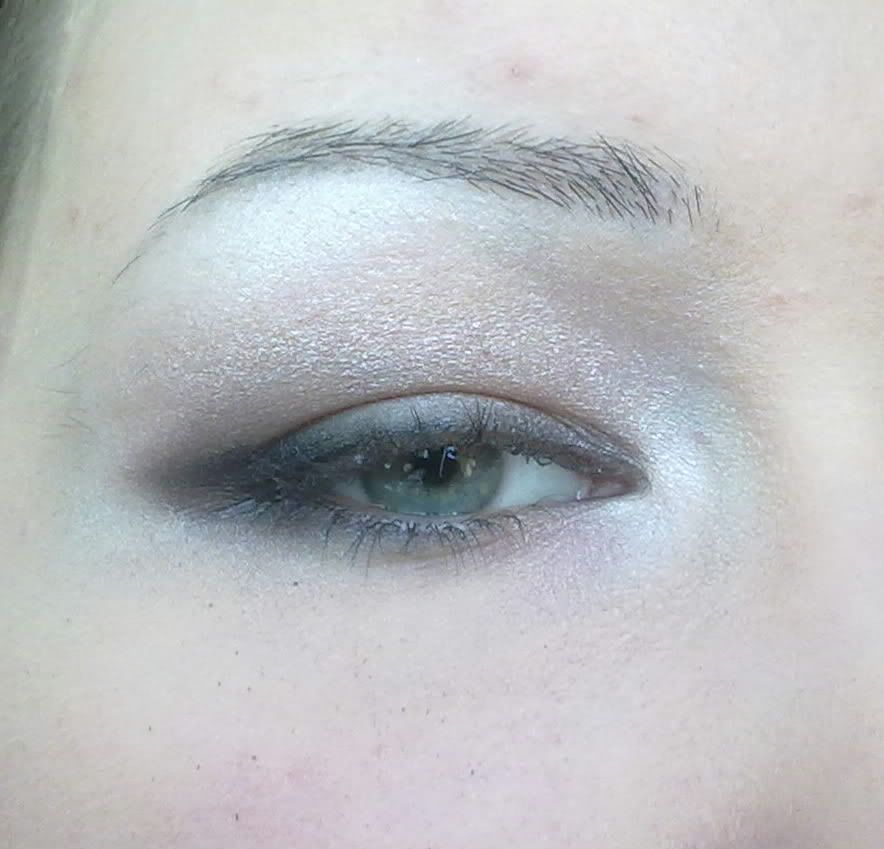
With what's left on the brush, line the bottom eyelid. The outside should be thicker and inside blended in.
Follow your natural curve of your lower eyelid to create a little wing.
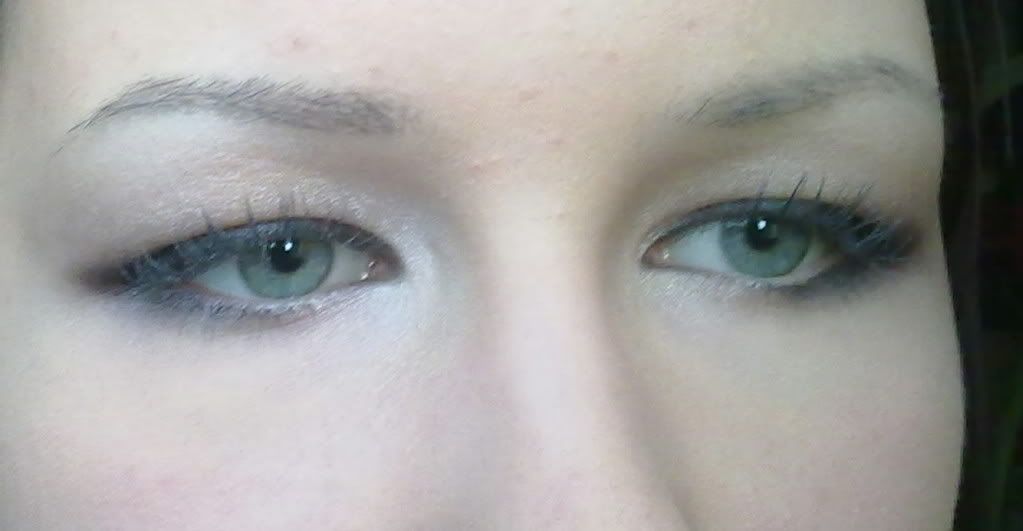
Curl your lashes and apply a mascara base. It's entirely optional. I use an eyelash curler because my eyes are hooded and my eyelids press on my lashes, making them grow inwards :( The base is just to fix the curl.
While the mascara base dries, I like to do my eyebrows. Use a pencil or a powder with an angled brush. A good brow pencil is a lot harder then an eye pencil. Eye pencils should be creamier with lots of colour payoff, brow pencils should be hard and light, so that it would look natural. How dark you'd like your brows is up to you. The optimal colour is said to be two shades lighter than your haircolour. Keep the inner side of the eyebrow lighter for a more natural look.
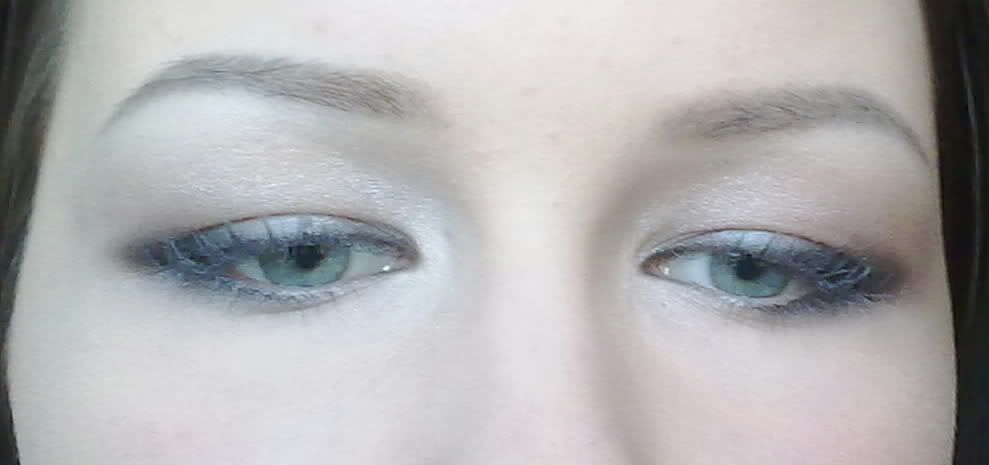
Next apply mascara. If you're like me and tend to get mascara all over your eyelid, then use a tissue to protect your lids ^^ Try not to rub though, or you'll remove the eye shadow.

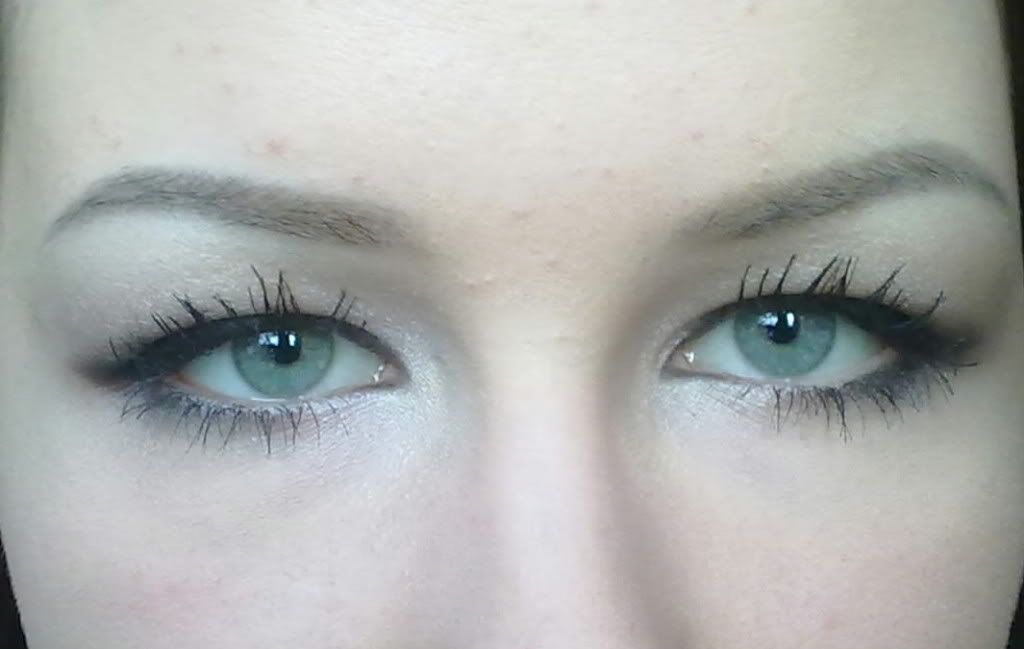
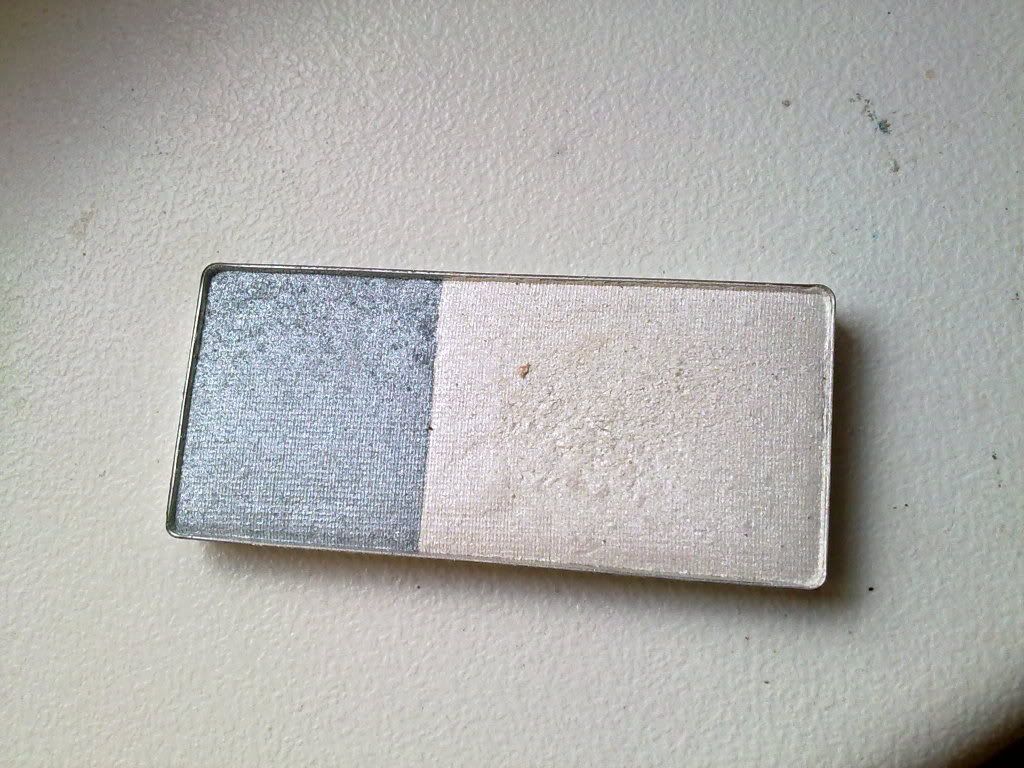
Take a pearly white eye shadow and with a small brush, apply it in the inner corners of your eyes. It really opens them up.
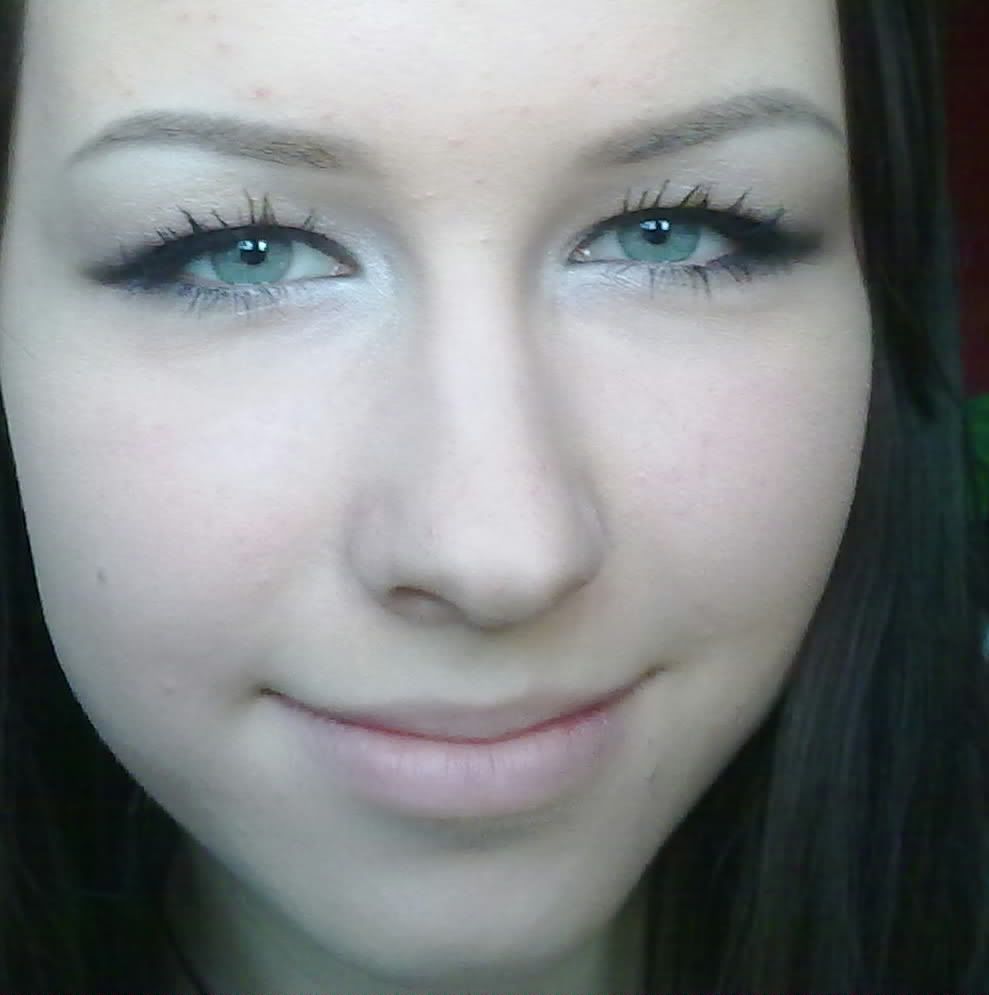
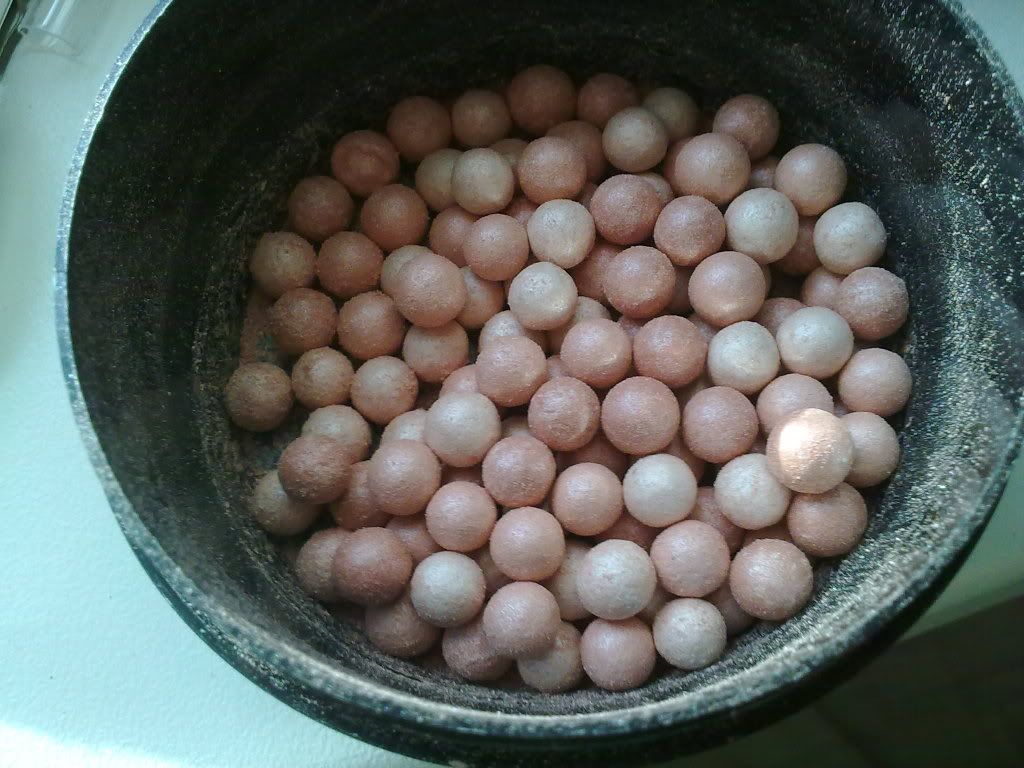
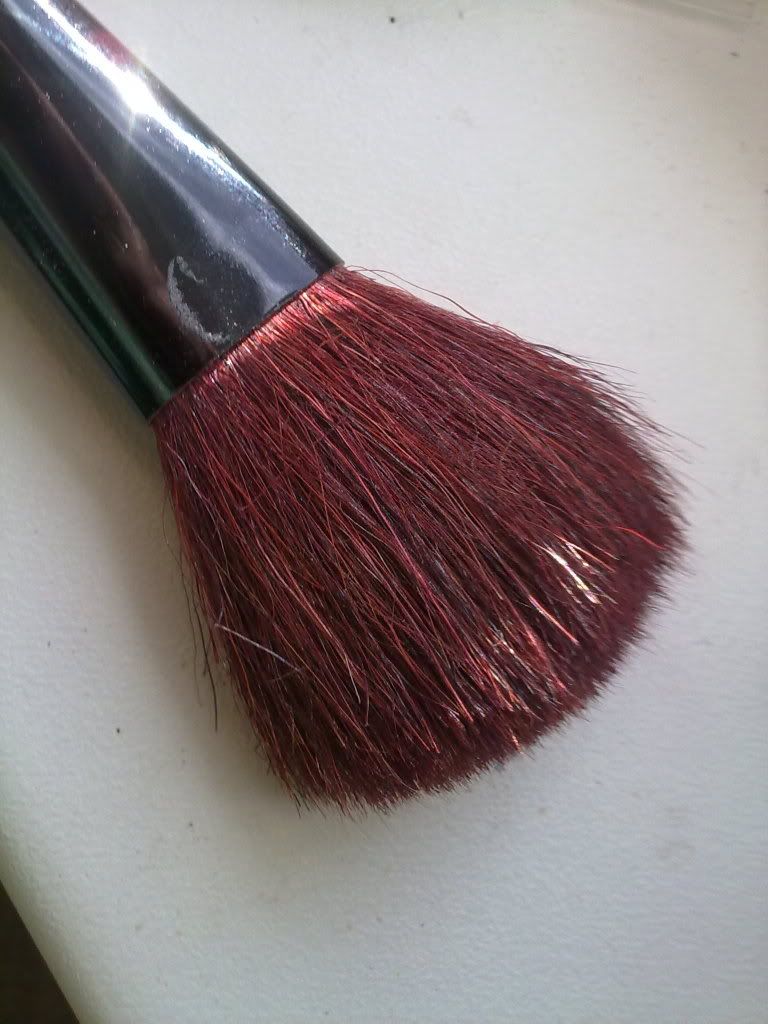
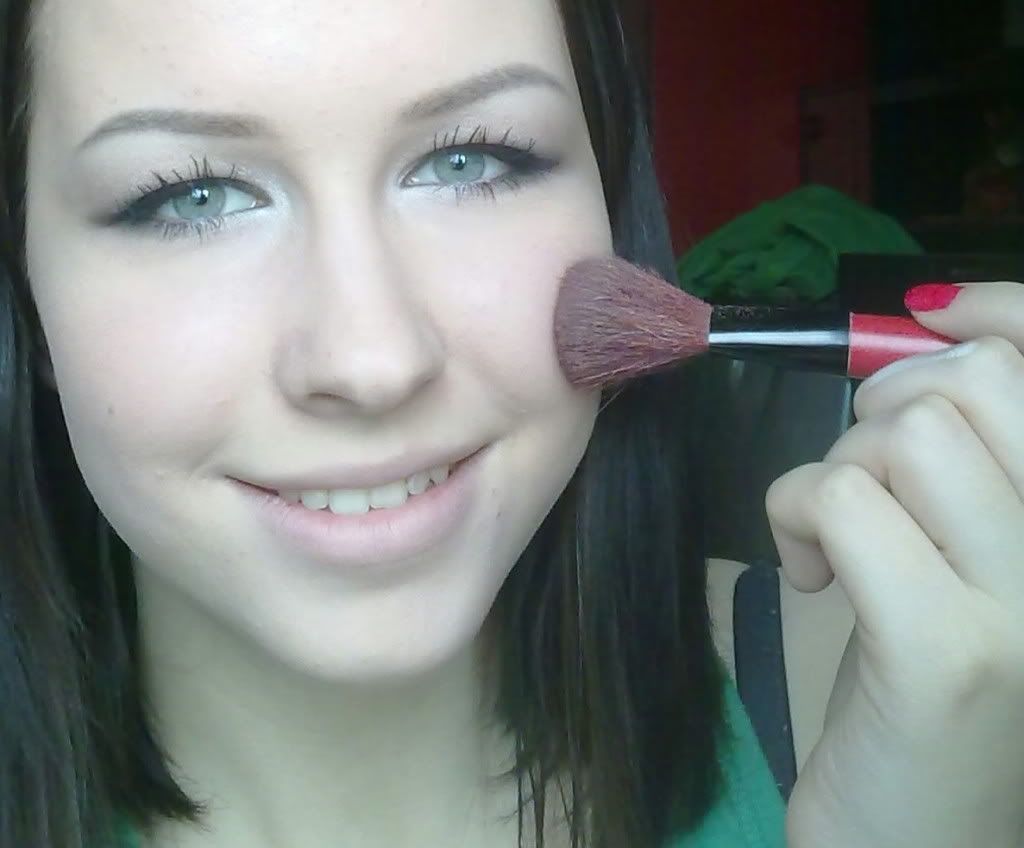
Take a blush brush (I love these two words together :P) and your favourite blush (I'm using one from Avon that's actually supposed to be an all-over highlighter powder, but it's wayy too red so instead I use it as a blusher), smile wide and apply it on the apples of your cheeks, pulling it back on the cheekbones. :D
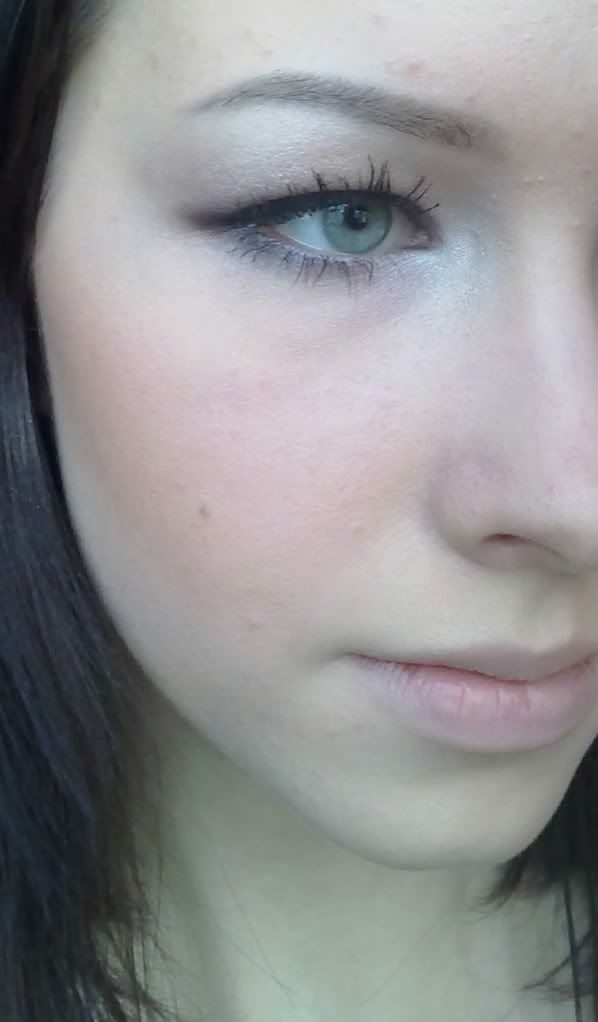
Now take the first eye shadow that we used and first dab it on your cheekbones and then blend it out with your finger. In the same way, highlight the bridge of your nose and chin.
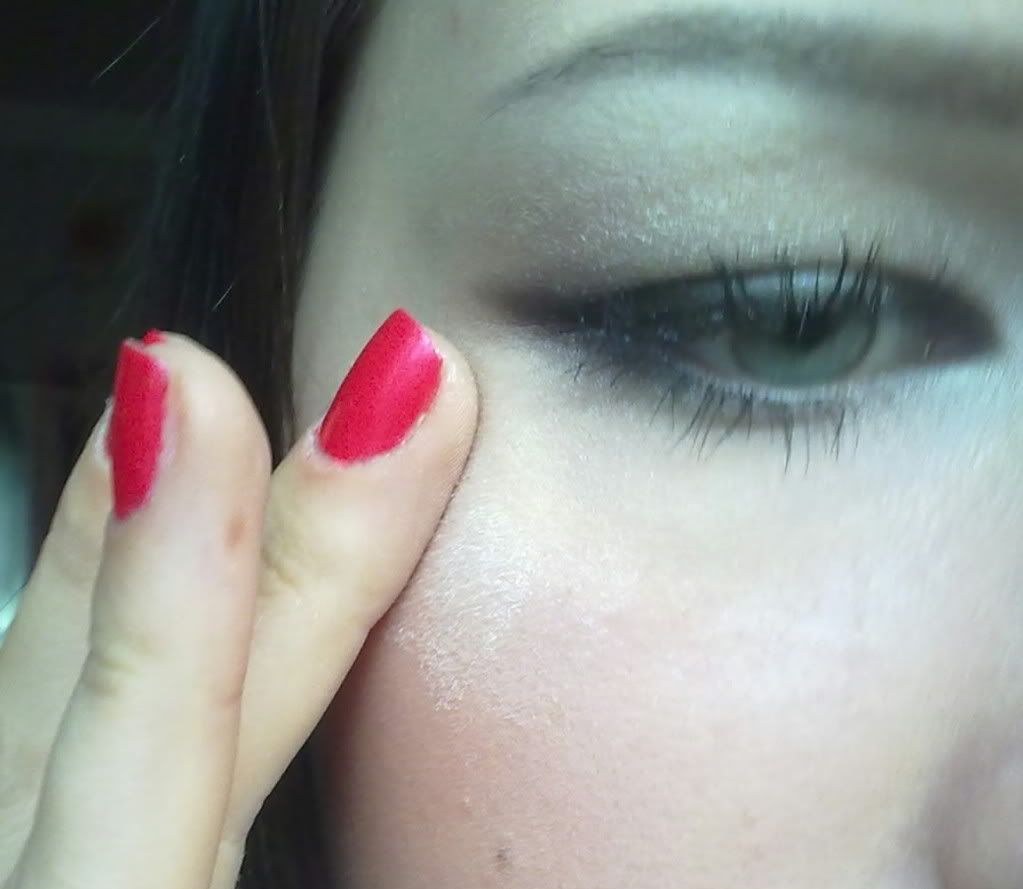
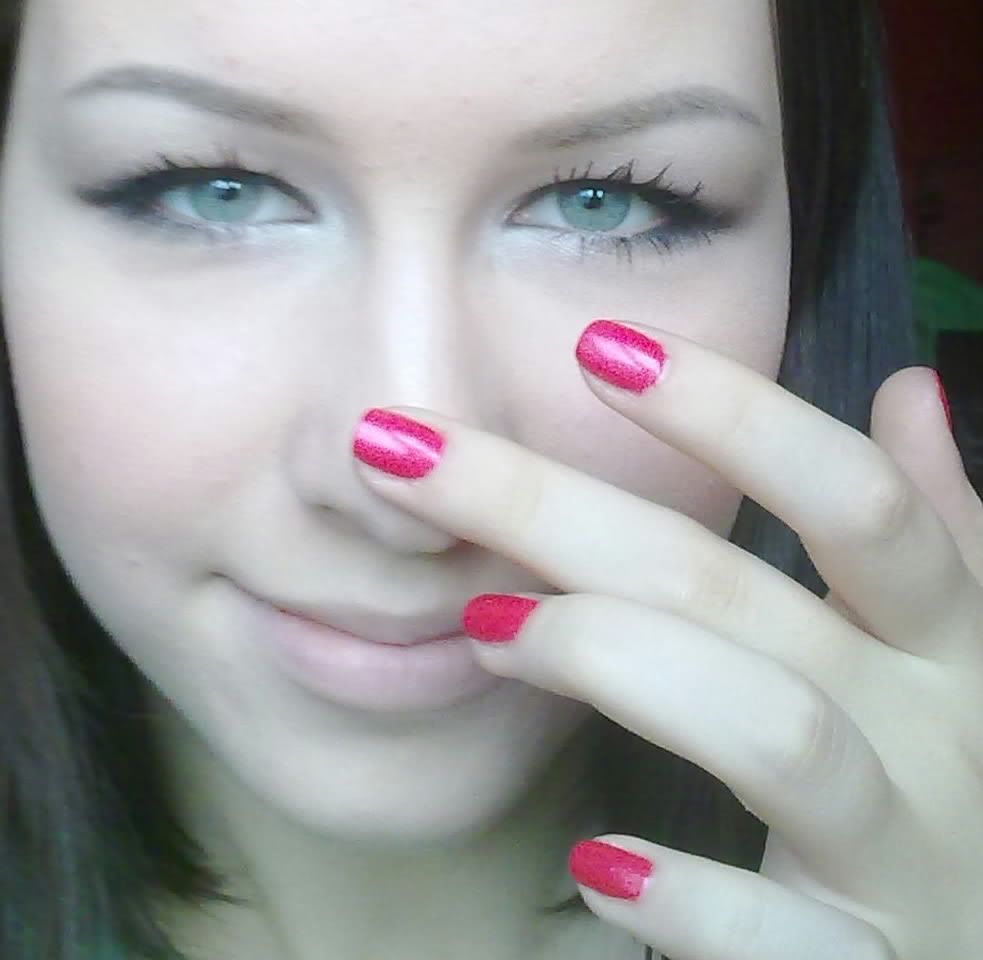
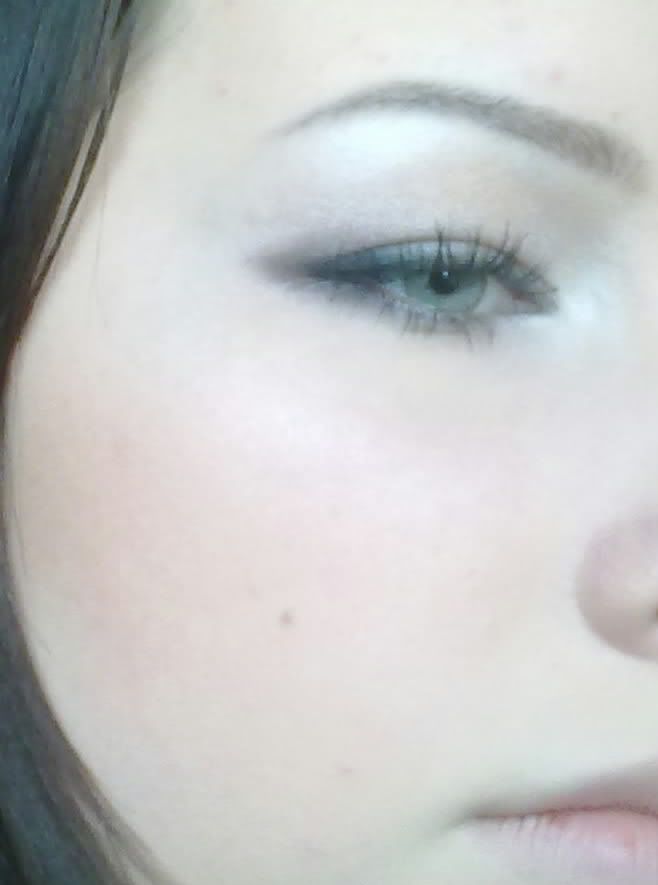
Maybe, if you squint really hard, you can see the glow on the cheeks :P
Grab a Bright red lipgloss.
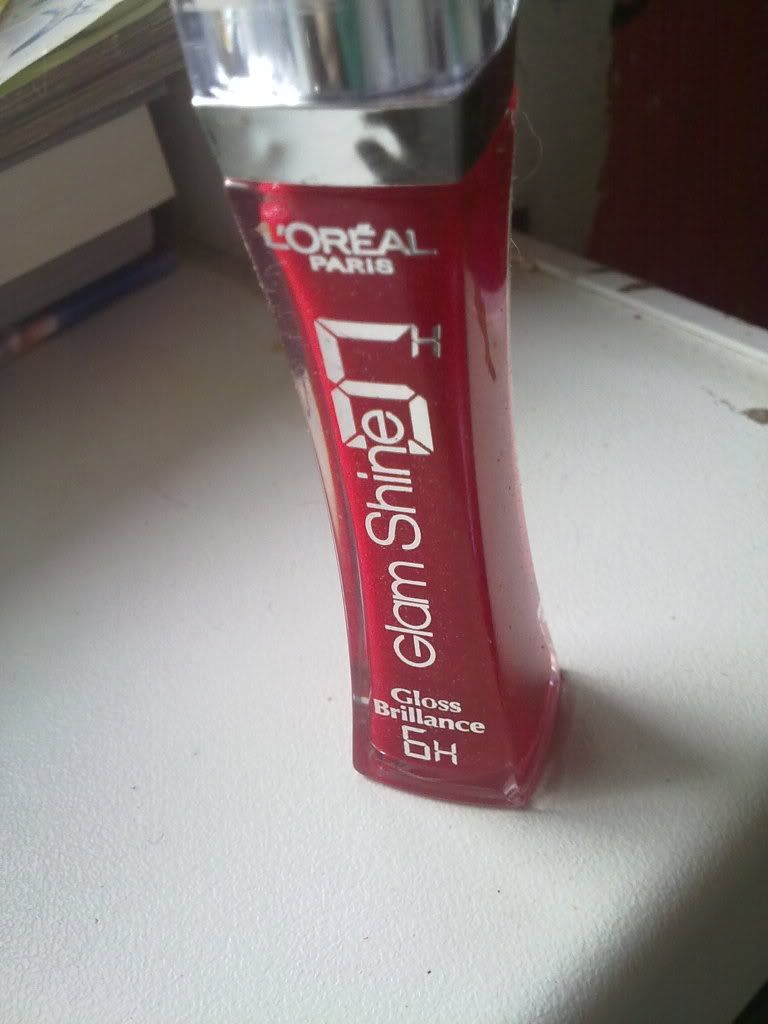
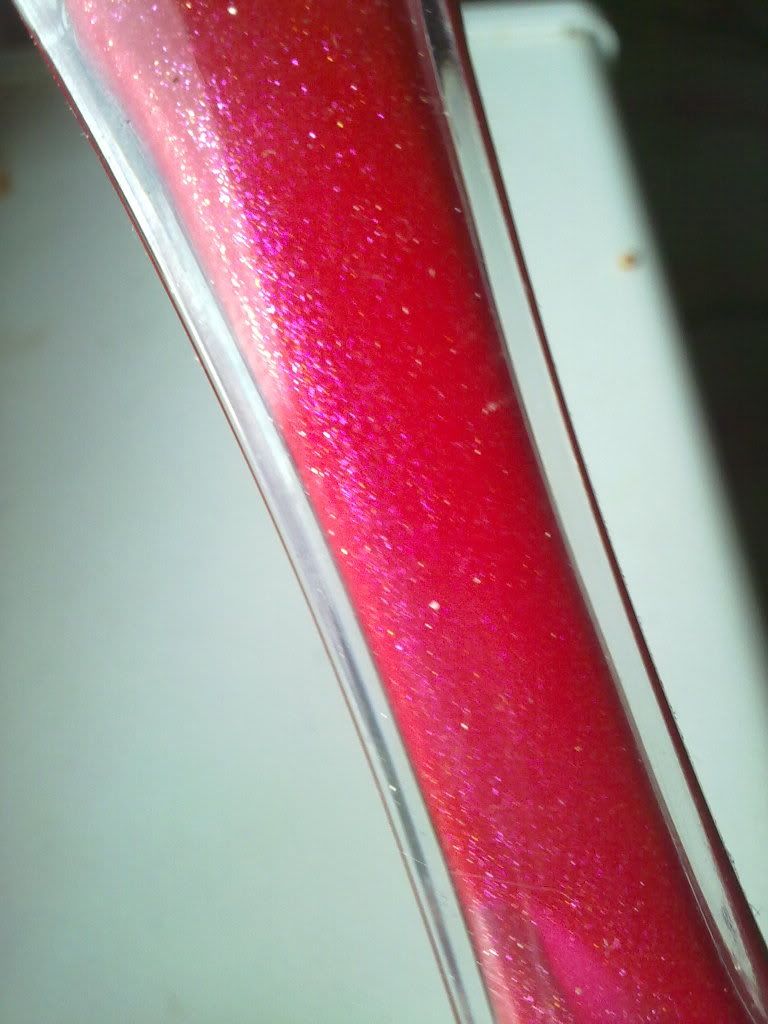
Dab it in the center of your lips and blend it out with your finger. It's best to work from the edges inwards.
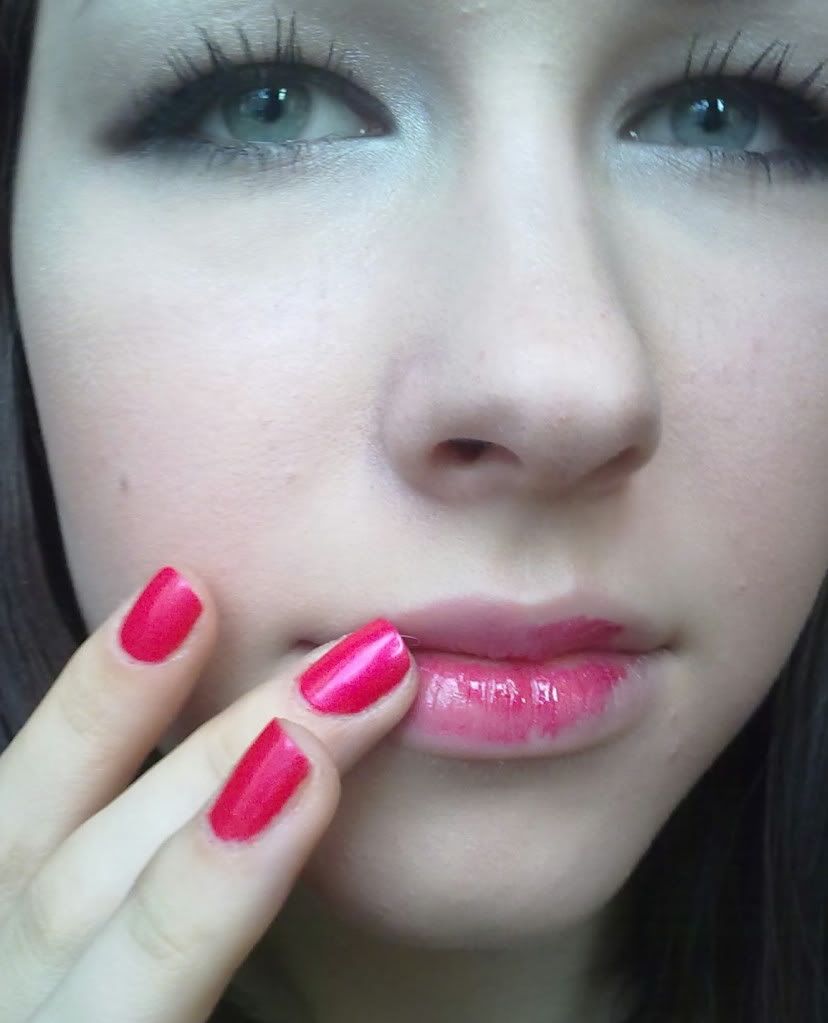
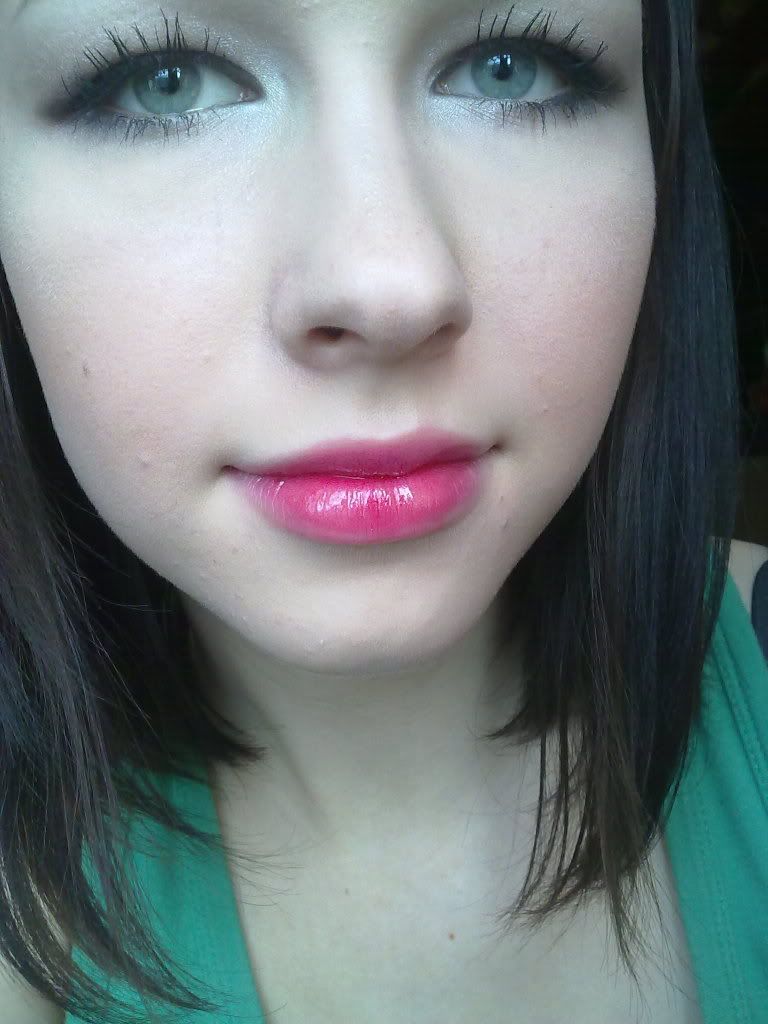
(Lol funky focus xD)
And we're done~! =^__^=
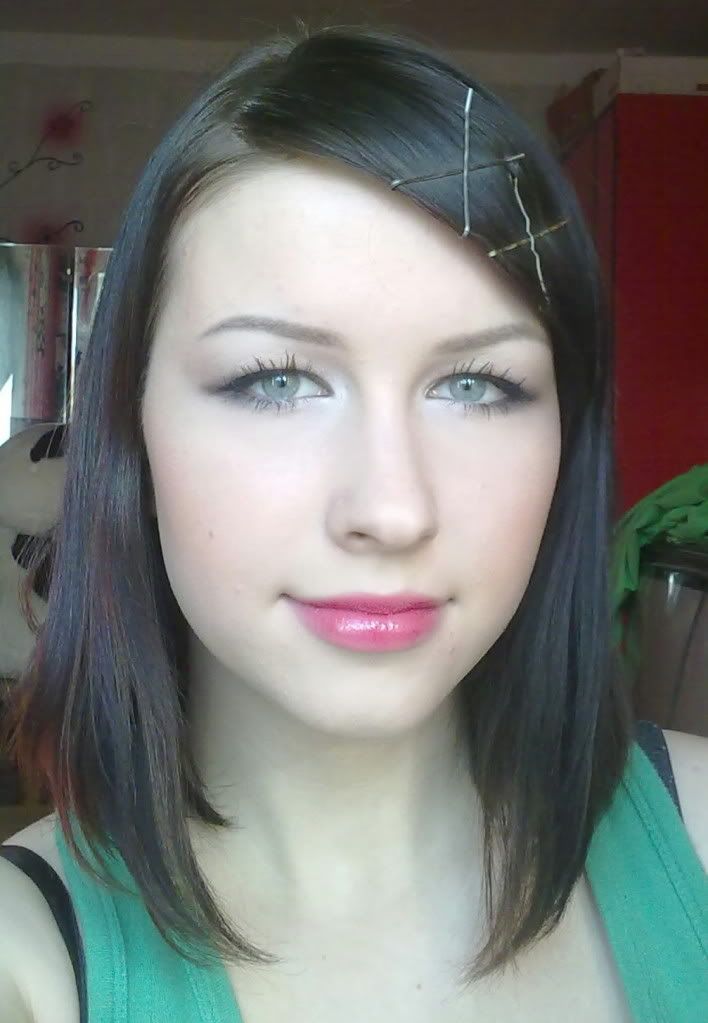
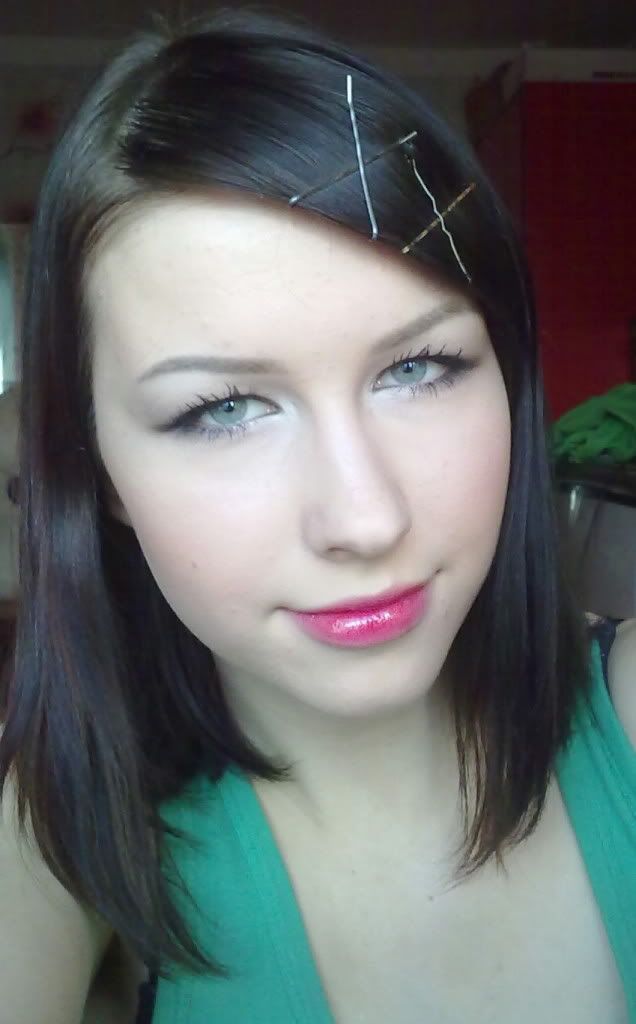
Post a question if there's anything that you didn't understand or just any make-up related questions ^^
This took a lot longer than I expected ^^;
Baibai <3
As promised, here's a make-up tutorial for you all. I tried to cover all the basic stuff needed for a good make-up, that I've learned. I'm not a professional make-up artist, nor have I taken any classes, all that I know I've learned from trial and error. Youtube videos are also quite helpful ;P
Sorry that some photos are a little off focus, still trying to get the hang of my new camera.
Start with a fresh clean base. It's important to wash your face twice every day - in the morning and in the evening to take off your make-up. Don't use regular soap! It dries the skin. It's better to use a face cleansing gel.
After washing, I use a toner to reset the skins pH level. Then I apply a moisturiser.
Choose your products according to your skin type, for example I have very oily skin.
Teehee no make-up :P

Mix your foundation with a little bit of moisturiser. It helps to blend the foundation into the skin and the finish will look more natural.


I mix two foundations together - Maybelline Dream Satin liquid in 004 Light porcelain and L'oreal True Match in W1 Vanilla ivory. That's because Maybelline is a bit too pink and L'oreal too yellow. When picking foundation, it's safer to go with a shade lighter, because foundations tend to dry a little darker than what they originally were. Also avoid any foundations (actually any cosmetics) that have Dimethicone, Mineral Oil or any Parabens in it, they disturb the skin's natural metabolism and clogs the pores. (Maybelline's foundations actually do have Dimethicone in it, but I just can't afford anything else ;__;)

I like to apply my foundation with my fingers. You can also use a brush or a sponge if you prefer. When picking out a foundation brush, take something fluffier instead of flat, it will be easier to blend. When applying with a sponge, after you've covered your face, dot your face again with the clean side, it will give a nice airbrush finish and removes any streaks.
If needed, apply a concealer to needed areas.

Now powder your face to set the foundation with a big fluffy brush ^^ I just use a translucent powder. Try to find a powder without talc in it. It's not yet official, but tests have shown that talc can cause lung cancer if breathed in.

Next apply an eyeshadow base. I like to use one from Manhattan, because it's the only one accessible in Estonia. But it is good actually. Other recommended brands are Too Faced and Urban Decay. If your eyelids do not get oily during the day, then you can skip this step. An eyeshadow base prevents eyeshadows from sliding of and becoming streaky, it also helps the eyeshadow to stick onto the skin, making colours more vibrant. If you don't own a base, then you can also use a light eyepencil, but the shadows won't last as long.
Now taking a light skin tone colour with a pearly finish, apply it using a big fluffly eyeshadow brush to your entire inner lid and to your browbone.


I used the lightest colour. Don't know what brand it is, sorry.


Next take a medium warm brown and apply it with a paddle brush over your eyelid up until the crease.


Then blend the edges with a fluffier brush in a wind-wiper motion.


Then take a dark brown and apply it in the outer V, creating a slightly angular shape.

Blend it with a fluffy brush again.


Apply some more to make it darker and blend again. Go back and forth between adding and blending to make sure it looks nice and stays on longer.
Apply the same shadow on the outer 1/3 of your lower eyelid.

Then take a SHINee shiny black (doesn't really need to be shiny, I just happened to have this one close by) and apply it with an angled brush as close to your lash-line as possible, then feather it out. This won't make the liquid liner seem so harsh.


Then take a gel eyeliner, dip your brush in it, remove the excess, and in small strokes line your lashline as close as possible, lightly feathering it out. Try not to tug at your eyelid.


With what's left on the brush, line the bottom eyelid. The outside should be thicker and inside blended in.
Follow your natural curve of your lower eyelid to create a little wing.

Curl your lashes and apply a mascara base. It's entirely optional. I use an eyelash curler because my eyes are hooded and my eyelids press on my lashes, making them grow inwards :( The base is just to fix the curl.
While the mascara base dries, I like to do my eyebrows. Use a pencil or a powder with an angled brush. A good brow pencil is a lot harder then an eye pencil. Eye pencils should be creamier with lots of colour payoff, brow pencils should be hard and light, so that it would look natural. How dark you'd like your brows is up to you. The optimal colour is said to be two shades lighter than your haircolour. Keep the inner side of the eyebrow lighter for a more natural look.

Next apply mascara. If you're like me and tend to get mascara all over your eyelid, then use a tissue to protect your lids ^^ Try not to rub though, or you'll remove the eye shadow.


Take a pearly white eye shadow and with a small brush, apply it in the inner corners of your eyes. It really opens them up.


Take a blush brush (I love these two words together :P) and your favourite blush (I'm using one from Avon that's actually supposed to be an all-over highlighter powder, but it's wayy too red so instead I use it as a blusher), smile wide and apply it on the apples of your cheeks, pulling it back on the cheekbones. :D


Now take the first eye shadow that we used and first dab it on your cheekbones and then blend it out with your finger. In the same way, highlight the bridge of your nose and chin.


Maybe, if you squint really hard, you can see the glow on the cheeks :P
Grab a Bright red lipgloss.


Dab it in the center of your lips and blend it out with your finger. It's best to work from the edges inwards.


(Lol funky focus xD)
And we're done~! =^__^=


Post a question if there's anything that you didn't understand or just any make-up related questions ^^
This took a lot longer than I expected ^^;
Baibai <3