Tutorial: Into the wild
Requested by
prongs_padfoot
How to make

Program: Photoshop CS2
Includes: Selective Colors
This is my base
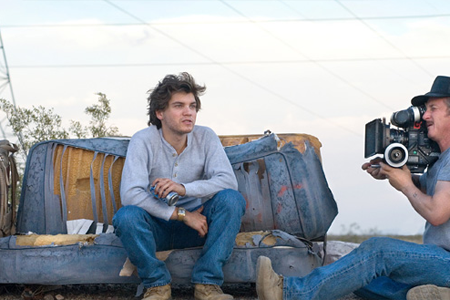
Duplicate it and set to screen 100%
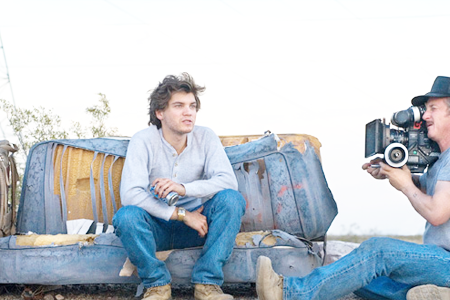
Layer >> New Fill Layer >> Solid Color >> #7a4c4c
Set to soft light 50%
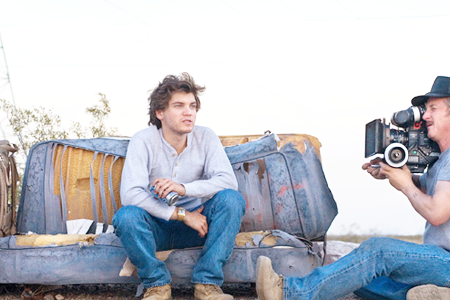
Layer >> New Fill Layer >> Solid Color >> #d2a316
Set to soft light 100%
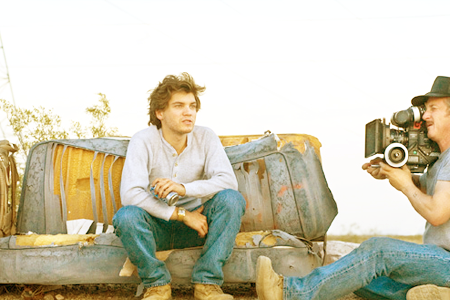
Layer >> New Adjustment Layer >> Selective Color
R: -100, 0, 100, 100
Y: -15, 6, -27, 0
N: 71, -28, -80, 35
lower the opacity to 90%
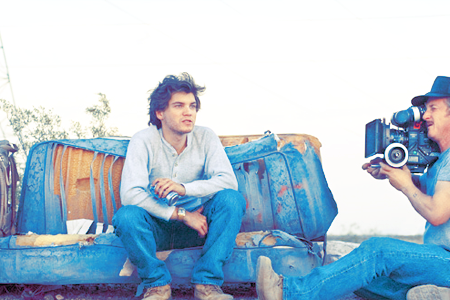
Layer >> New Adjustment Layer >> Selective Color
R: -100, 100, 100, 100
Y: -60, 15, 0, -15
lower the opacity to 22%

Layer >> New Fill Layer >> Solid Color >> #57daf4
Set to color burn 27%
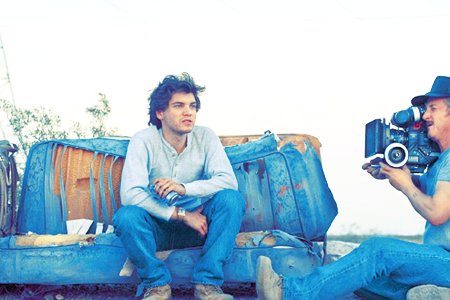
Layer >> New Adjustment Layer >> Brightness/Contrast -9,+28
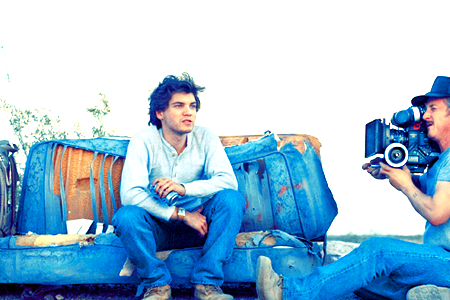
Textures time! (Sorry I don't know who these are from. If you know, tell me and i'll give proper credit)
I used this (I reduced the original and rotated it. I added it on top of all layers and set it to multiply 67%, then duplicated it (moved it and rotated as I like) and set it to normal 22%.
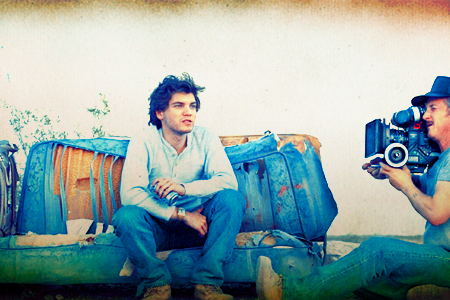
The last step and layer is this (the original is this) and set it to multiply 46%
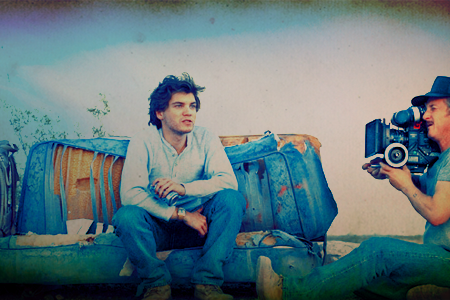
I added then the text (used Pupcat for "Hard_sun @ livejournal.com" / Typewriter for the subtitle and Fruciantehand for the lyrics part at Emile's foot) and some scribble brushes (set to multiply, opacity 50-60%)
And that's it!
With the same technique I made all the banners from this post.
...and if you love the movie, check
hard_sun out ;)
JOIN
rockin_graphix
prongs_padfoot
How to make

Program: Photoshop CS2
Includes: Selective Colors
This is my base

Duplicate it and set to screen 100%

Layer >> New Fill Layer >> Solid Color >> #7a4c4c
Set to soft light 50%

Layer >> New Fill Layer >> Solid Color >> #d2a316
Set to soft light 100%

Layer >> New Adjustment Layer >> Selective Color
R: -100, 0, 100, 100
Y: -15, 6, -27, 0
N: 71, -28, -80, 35
lower the opacity to 90%

Layer >> New Adjustment Layer >> Selective Color
R: -100, 100, 100, 100
Y: -60, 15, 0, -15
lower the opacity to 22%

Layer >> New Fill Layer >> Solid Color >> #57daf4
Set to color burn 27%

Layer >> New Adjustment Layer >> Brightness/Contrast -9,+28

Textures time! (Sorry I don't know who these are from. If you know, tell me and i'll give proper credit)
I used this (I reduced the original and rotated it. I added it on top of all layers and set it to multiply 67%, then duplicated it (moved it and rotated as I like) and set it to normal 22%.

The last step and layer is this (the original is this) and set it to multiply 46%

I added then the text (used Pupcat for "Hard_sun @ livejournal.com" / Typewriter for the subtitle and Fruciantehand for the lyrics part at Emile's foot) and some scribble brushes (set to multiply, opacity 50-60%)
And that's it!
With the same technique I made all the banners from this post.
...and if you love the movie, check
hard_sun out ;)
JOIN
rockin_graphix