Heroes Icon Tutorial - Hiro and Ando
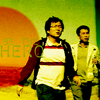
Made in Adobe Photoshop CS. Translatable. Image heavy.
Please remember that this tutorial is meant as a guideline and should not be used to make a million icons exactly like the one used. If every icon looked the same, livejournal would be a boring place.
oo1.)
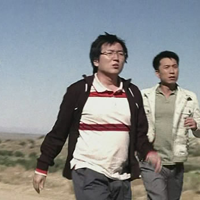
Taking this Heroes cap from Heroes Media, I cropped and resized the image to 200x200. You can resize it to 100x100 if you prefer, but I like working with a little larger canvas space.
oo2.)
>>
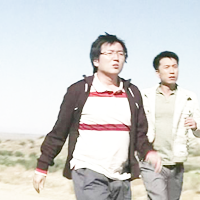
I duplicated the base twice, setting both layers to screen. Depending on your image, you may end up having anywhere from 1 to 8 screen layers.
oo3.)

>>
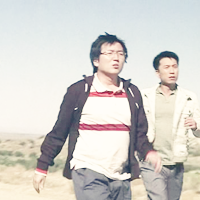
I took this dark blue and set it to Exclusion 100%. Drag it underneath the upper most screen layer.
oo4.)
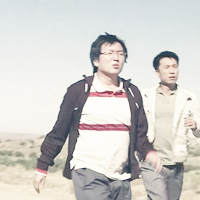
>>
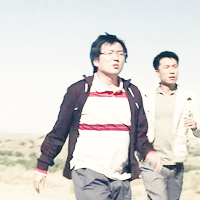
I then stamped the visible layers (Shift-Ctrl-Alt-E) above all the others and lowered the saturation (Ctrl-U) by -25. Set this layer to Soft Light 100%.
oo5.)

>>
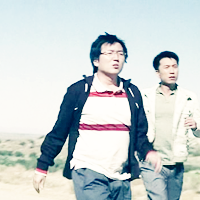
I created a layer directly underneath the desaturated soft light layer and filled it with this light blue. Setting it to Color Burn 100%.
oo6.)
>>
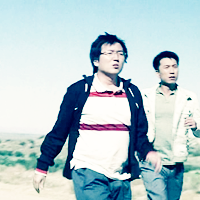
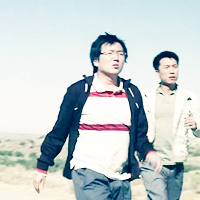
Duplicate the light blue color burn layer to make the blue in this still washed out image stronger.
oo7.)
>>
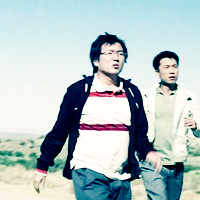
Above the light blue color burn layers I filled a new layer with this pale tan color. It's also set to Color Burn 100%. This gave a bit of needed contrast.
oo8.)

>>
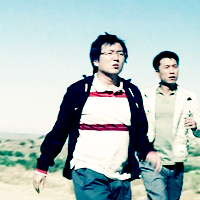
Above the tan layer, but still below the desaturated soft light layer, fill a new layer with this greyish tone. Once again, set it to Color Burn 100%.
oo9.)

>>
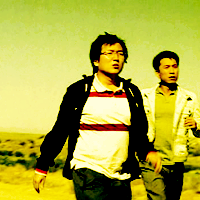
Create a new layer above the desaturated soft light layer and fill it with this tropical orange tone. Set it to Color Burn 100% (again.)
Now, at this point, if your image is far too dark, you might want to mess around with the opacity levels of the blue, tan and grey layers. If it's still not looking quite right, I suggest adding more screen layers underneath your dark blue exclusion layer.
o1o.)
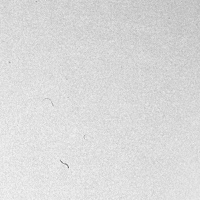
>>
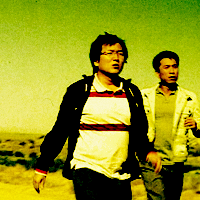
I took this grunge texture (made by ???) and set it to Linear Burn 100%. Drag this texture down until it's right above the dark blue exclusion layer, and right below the last screen layer.
o11.)
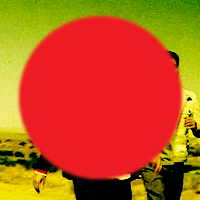
>>
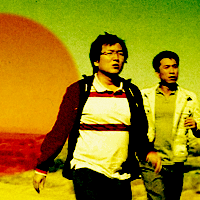
I made a large circle and filled it with this tropical pink color. I set it to Pin Light 100% (occasionally linear light will work better for this) and placed it below the linear burn texture on the edge. I also Gaussian Blurred (Filters > Blur > Gaussian Blur) it, the size of your circle and how harsh you want the edges will depend on how small or large the blur radius is. I chose this tropical pink color because it created the perfect complementary color to the greens of the image, if this isn't what you're looking for, experiment with other colors in the light to tropical orange, pink and red family.
o12.)
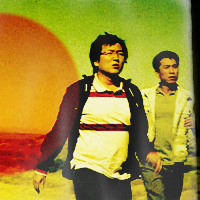
>>
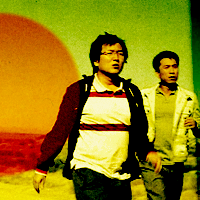
I took the same grunge texture from before and leaving it set on Normal 100% I carefully erased a majority of the white, leaving that black sliver in tact. This layer goes underneath your Gaussian Blurred circle.
o13.)
>>
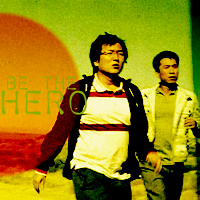
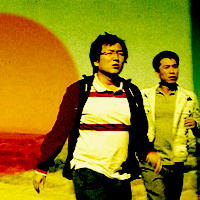
Using the dropper tool, I picked a color from the back ground (in this case, a light green: #8cac00) and because I'm original wrote "Be the Hero" in ChromosomeLight size 22 and 40.
o14.)
Resize the image to 100x100. Adjust the font if it didn't resize well and save (I recommend as a .png) and viola(!) an icon.
Feel free to show me what you got! I'd love to see them. =]