Tutorial #2: Yuna
How to turn This into 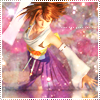
7 steps, medium difficulty, involves curves, made in photoshop CS2
Step 1:
Take your base and crop it to your liking. The challenge I made this icon for whas full image, so I was stuck with this:
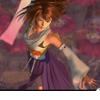
Step 2:
I thought the image looked a bit cut off. But we're fixing that right now
+ Duplicate your layer (Ctrl+J)
+ Edit>Transform>Flip Vertical
+Edit>Transform>Free Transform
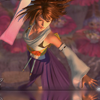
The duplicated image down untill both images meet at the bottom. Use a small soft brush to Blur the edges. this creates the illusion of water.
Like so:
Step 3:
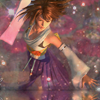
Add this texture (by me) and set it to Linear Dodge at 72%
Take a small soft eraser to erase the parts that block your subject
You'll end up with this:
Step 4:
You could stop here, but I found the icon a bit too dark. So we're going to spice it up a bit
+ Layer>New Adjusment Layer>Curves
I only edited the RBG mode and used these settings:
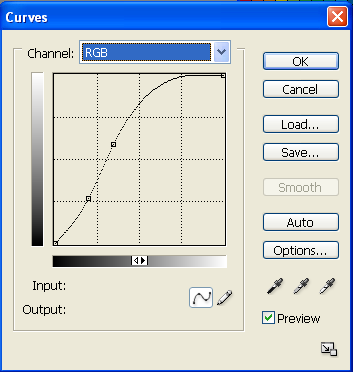
But you'll have to see what works for you. Play around and remember Ctrl+Z (undo) is your friend ^__^
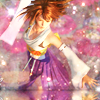
This was my result:
Step 5:
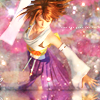
Type some jibberish in a 2pt font. The font-type isn't really important, you won't be able to read it anywayz ;)
This will get you this result:
Step 6:
Almost done.
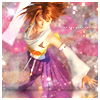
+ Create a new layer (CTRL+Shift+N)
+ Select the entire canvas (Ctrl+A)
+ Edit>Stoke Set to 3 pixels, Inside
Step 7:
Select your eraser and take this brush (by wicked_enough ) and erase the border of the stroke by clicking it once. This will allow the lower layer to show through ;)

And you're done ^__^
+Please remember that this tutorial is merely a guide, meaning that what worked for this could work for your image, but just as easily couldn't. Don't be affraid to alter settings, play around and have fun! ^__^
Join
restless_dreamz for textures, tutorial, icons and more ^__^

7 steps, medium difficulty, involves curves, made in photoshop CS2
Step 1:
Take your base and crop it to your liking. The challenge I made this icon for whas full image, so I was stuck with this:

Step 2:
I thought the image looked a bit cut off. But we're fixing that right now
+ Duplicate your layer (Ctrl+J)
+ Edit>Transform>Flip Vertical
+Edit>Transform>Free Transform
The duplicated image down untill both images meet at the bottom. Use a small soft brush to Blur the edges. this creates the illusion of water.
Like so:

Step 3:
Add this texture (by me) and set it to Linear Dodge at 72%
Take a small soft eraser to erase the parts that block your subject
You'll end up with this:

Step 4:
You could stop here, but I found the icon a bit too dark. So we're going to spice it up a bit
+ Layer>New Adjusment Layer>Curves
I only edited the RBG mode and used these settings:

But you'll have to see what works for you. Play around and remember Ctrl+Z (undo) is your friend ^__^
This was my result:

Step 5:
Type some jibberish in a 2pt font. The font-type isn't really important, you won't be able to read it anywayz ;)
This will get you this result:

Step 6:
Almost done.
+ Create a new layer (CTRL+Shift+N)
+ Select the entire canvas (Ctrl+A)
+ Edit>Stoke Set to 3 pixels, Inside

Step 7:
Select your eraser and take this brush (by wicked_enough ) and erase the border of the stroke by clicking it once. This will allow the lower layer to show through ;)

And you're done ^__^
+Please remember that this tutorial is merely a guide, meaning that what worked for this could work for your image, but just as easily couldn't. Don't be affraid to alter settings, play around and have fun! ^__^
Join
restless_dreamz for textures, tutorial, icons and more ^__^