fanart process post: Snape/Shacklebolt illustration, step-by-step
I'm not sure whether there's even any interest, because the painting itself got less comments than usual for my fanart posts, so I guess there will be ever fewer interested in the unfinished inbetween stages. But I already made the photographs after all, so I decided to go ahead with the art process post.
In the beginning there were naughty stick figures:


Then I drew some naked bodies based on that. Kind of pointless since so much would be hidden beneath the robes, but in the end it's the safe way to first draw the bodies and then clothe them. In this version Snape's head was still too large. The green was just to keep the bodies separate and clearer with all the erasing and different lines I tried, and also to make it easier to know which ones to trace it in the next step:

This led to the rough pencils. The added black is just so that I'd have an easier time to see what to trace on my lightbox, since the paper I was transferring it to was rather thick and hard to see through, even with the light:

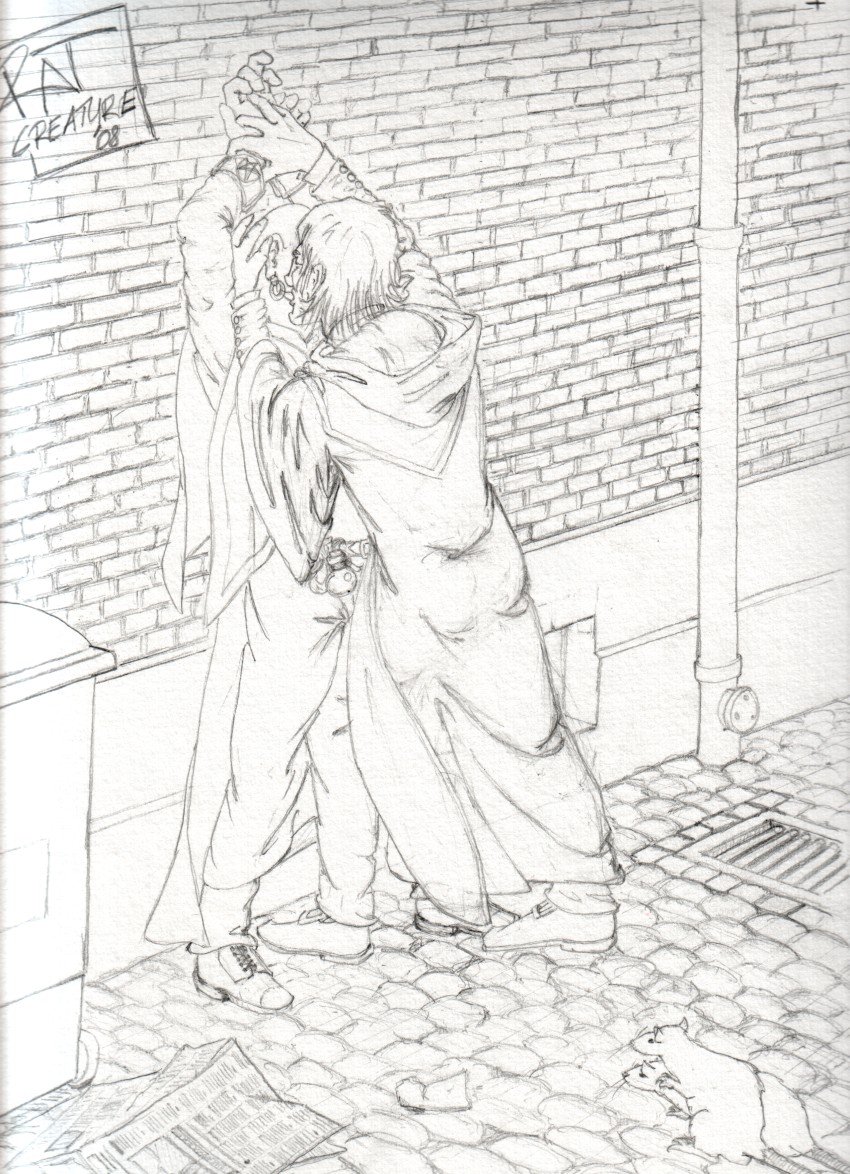
There were some more doodles for figuring out the robes and clothing folds, but I was too lazy to scan everything. Anyway those rough pencils got once again transferred on my lightbox, some detail added, resulting in the final pencils I posted previously when the drawing was still a WIP:

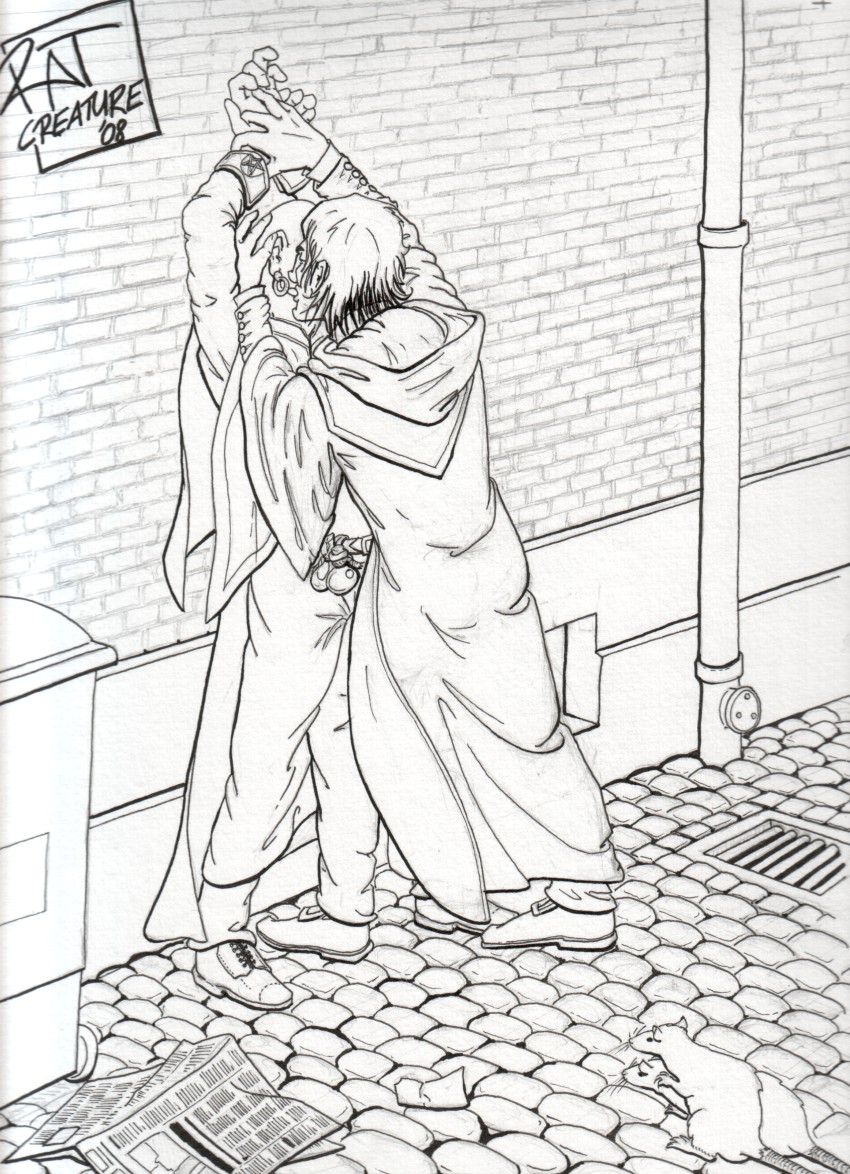
Then I inked it with water proof indian ink using fine liners. I used three of different thickness to get a bit of variation in the line. I also decided to not ink the bricks to avoid that they stand out too much rather than being background:

I then taped it to my drawing board and started layering fairly watery acrylics, first some ultramarine blue, then some background colors:

Then I added the people's color. (I have no idea why the wall looks so reddish here, at that point I hadn't actually changed anything with it compared to the previous picture, I guess light conditions make quite a difference for these photos.)

More layers for the people, and adding the bricks. That was really tedious, because I drew every brick separately to get a natural slightly irregular look in their shapes and tone:

Then I added some shadows (unfortunately the photo is blurry):

I added more layers, iirc the clothes and also added variety to the cobblestones. To avoid having the black areas look flat, I used the black mixed with burnt umber for a warmer brown black and with ultramarine blue for a cooler gray-blue black, and layered those over each other, ith more of the blue on the robe and more of the brown for the hair and most shadows:

Then to make it look at least a little like night I added an ultramarine blue glaze over the background (unfortunately that turned out a bit more uneven than I wanted, mostly because the frelling ultramarine is the worst of the colors for dissolving in water and will separate very quickly so the suspension was never all that even):

And a burnt umber glaze over that:

Finally I deepened some of the colors again, mostly the wall and some of the shadows, iirc,but not that much difference:

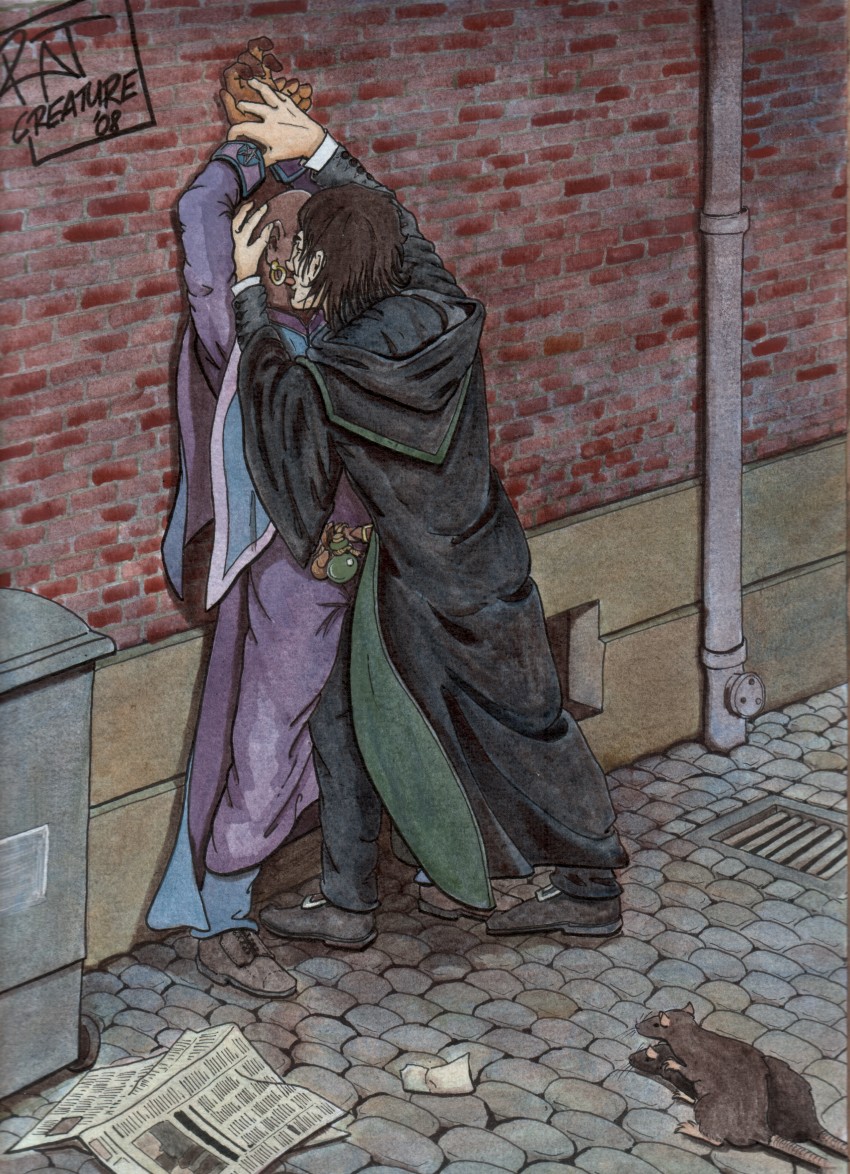
As a last step I inked over some of the lineart that got buried under color layers again to make it crisper,and this is the final image:

In the beginning there were naughty stick figures:


Then I drew some naked bodies based on that. Kind of pointless since so much would be hidden beneath the robes, but in the end it's the safe way to first draw the bodies and then clothe them. In this version Snape's head was still too large. The green was just to keep the bodies separate and clearer with all the erasing and different lines I tried, and also to make it easier to know which ones to trace it in the next step:

This led to the rough pencils. The added black is just so that I'd have an easier time to see what to trace on my lightbox, since the paper I was transferring it to was rather thick and hard to see through, even with the light:

There were some more doodles for figuring out the robes and clothing folds, but I was too lazy to scan everything. Anyway those rough pencils got once again transferred on my lightbox, some detail added, resulting in the final pencils I posted previously when the drawing was still a WIP:

Then I inked it with water proof indian ink using fine liners. I used three of different thickness to get a bit of variation in the line. I also decided to not ink the bricks to avoid that they stand out too much rather than being background:

I then taped it to my drawing board and started layering fairly watery acrylics, first some ultramarine blue, then some background colors:

Then I added the people's color. (I have no idea why the wall looks so reddish here, at that point I hadn't actually changed anything with it compared to the previous picture, I guess light conditions make quite a difference for these photos.)

More layers for the people, and adding the bricks. That was really tedious, because I drew every brick separately to get a natural slightly irregular look in their shapes and tone:

Then I added some shadows (unfortunately the photo is blurry):

I added more layers, iirc the clothes and also added variety to the cobblestones. To avoid having the black areas look flat, I used the black mixed with burnt umber for a warmer brown black and with ultramarine blue for a cooler gray-blue black, and layered those over each other, ith more of the blue on the robe and more of the brown for the hair and most shadows:

Then to make it look at least a little like night I added an ultramarine blue glaze over the background (unfortunately that turned out a bit more uneven than I wanted, mostly because the frelling ultramarine is the worst of the colors for dissolving in water and will separate very quickly so the suspension was never all that even):

And a burnt umber glaze over that:

Finally I deepened some of the colors again, mostly the wall and some of the shadows, iirc,but not that much difference:

As a last step I inked over some of the lineart that got buried under color layers again to make it crisper,and this is the final image:
