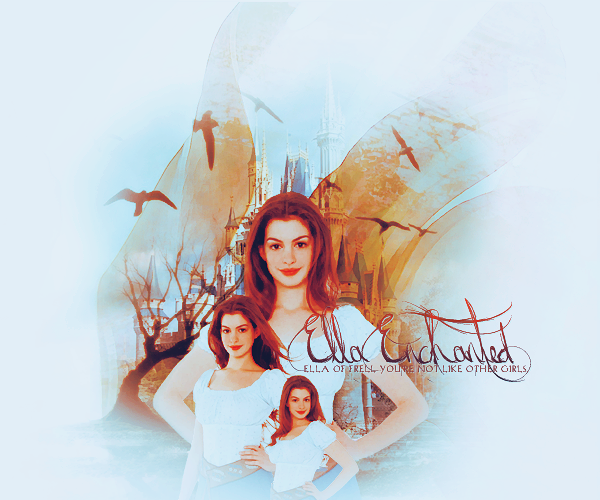
Ella Enchanted Blend//Tutorial
How to make that little blend.
Made in PS 7.0!

Clicky for full size!
Pics you need.
Castle | Tree | Texture ( by Impulsive) | Ella
Base.
Open a new canvas, 600x500px and fill with white.
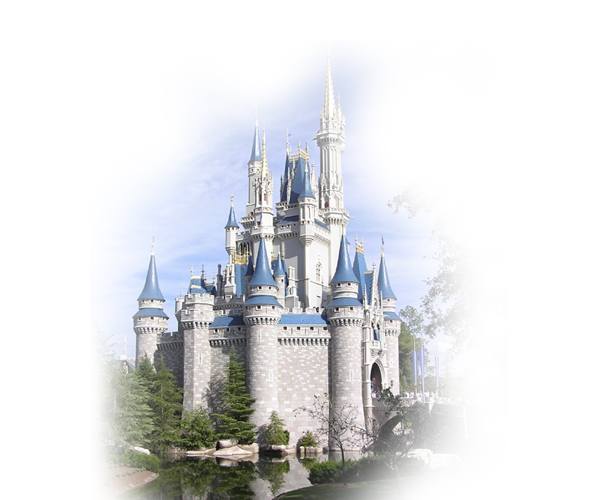
Take the castle pic and put it onto your canvas.
Now erase around it with a big soft brush until you have something like that.
Leave it to normal.
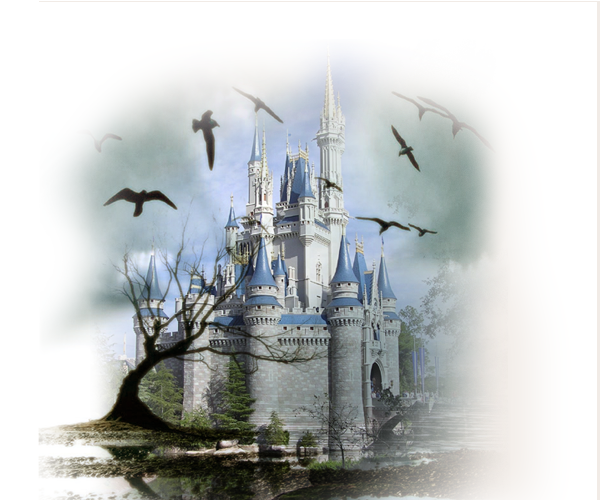
Alright. Now take that tree pic and do the same. Erase around it and and set it to multiply 100%.
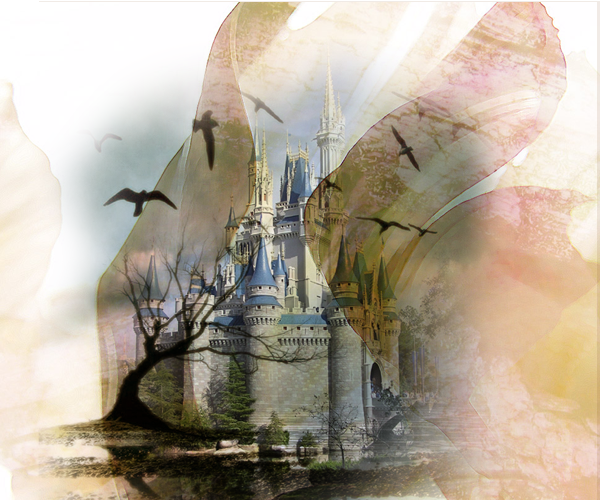
Next the texture. Put it above everything and set it to multiply 100% as well.
Don't erase this time. ;D
Ella next. I took three pics of her...resized them all to different sizes.
I erased the withe background with the magic wand tool and placed them onto my canvas in a pretty kind of way. :D
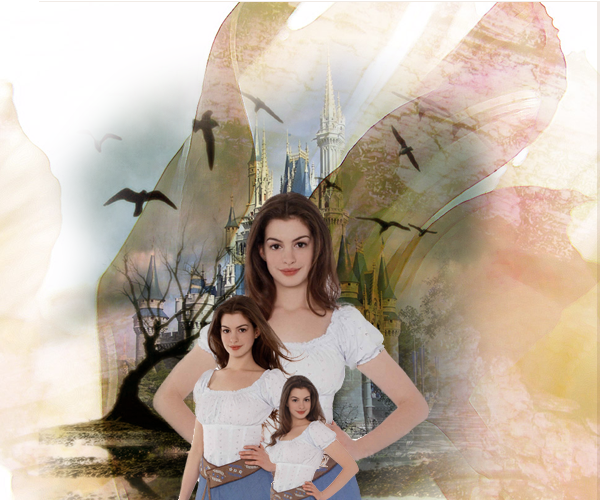
So now it looks all messy, doesn't it?
Make a gradient layer (layer > new fillayer > gradient) in #F1EBE6. Just choose that color as your foreground color and the gradient will get that color automatically
Use following settings.
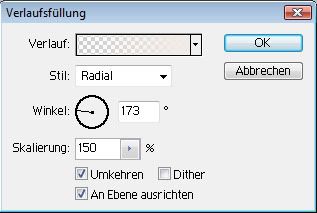
Set it to normal 80%.
Now erase everything of that gradient you don't like.
The parts over her face and body and some parts of the background, mainly above the texture.
That's what I did. But not too much and carefully.
Repeat that step twice.
Layer Pallette so far. ;)
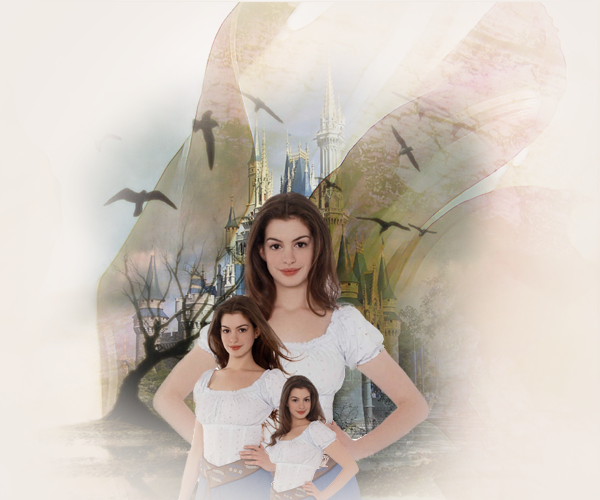
If you like what you did so far you can merge all layers now.
Coloring
PSD
If you want me to make a step by step tut, lemme know.
But it has selective coloring so it's not translatable to other programs.
That's why I decided to go the easy way. ;D
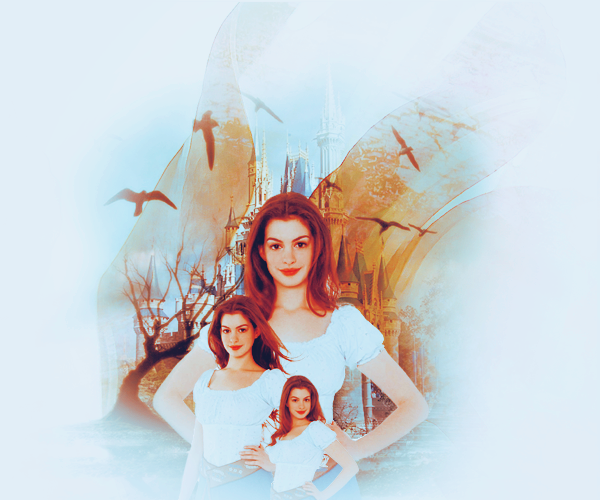
Do not merge the layers...cause I placed my text underneath the top selective color layer.
Ella Enchanted is Jellyka Waterways Seafarers (isn't it awesome? :D).
72px. I added a gradient map and dublicated that layer once and added a white drop shadow.
You can find both in layers > layerstyle. ;D
The smaller text is Lilith 9px with a dark color from the piece
I dublicated it twice to make it more visible. I also added a white dropshadow to the first of the 3 layers. :)
Text Pallette
Now merge all layers and dublicate it again.
Go to filter> pixelate> facet.Set to darken 70%.
Erase the parts you want to have clear. In my case...the eyes, lips and the text actually. ^^
Merge once again. Dublicate once again. :P
Filter > artistic > paint daubs. Both settings set to 1.
Set that layer to normal 30%. Merge one last time...
and that's it. *yay*
