Tutorial--blending via feathering, mach 2!
This is a re-do of the previous blending tutorial that I did. I'm re-doing it because the images on the first one died--this new one won't have exactly the same wording or use the same images (still using the lovely Ms. Otto though), but the effect is the same as the first tute.
Start out with a blank image, whatever size you want the final product to be. Background color doesn't really matter, it'll get covered up.
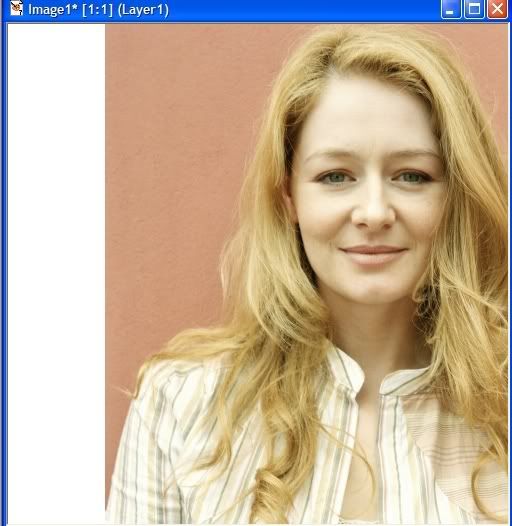
Paste the first image on the canvas--since we're going to be getting rid of some of edges, it's good if the stuff you want to focus on in the pic is more in the center.
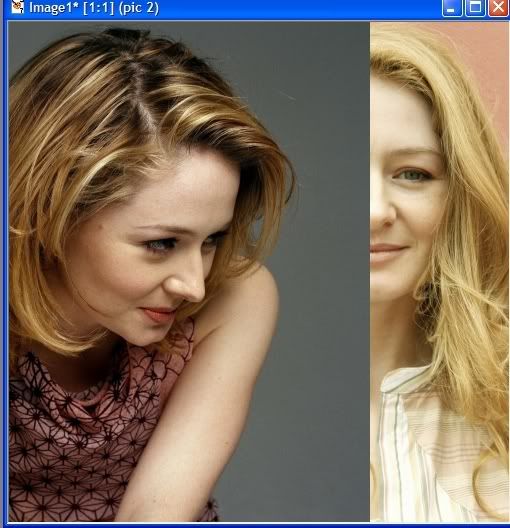
Now for the second image. Paste it on top of the first image, so that the two images are overlapping.
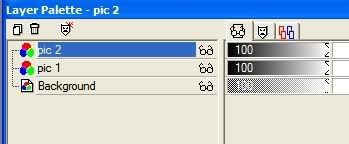
This is how the layer palette should look now. It's very important that the layer on top is selected.
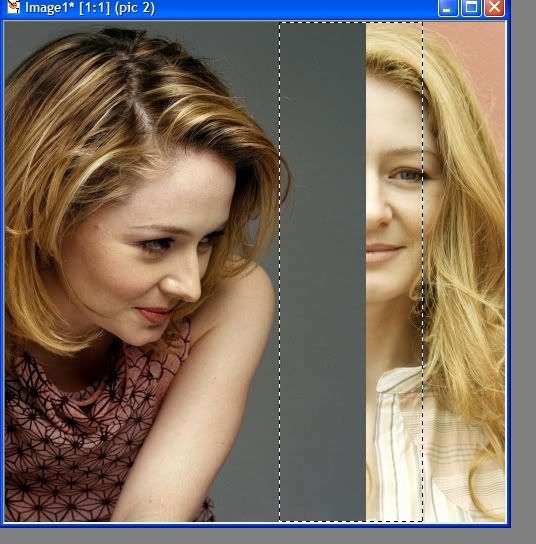
Now you take your selection tool, and draw a rectangle around the section where the two pictures meet. Looks like this:
(As a note, you can also use the lasso tool and draw your selection by freehand. That would look like this:)
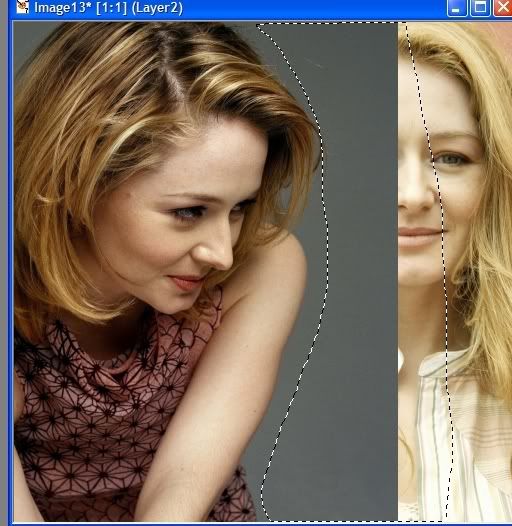
Then go to selections-modify-feather, and set it to 60 (Play around with the numbers. You'll also notice that when you have selection tool active, the options window will have an option of feathering your selection as you make the selection, so you can do that too).
So. After you've feathered your image, it looks like this:
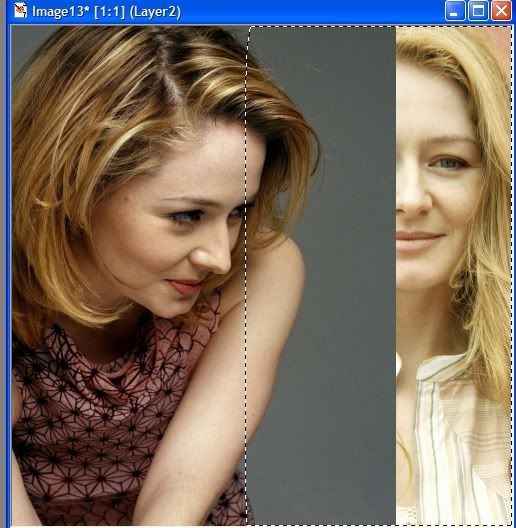
Basically it makes the selection bigger. Then, on your keyboard, push the delete key a few times. See what happens? The edges start to get worn away and fade out, and after pushing delete a few times, you'll get this:
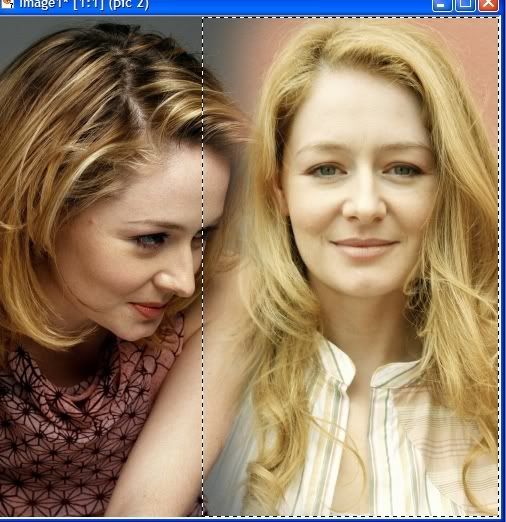
Get rid of your selection by going to selection-select none. Merge your layers, and ta-daa!
So this is basically it for this method of feathering. Select the edges where your images meet using the rectangle selection tool or freehand, feather the selection, and then delete until the edges start to faaaaade away. Do that as many times as you need with as many images as you want. (Just as a note, if you want an image's edges to sort of fade into white, have your background color be white, put your pic on top of it, and just feather away the edges of the image).
Finished product:
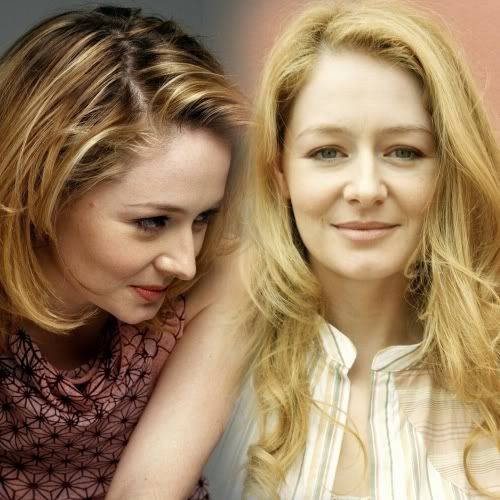
With the original tute I did some schmancy stuff with curves and overlay, but I think I'll just leave it like this for now. It serves its purpose. But if you have ANY questions please ask, and I'll see if I can answer them.
Start out with a blank image, whatever size you want the final product to be. Background color doesn't really matter, it'll get covered up.
Paste the first image on the canvas--since we're going to be getting rid of some of edges, it's good if the stuff you want to focus on in the pic is more in the center.

Now for the second image. Paste it on top of the first image, so that the two images are overlapping.

This is how the layer palette should look now. It's very important that the layer on top is selected.

Now you take your selection tool, and draw a rectangle around the section where the two pictures meet. Looks like this:

(As a note, you can also use the lasso tool and draw your selection by freehand. That would look like this:)

Then go to selections-modify-feather, and set it to 60 (Play around with the numbers. You'll also notice that when you have selection tool active, the options window will have an option of feathering your selection as you make the selection, so you can do that too).
So. After you've feathered your image, it looks like this:

Basically it makes the selection bigger. Then, on your keyboard, push the delete key a few times. See what happens? The edges start to get worn away and fade out, and after pushing delete a few times, you'll get this:

Get rid of your selection by going to selection-select none. Merge your layers, and ta-daa!
So this is basically it for this method of feathering. Select the edges where your images meet using the rectangle selection tool or freehand, feather the selection, and then delete until the edges start to faaaaade away. Do that as many times as you need with as many images as you want. (Just as a note, if you want an image's edges to sort of fade into white, have your background color be white, put your pic on top of it, and just feather away the edges of the image).
Finished product:

With the original tute I did some schmancy stuff with curves and overlay, but I think I'll just leave it like this for now. It serves its purpose. But if you have ANY questions please ask, and I'll see if I can answer them.