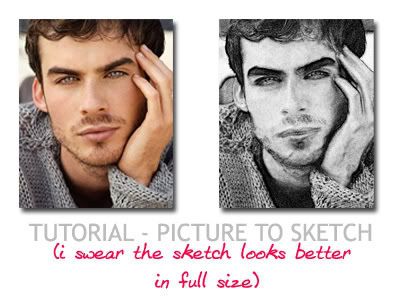
Picture to sketch
I never post banners for my tuts. Becase they are annoying. Excuse me just this one time.
warning - image heavy
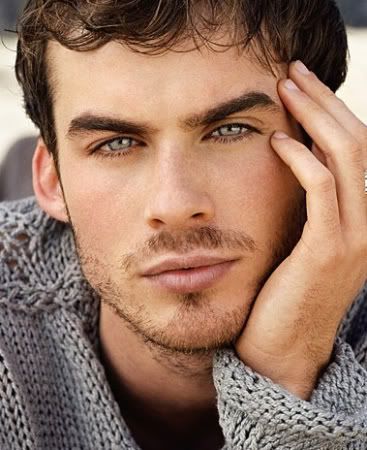
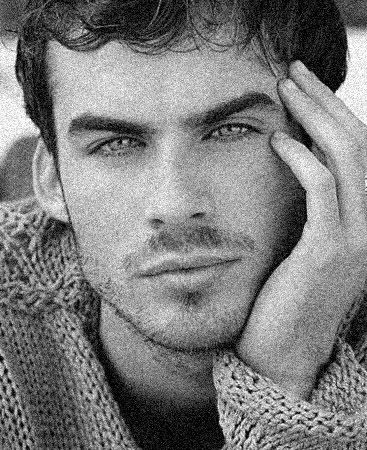
1. Select the picture you want and open it in photoshop.
2. Make a new layer and fill it with light gray.
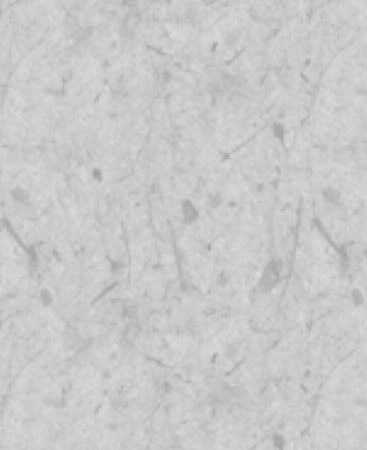
3. Add a new ADJUSTMENT LAYER - PATTERN. Now the square there which shows you the pattern in use, click on that, and then on the 'right' arrow in the circle thingy. Select grayscale paper and then 'fibers 1'. Increase the scale to something like 200%. Set this layer on SOFTLIGHT.
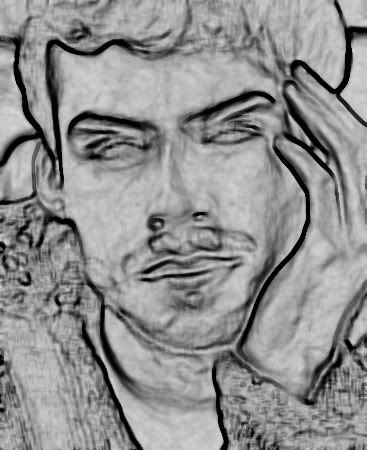
4. Duplicate the base layer. Bring it on top. Go to filters - stylize - glowing edges. You can experiment with settings but these were mine -
edge width -3
edge brightness - 11
smoothness - 10
Invert this layer. Desaturate it.
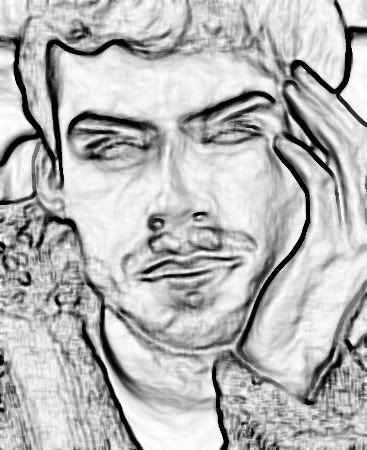
5. Set it on SOFTLIGHT(for a vleaner effect) or MULTIPLY (for a more charcoal sketch like effect). I chose multiply.

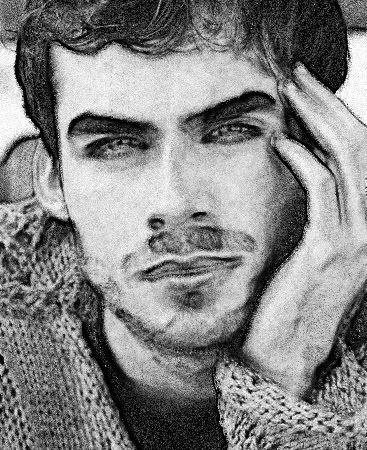
6. Now duplicate your base layer again and bring it to the top. Desaturate it. Go to filters - noise - add noise. My settings-
amount - 8%
distribution - gaussian
Check monochromatic on.
7. Go to layer - add layer mask - hide all.
8. Select the brush tool. Go to dry media brushes and choose 'small pastel on charcoal paper' brush. Make sure that white is selected as the foreground color. Scribble all over the masked layer. Try different opacities of the brush for different area, different sizes, cross hatching etc. But just make sure you cover up the whole layer.
When you are done, set this layer on HARDLIGHT.
9. Now, just erase the parts that are too dark from the 'glowing edges' layer with a softbrush. i.e. second from the top. I erased those ugly things just above the lips. Probably should have erased some parts of the eyebrow too.
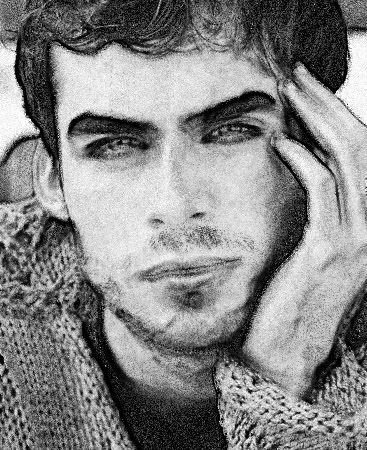
And, you are done.
Check out the other tuts here
- Comment if you found this useful
- Show me your results
- Any question, ask
- Friend the community for more such tuts.
warning - image heavy
1. Select the picture you want and open it in photoshop.

2. Make a new layer and fill it with light gray.
3. Add a new ADJUSTMENT LAYER - PATTERN. Now the square there which shows you the pattern in use, click on that, and then on the 'right' arrow in the circle thingy. Select grayscale paper and then 'fibers 1'. Increase the scale to something like 200%. Set this layer on SOFTLIGHT.

4. Duplicate the base layer. Bring it on top. Go to filters - stylize - glowing edges. You can experiment with settings but these were mine -
edge width -3
edge brightness - 11
smoothness - 10
Invert this layer. Desaturate it.

5. Set it on SOFTLIGHT(for a vleaner effect) or MULTIPLY (for a more charcoal sketch like effect). I chose multiply.

6. Now duplicate your base layer again and bring it to the top. Desaturate it. Go to filters - noise - add noise. My settings-
amount - 8%
distribution - gaussian
Check monochromatic on.

7. Go to layer - add layer mask - hide all.

8. Select the brush tool. Go to dry media brushes and choose 'small pastel on charcoal paper' brush. Make sure that white is selected as the foreground color. Scribble all over the masked layer. Try different opacities of the brush for different area, different sizes, cross hatching etc. But just make sure you cover up the whole layer.
When you are done, set this layer on HARDLIGHT.

9. Now, just erase the parts that are too dark from the 'glowing edges' layer with a softbrush. i.e. second from the top. I erased those ugly things just above the lips. Probably should have erased some parts of the eyebrow too.

And, you are done.
Check out the other tuts here
- Comment if you found this useful
- Show me your results
- Any question, ask
- Friend the community for more such tuts.