Coloring technique
To get that 'fashion photography' look -
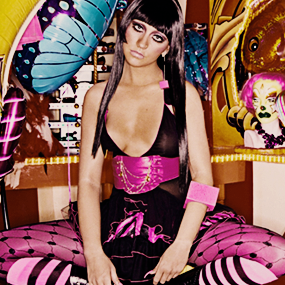
So, I wanted to make a header but omg the colors on this original image were blinding!! MUST. FIX.
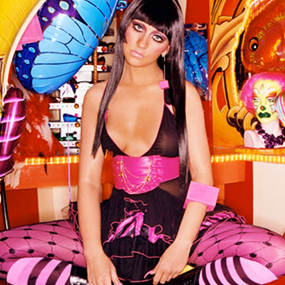
1. Too 'dull'. So, duplicate, set on screen. Oops, too bright now. Reduced opacity of this layer to 70%.
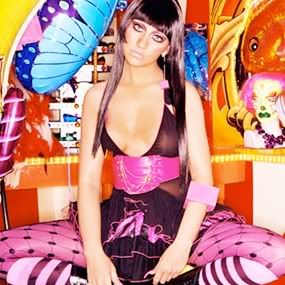
2. Now, this needs to be sharpened. If you are using the sharpen filter, let me tell you about the awesome HIGH PASS filter. It is much better than the sharpen filter. It just sharpens your edges, not the whole image. TRY IT!! Like this -
Duplicate layer. Filters - Other - High Pass. For this image I set the radius to 4px. Set this layer on SOFTLIGHT.
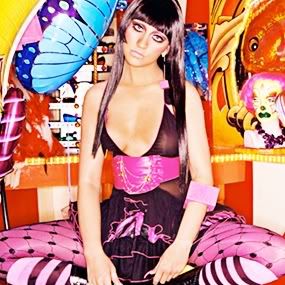
3. Alright, lets kill those neons now. I flood filled a new layer with a very deep blue and set it on exclusion.
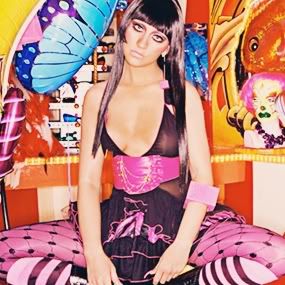
4. And now THE STEP. Make a new adjustment layer - Gradient Map. Select a black and white gradient map(should be the default) and set this layer on MULTIPLY.
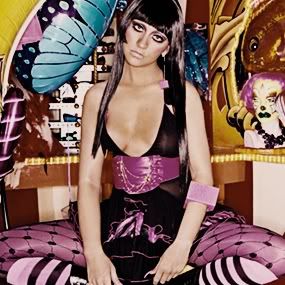
5. Almost done. I miss the bright magentas so I made a new adjustment layer - Hue and Saturation. I selected Magenta from the dropdown menu and changed the saturation in there to +57. I also increased the master saturation a little bit.

AND DONE!!
This is for Photoshop users. I have no idea if it work with other programs. It is very beginner friendly though.
- Comment if this was helpful
- Friend us for more tuts
- Any question, ask.
So, I wanted to make a header but omg the colors on this original image were blinding!! MUST. FIX.
1. Too 'dull'. So, duplicate, set on screen. Oops, too bright now. Reduced opacity of this layer to 70%.
2. Now, this needs to be sharpened. If you are using the sharpen filter, let me tell you about the awesome HIGH PASS filter. It is much better than the sharpen filter. It just sharpens your edges, not the whole image. TRY IT!! Like this -
Duplicate layer. Filters - Other - High Pass. For this image I set the radius to 4px. Set this layer on SOFTLIGHT.
3. Alright, lets kill those neons now. I flood filled a new layer with a very deep blue and set it on exclusion.
4. And now THE STEP. Make a new adjustment layer - Gradient Map. Select a black and white gradient map(should be the default) and set this layer on MULTIPLY.
5. Almost done. I miss the bright magentas so I made a new adjustment layer - Hue and Saturation. I selected Magenta from the dropdown menu and changed the saturation in there to +57. I also increased the master saturation a little bit.
AND DONE!!
This is for Photoshop users. I have no idea if it work with other programs. It is very beginner friendly though.
- Comment if this was helpful
- Friend us for more tuts
- Any question, ask.