Tutorial ☆ 01
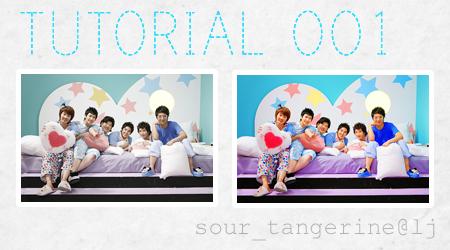
My first attempt at a tutorial. Made using Photoshop CS2, transtable to some other PS programs.
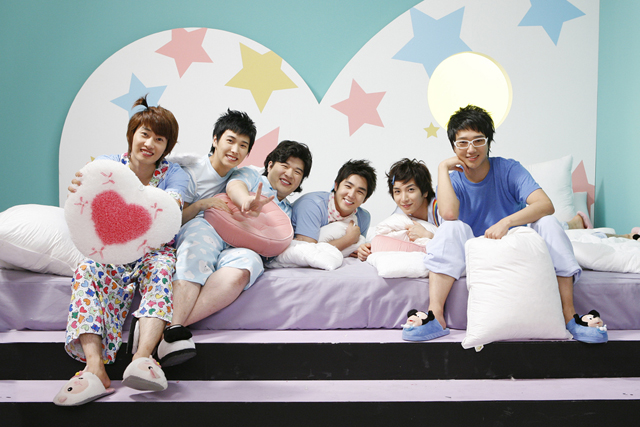
And here we have my base, the Super Junior Happy boys. I used this for a profile header a while back, since it was so cute :)
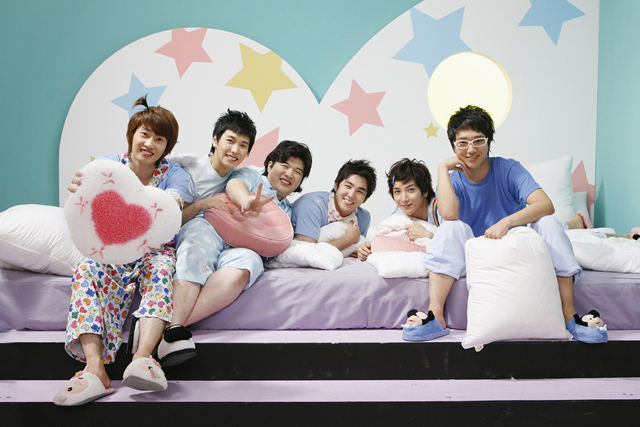
Start off by creating a new layer and filling it with #fafafa. Set it to multiply 100%. This will help balance out the colors later.

Now create a new Hue/Saturation/Lightness layer. Input the following values:
Master:
Hue: 0
Saturation: +50
Lightness: 0
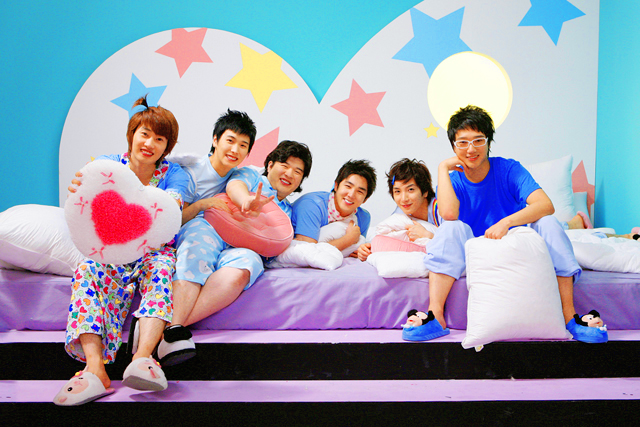
Create a new Selective Color layer and input the following values:
Reds:
Cyan: -45
Magenta: 0
Yellow: 0
Black: 0
Yellows:
Cyan: -75
Magenta: 0
Yellow: +15
Black: -50
Cyans:
Cyan: +100
Magenta: +25
Yellow: -100
Black: 0
Blues:
Cyan: +100
Magenta: +35
Yellow: -100
Black: 0
Magentas:
Cyan: -100
Magenta: +100
Yellow: -100
Black: 0
Whites:
Cyan: 0
Magenta: 0
Yellow: -25
Black: 0
Blacks:
Cyan: 0
Magenta: 0
Yellow: 0
Black: +10
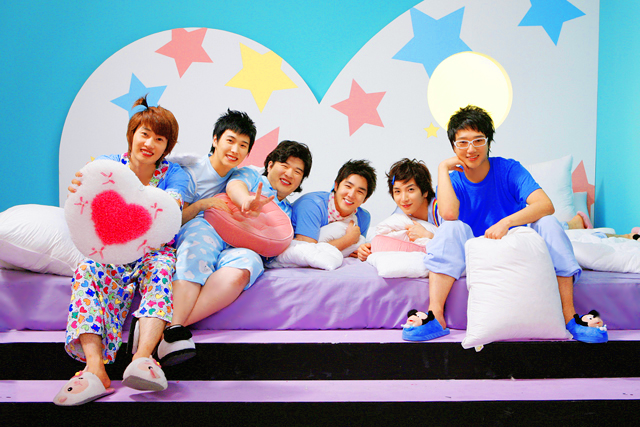
Final step! Just blur any parts of the image that got grainy due to the H/S/L layer using the blur tool. Tada! What a difference :D Anyway, I hope this helped. I'd love to see anything you guys can come up with using my process too.