The saga continues . . .
2014-03-16
Took a little break from my sewing room yesterday to go to a friend’s baby shower. It was pretty sweet! Only my second baby-shower attendance in my life. I’m not a fan of showers, really, but both times I really loved the women, and I went for my love of them. It really does warm the cockles of my cynical conspiracy-theorist dystopian heart to see pregnancies celebrated, and families and support systems pulling together for their love of the parents. This baby shower was very family-centric, and men, including both grandfathers and the dad-to-be, were there. I made sure to include the future father in my well-wishes, on the card and in person. He’s pretty awesome, and it makes me so happy to know that there are men in this world who step up to fatherhood. I get really embittered by the way our children are treated, or not, by this society and by their parents, and it makes me mad when they’re not treated with love and guidance. But y’all know that!
I’m fixing to finish my CASA case this month. Both parents are total disappointments. Ugh. Can’t say much more than that. Sometimes I wish people had to take a test or at least fill out an application to be parents. Maybe we’d have fewer broken adults. Of course, we’d miss out on a lot of joy, too-I’d probably never have become a parent! Or maybe have a pet or a plant that does well? I don’t know. I guess I’ll leave it up to the Great Creator-all the creations themselves are miracles, it’s their support systems/parental units that sometimes disappoint.
Anyway.
Continuing the work in progress.
The corset-she is built! I still need to bone it, stitch in the cups, grommet it, add bias trim to top and bottom, and add embellishment. But the main body is together. My bones should arrive tomorrow.
Were was I?
Okay. Well, after reviewing my photos and the interwebz (primarily the corsetmakers livejournal community), I decided that, instead of simply flatlining, I should also fuse my silk to its corresponding strength layer piece. So I ripped the corset apart, ripped out all my flatlining stitching, cut all corset pattern pieces out of WunderUnder (which is sold in the interfacing section of the fabric store, but is really only sheets of adhesive, backed onto wax paper), fused the silk to the cotton, and re-assembled the corset.
I had quite a moment when I first started fusing the fabrics. I fused the WunderUnder to the silk first, then peeled away the paper to find this:
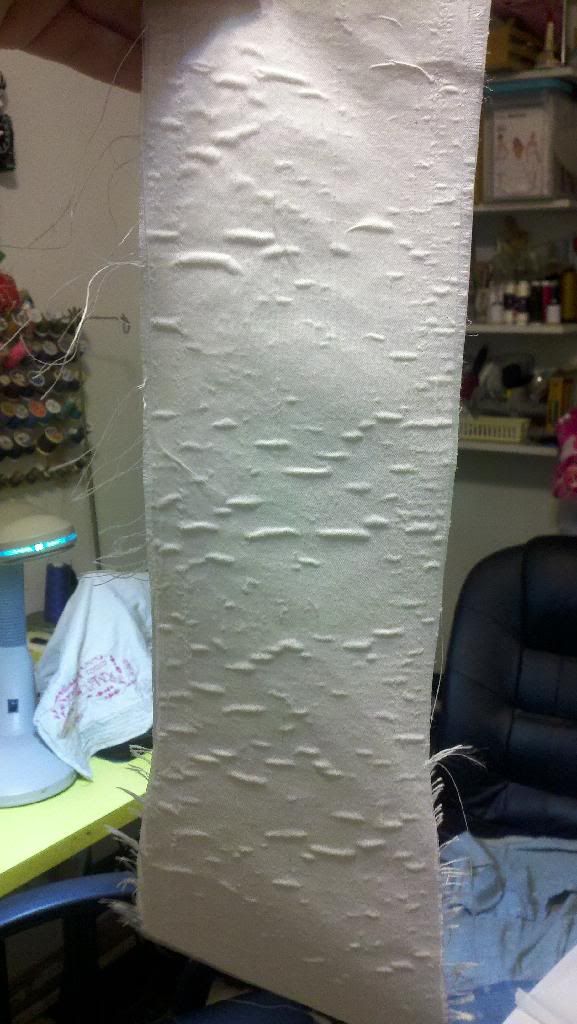
Gah!! It looks like it has a pox!! But, I continued with the fusing, and the pieces came out smoothly. The trick is to use a higher heat than the silk setting-I had it set almost as high as it could go, though I never touched the silk with the iron that hot, only the paper and the cotton.
So, once that was out of the way, I had pieces that were smooth, a little stiff, and that didn’t need to be stitched to be flatlined. I proceeded to baste the panels together, then pressed all seams directionally, and topstitched, then trimmed the seam allowances.
Wrong side:
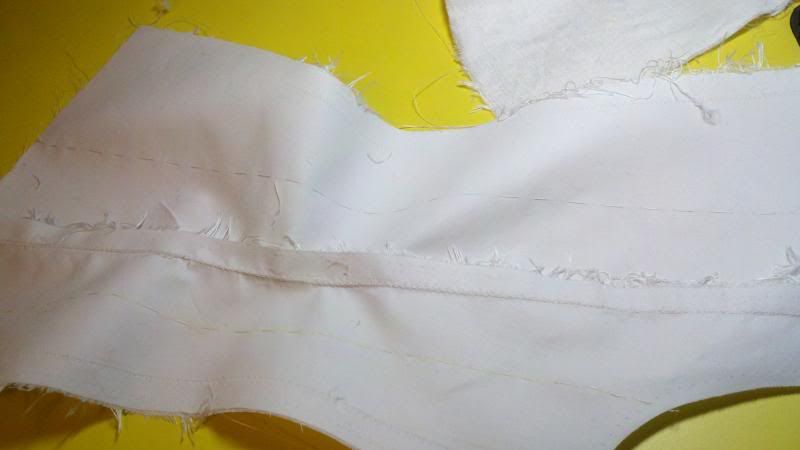
Right side:
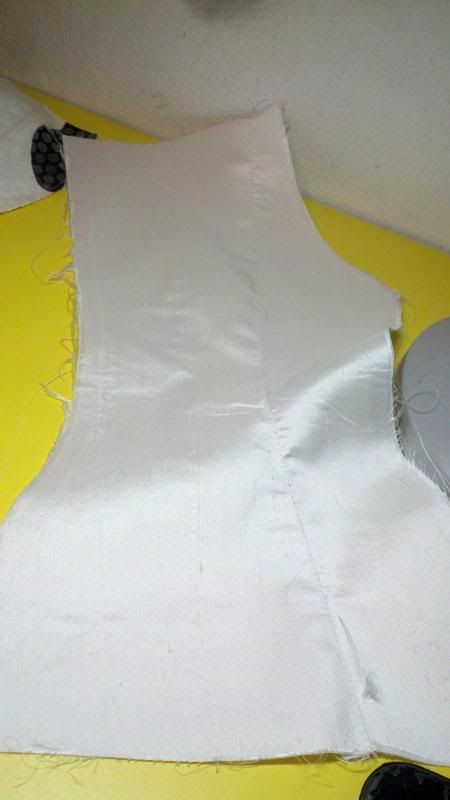
Pretty!
I proceeded to stitch the outer silk layer to the cotton layer at centerback, then flipped it right sides out, and pinned each seam to its corresponding seam through all layers. Then I hand-basted with silk thread in each seam line, through all layers, so that the seam allowances nestled together and all layers were exactly on top of each other. That took a while, and necessitated a lot of handling, flipping the corset over at every stitch to make sure I wasn’t drifting off course. I then took the corset to the sewing machine and machine-stitched in the ditch down every seamline, joining all layers with a more permanent stitch. Then I got to stitching my boning channels.
I had planned to use the presser-bar trick, where you use a plastic presser bar in the correct width, slide it between the layers of your corset, and use a zipper foot to stitch as closely as possible. I used this technique on the last corset, the pink organza corset, and my stitching lines came out acceptably. This time, however, even when I used an actual bone, my stitching lines came out wonky, and the channel was too tight! I lost a boning cap inside a channel, had to rip the stitching to get it out. Sigh. So I threaded up my domestic Pfaff, which has a wider foot that I know is the perfect width for ¼” bones, and did it that way. I hadn’t tried it that way for this corset because the stitching lines are more apt to wander using that method, and sometimes will want to pucker since you’re not stitching very close to the fabric secured at the seamline, but I just tried to be very careful. Well, those channels looked hella-better! Not perfect, but way better. Stitching straight curved lines seems to be beyond me, I swear. I can do fine topstitching lines close to edges and seams, but boning channels: ugh. I think I will try external cases on my next corset, maybe that will be easier!
Anyway, after all that trial and tribulation, here’s what I ended up with:
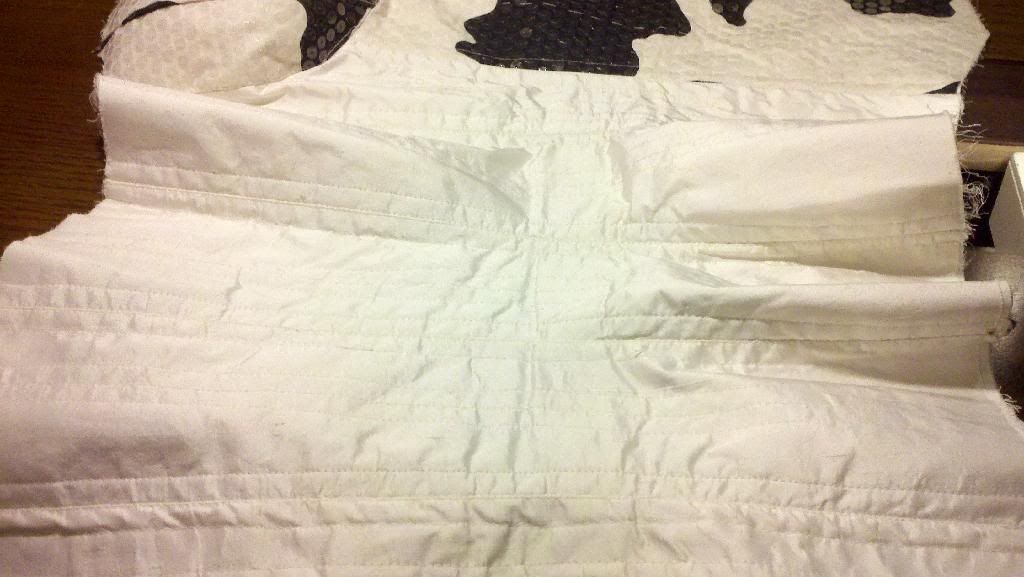
It didn’t look all that better after pressing, either. It looks like crumpled paper that has been smoothed back out! Not the finish I was going for, but to me it’s still preferable than that more-apt-to-pucker exture of the flatlined-only silk. It was all that handling that did it, I think. It really did “crumple” the silk. Now I know, for future work with silk, that it doesn’t lend itself to this method of boning. I’ll just mount all the bones to the interior layers and handle the exterior as little as possible if I want a smooth finish. However, this texture is interesting to me, and it still has the silk luster, so that’s nice.
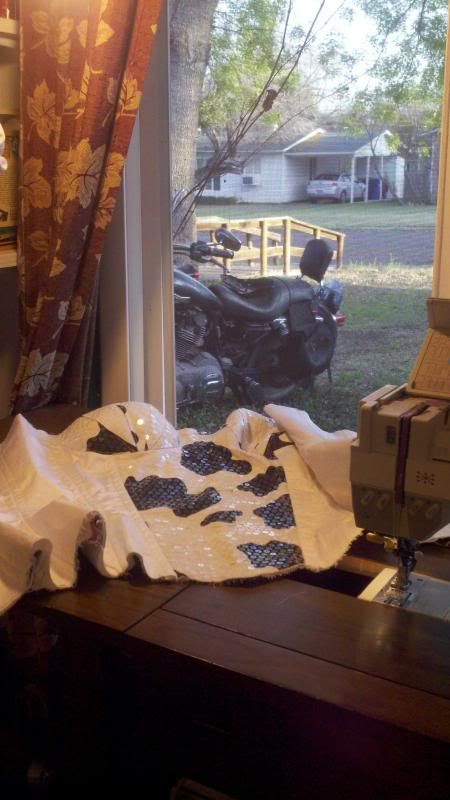
Bonus action shot. Betty (the Old Man’s Sportster) looks curiously through the window.
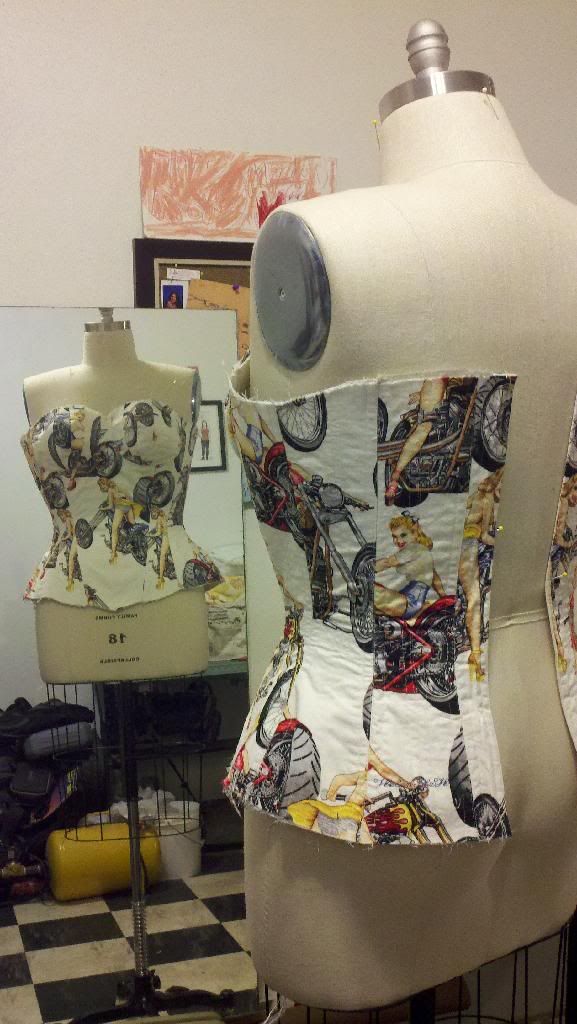
And just for fun, an inside-out shot:
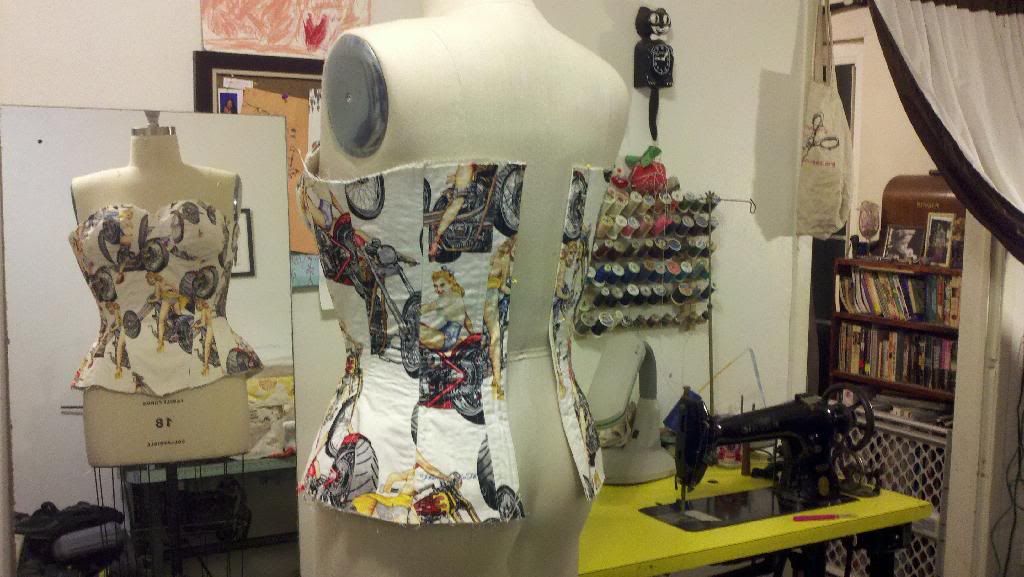
And a fuller shot, featuring my old singer, thread rack, and KittyCat clock. I love my sewing room!
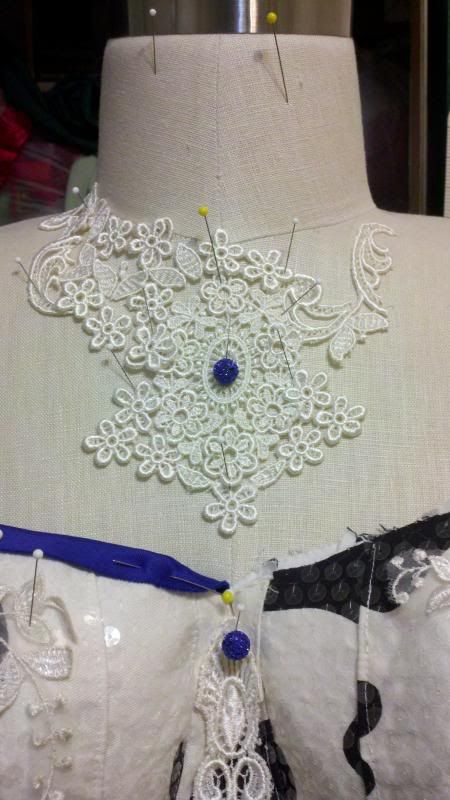
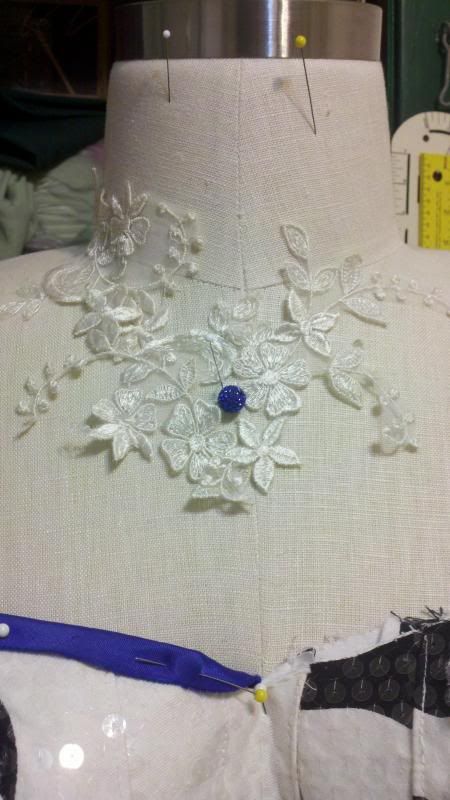
And, remember the necklace I pinned a while ago? I’m really so glad I invested in this dress form.
Okay, gotta jet! The skirt ain’t going to make itself!
Took a little break from my sewing room yesterday to go to a friend’s baby shower. It was pretty sweet! Only my second baby-shower attendance in my life. I’m not a fan of showers, really, but both times I really loved the women, and I went for my love of them. It really does warm the cockles of my cynical conspiracy-theorist dystopian heart to see pregnancies celebrated, and families and support systems pulling together for their love of the parents. This baby shower was very family-centric, and men, including both grandfathers and the dad-to-be, were there. I made sure to include the future father in my well-wishes, on the card and in person. He’s pretty awesome, and it makes me so happy to know that there are men in this world who step up to fatherhood. I get really embittered by the way our children are treated, or not, by this society and by their parents, and it makes me mad when they’re not treated with love and guidance. But y’all know that!
I’m fixing to finish my CASA case this month. Both parents are total disappointments. Ugh. Can’t say much more than that. Sometimes I wish people had to take a test or at least fill out an application to be parents. Maybe we’d have fewer broken adults. Of course, we’d miss out on a lot of joy, too-I’d probably never have become a parent! Or maybe have a pet or a plant that does well? I don’t know. I guess I’ll leave it up to the Great Creator-all the creations themselves are miracles, it’s their support systems/parental units that sometimes disappoint.
Anyway.
Continuing the work in progress.
The corset-she is built! I still need to bone it, stitch in the cups, grommet it, add bias trim to top and bottom, and add embellishment. But the main body is together. My bones should arrive tomorrow.
Were was I?
Okay. Well, after reviewing my photos and the interwebz (primarily the corsetmakers livejournal community), I decided that, instead of simply flatlining, I should also fuse my silk to its corresponding strength layer piece. So I ripped the corset apart, ripped out all my flatlining stitching, cut all corset pattern pieces out of WunderUnder (which is sold in the interfacing section of the fabric store, but is really only sheets of adhesive, backed onto wax paper), fused the silk to the cotton, and re-assembled the corset.
I had quite a moment when I first started fusing the fabrics. I fused the WunderUnder to the silk first, then peeled away the paper to find this:

Gah!! It looks like it has a pox!! But, I continued with the fusing, and the pieces came out smoothly. The trick is to use a higher heat than the silk setting-I had it set almost as high as it could go, though I never touched the silk with the iron that hot, only the paper and the cotton.
So, once that was out of the way, I had pieces that were smooth, a little stiff, and that didn’t need to be stitched to be flatlined. I proceeded to baste the panels together, then pressed all seams directionally, and topstitched, then trimmed the seam allowances.
Wrong side:

Right side:

Pretty!
I proceeded to stitch the outer silk layer to the cotton layer at centerback, then flipped it right sides out, and pinned each seam to its corresponding seam through all layers. Then I hand-basted with silk thread in each seam line, through all layers, so that the seam allowances nestled together and all layers were exactly on top of each other. That took a while, and necessitated a lot of handling, flipping the corset over at every stitch to make sure I wasn’t drifting off course. I then took the corset to the sewing machine and machine-stitched in the ditch down every seamline, joining all layers with a more permanent stitch. Then I got to stitching my boning channels.
I had planned to use the presser-bar trick, where you use a plastic presser bar in the correct width, slide it between the layers of your corset, and use a zipper foot to stitch as closely as possible. I used this technique on the last corset, the pink organza corset, and my stitching lines came out acceptably. This time, however, even when I used an actual bone, my stitching lines came out wonky, and the channel was too tight! I lost a boning cap inside a channel, had to rip the stitching to get it out. Sigh. So I threaded up my domestic Pfaff, which has a wider foot that I know is the perfect width for ¼” bones, and did it that way. I hadn’t tried it that way for this corset because the stitching lines are more apt to wander using that method, and sometimes will want to pucker since you’re not stitching very close to the fabric secured at the seamline, but I just tried to be very careful. Well, those channels looked hella-better! Not perfect, but way better. Stitching straight curved lines seems to be beyond me, I swear. I can do fine topstitching lines close to edges and seams, but boning channels: ugh. I think I will try external cases on my next corset, maybe that will be easier!
Anyway, after all that trial and tribulation, here’s what I ended up with:

It didn’t look all that better after pressing, either. It looks like crumpled paper that has been smoothed back out! Not the finish I was going for, but to me it’s still preferable than that more-apt-to-pucker exture of the flatlined-only silk. It was all that handling that did it, I think. It really did “crumple” the silk. Now I know, for future work with silk, that it doesn’t lend itself to this method of boning. I’ll just mount all the bones to the interior layers and handle the exterior as little as possible if I want a smooth finish. However, this texture is interesting to me, and it still has the silk luster, so that’s nice.
Bonus action shot. Betty (the Old Man’s Sportster) looks curiously through the window.

And just for fun, an inside-out shot:

And a fuller shot, featuring my old singer, thread rack, and KittyCat clock. I love my sewing room!

And, remember the necklace I pinned a while ago? I’m really so glad I invested in this dress form.


Okay, gotta jet! The skirt ain’t going to make itself!