Carrie Underwood Tut
My first tut in a while!
From this & this to
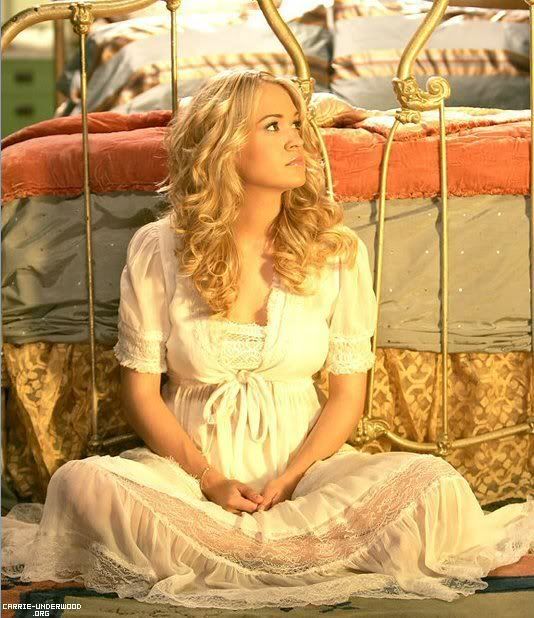
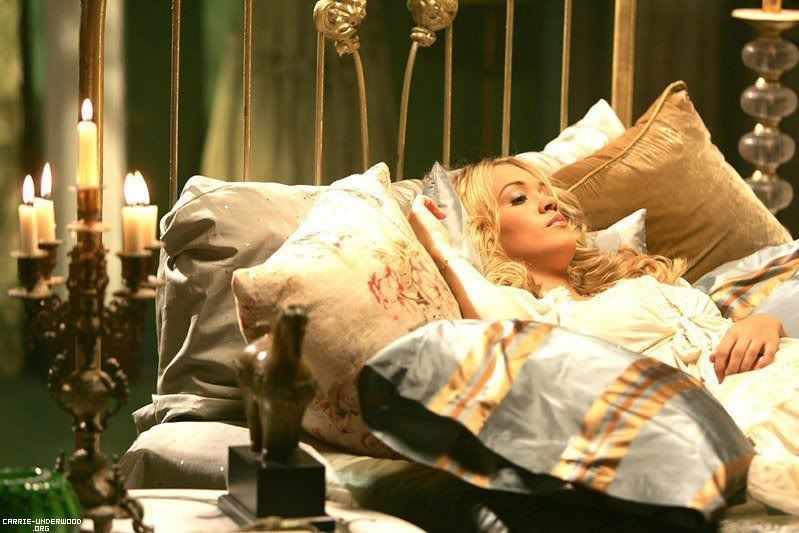

or

Not translatable-- Uses Selective Coloring
1.) Take a 100x100 part of this that doesn't have her face.. (you can use whatever picture you want for this)
Duplicate that and set it to soft light
2.) Take part of your second picture; any portion will do... There's no need for it to be 100x100, since we're going to resize it anyway
3.) copy and paste the portion onto your base. Image>Free Transform. Hold down shift while moving it in so it stays the same aspect ratio.
4.) Duplicate that and Free Transform it again so it's even smaller.. Put that in the middle towards the bottom of the other picture. Merge the 2 pictures of Carrie. Duplicate that and set it to Soft Light

5.) Selective Coloring
REDS:
-100 25 35 0
YELLOWS:
100 0 -70 0
GREENS:
100 0 -100 0
CYANS:
100 0 0 0
BLUES
100 0 0 0
WHITES
100 0 -100 0
NEUTRALS
36 -28 -24 0

6.) Another Selective Color
REDS
-100 33 35 0
YELLOWS
0 0 -41 0
WHITES
100 10 -68 0
NEUTRALS
11 -12 -18 0

7.) Hue/Saturation
Saturation: -6
8.) Add this (by ?):

Set to Screen.. Duplicate that.
9.) Under all the Selective Color layers, Press Ctrl+Alt+Shift+E to do a copy merge. Leave this on Normal, but make the opacity 25%
10.) I couldn't decide whether i wanted text or not, so I added "Angel" in the font Marcelle Script
Let me know how yours turns out!