CS3 Tutorial and Light Textures.
to
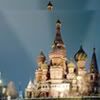
01. I dragged this image in to an 100x100 file, resized. Duplicated it. and resized again. Then I had this.
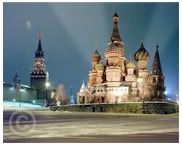
02. Added this light texture on 100% Screen, and moved down towards the corner.
03. Then I added selective colouring.
Red: -100 0 100 0
Yellow: 0 0 100 0
Neutrals: 6 0 -24 0
04. Next I added colour balance layer.
Midtones: 1 0 1
Highlights: -4 0 28
Shadows: -2 12 0
05. Then I duplicated the colour balance layer and set the duplicate to 43% opacity.
06. I created a hue/saturation layer and change the master saturation to 16.
07.Then I pressed ctrl+alt+shift+E and applied the filter radial blur at about 20 on spin to the new layer. Then I applied the radial blur set to spin @ 20 and erased the main parts of the image.
08. Then I added another hue/saturation with master saturation set to 16, but this time I turned down the yellow to -29.
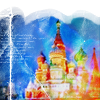
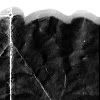
09. Next I added this texture and put the blending mood to screen at 100%.
10. Then I pressed ctrl+alt+shift+E again and set the layer to soft light and erased the parts that I thought were too bright.
11. After that I grouped everything from the light texture onward. and duplicated the whole group(in lower verson you should be able to do this with sets).
12. Then in the second set I added this texture on multiply just before the texture I added in step 9.
13. Next I added a new layer with some tiny text.
14. Then set the whole second Group to 75% opacity.
And that's it!
I hope you find this useful.
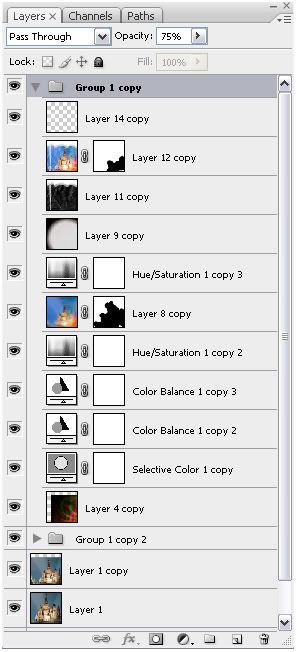
Here's a screenshot of my layers that you can use to help guide you.
I believe that one of the masks came from here:http://www.absolutetrouble.com/brushes/pafiledb.php
and the other I'm not certain, if you know please comment and I'll add it in.
More light textures similar to the one I used in the tutorial.
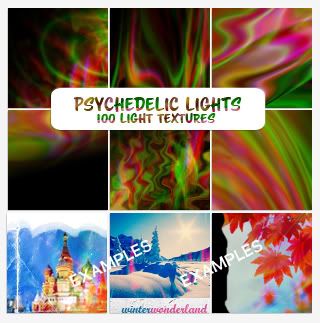
Download @ Box.net
All of my textures can be found here.
Comments are appreciated.