Tut #3
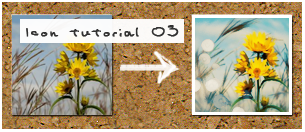
Made with in photoshop CS.
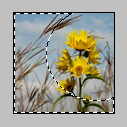
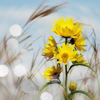
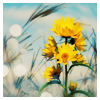
1.Pick the elliptical marquee tool and make a selection around the main object in the icon.
Invert the selection. (shift+ctrl+i)
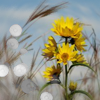
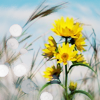
2.Go to Filters --> Blur --> Radial Blur.
Use these settings:
Amount - 10
Blur Method - spin
Quality - good
3.Then add this texture set to lighten at 100%
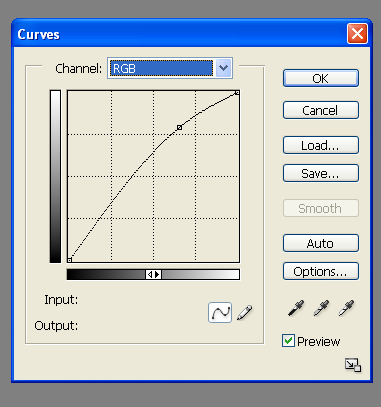
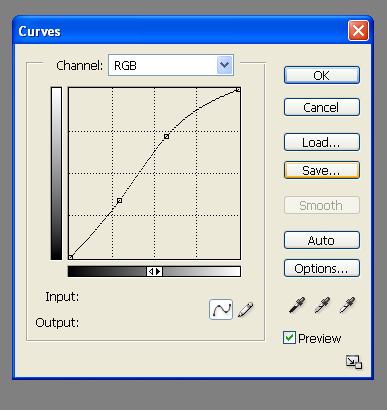
4.Next add a curve.
These are the setting.
5.Then add a New Adjustment Layer and select Color Balance.
Setting:
Midtones +32 0 +31
Shadows -45 100 100
Highlights +46 0 0
Make sure that Perserve Luminosity is checked.
And set the layer opacity to 63%
6.Add a color fill layer of #5D5C32
Set to color burn opacity set at 17%
7.Add a curve with these setting with the opacity set at 50%.
8.Add a color fill layer of #D4BB8B
Set to multiply at 20%
9.Then add a New Adjustment Layer for selective color.
These are the settings
Colors Reds
Cyan -100
Magenta 0
Yellow +100
Black 0
Colors Yellows
Cyan -100
Magenta 0
Yellow +100
Black 0
Colors Neutrals
Cyan +41
Magenta 0
Yellow -14
Black 0
10.And the last step is to simply add a three pixel white border.
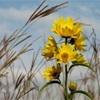
Hopefully that was easy to follow and helpful. :)
I'd love to see any results.
and if you want the psd you can download it here.