Birdie tutorial
First thing, download the pattern which is here: https://docs.google.com/open?id=0B6uLRGpSF7u1YWZlMWUzYjAtN2RkOS00M2Y1LWI5MDktMDBjNmViN2FjMWVm
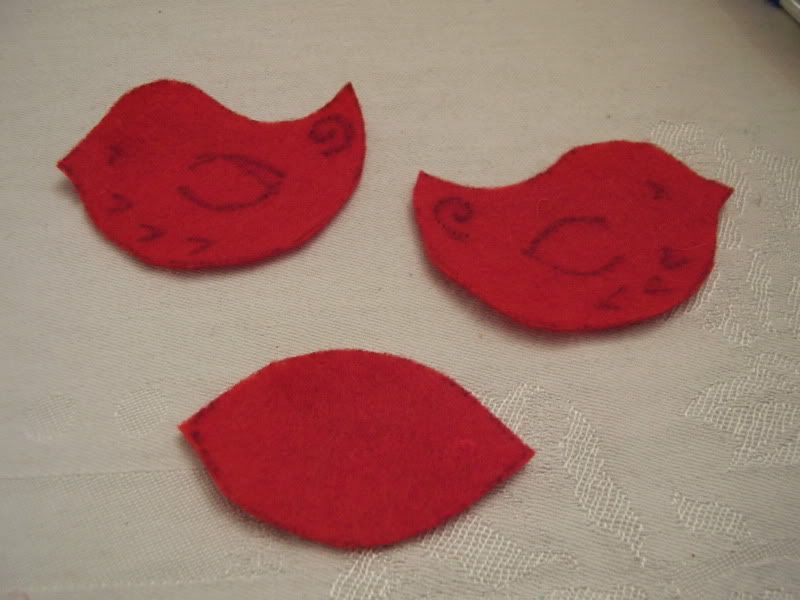
Next trace on felt and cut out 2 bird sides and a gusset. Using your soluble fabric marker, doodle on the birdies -- wings or swirls or squiggles or whatever. Mark where you want the eye to go. Remember, you want them to be mirror images or else one will wind up having its eye on the inside and that would not be so cute.
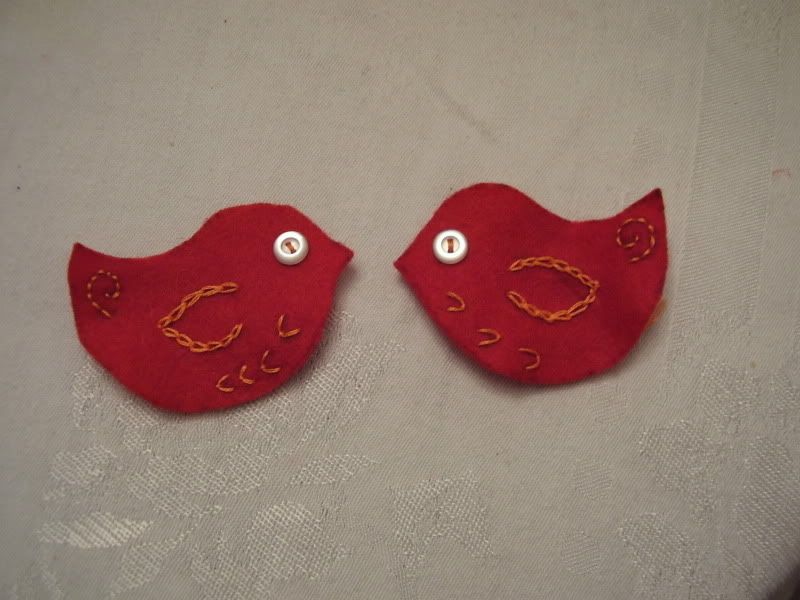
Embroider over your doodles and sew on some button eyes:
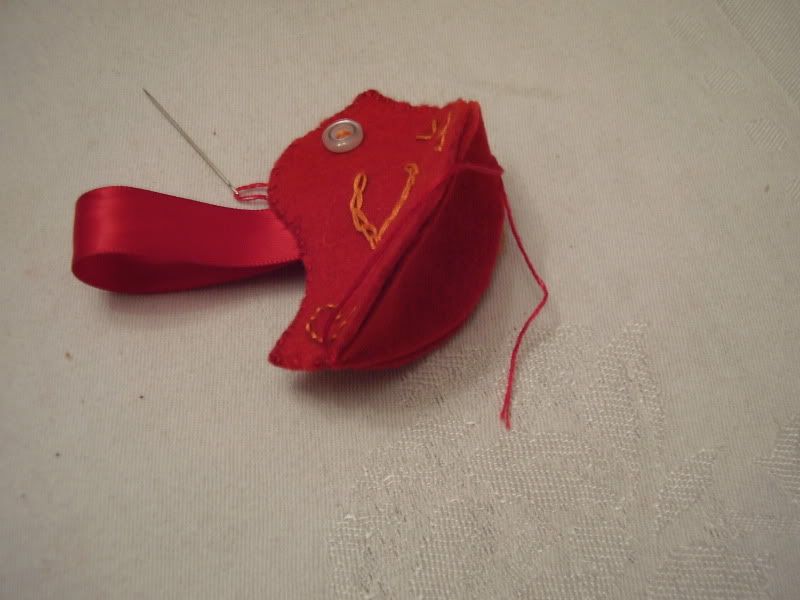
Now, matching up spots A and B whipstich the gusset to one side of the birdie. Now match up the other side and again, sew the gusset from point A to point B. Then, continue whipstitching the birdie halves together. When you get to the back, insert ribbon between the 2 birdie halves so you have something to hang it with.
When there's just a small opening left, stuff the birdie firmly and then finish sewing it shut.
TA DA!
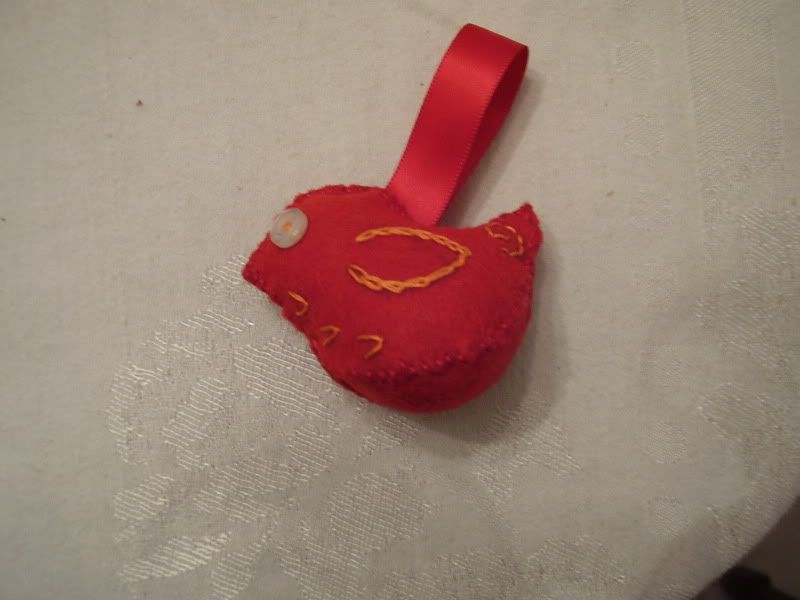
Reflect on the fact that the ribbon looks kind of dumb. On following birdies, use a loop of perle cotton instead. Make a bunch! In all different colors! YAY!
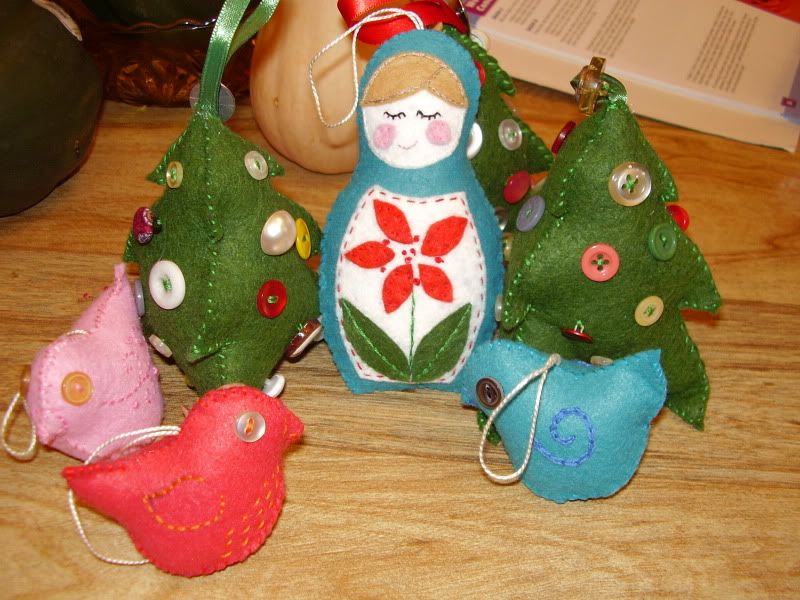
In other items, today is the first day of 2012 and I celebrated by going for a hike in an awesome park surprisingly near my home. I took photos but have a new camera and it is complicating uploading pictures but I might do so. Or not, nobody seems to care either way. I thought about a year end post but I think it would probably be depressing.
Next trace on felt and cut out 2 bird sides and a gusset. Using your soluble fabric marker, doodle on the birdies -- wings or swirls or squiggles or whatever. Mark where you want the eye to go. Remember, you want them to be mirror images or else one will wind up having its eye on the inside and that would not be so cute.

Embroider over your doodles and sew on some button eyes:

Now, matching up spots A and B whipstich the gusset to one side of the birdie. Now match up the other side and again, sew the gusset from point A to point B. Then, continue whipstitching the birdie halves together. When you get to the back, insert ribbon between the 2 birdie halves so you have something to hang it with.

When there's just a small opening left, stuff the birdie firmly and then finish sewing it shut.
TA DA!

Reflect on the fact that the ribbon looks kind of dumb. On following birdies, use a loop of perle cotton instead. Make a bunch! In all different colors! YAY!

In other items, today is the first day of 2012 and I celebrated by going for a hike in an awesome park surprisingly near my home. I took photos but have a new camera and it is complicating uploading pictures but I might do so. Or not, nobody seems to care either way. I thought about a year end post but I think it would probably be depressing.