(no subject)
Go from

to
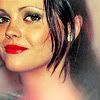
1. Crop base and resize to 150 x 150

2. Sharpen (Filter > Sharpen > Sharpen) and add a fill layer of #ffd267. Set to Multiply 70%.
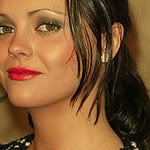
3. Color Balance layer (Layer > New Adjustment Layer > Color Balance).
Midtones: 0, 0, +36
Highlights: -13, +13, -33
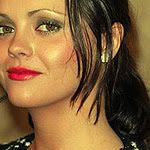
4. New fill layer of # e9a4b0. Set to Color Burn 25%.
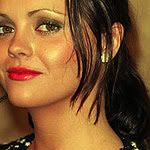
5. Selective coloring (Layer > New Adjustment Layer > Selective Coloring).
REDS: -70, +32, +52, 0
YELLOWS: +40, -76, -80, +14
NEUTRALS: +60, 0, -46, -15
Set this layer to screen, 70%.
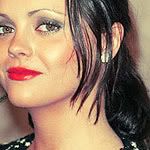
6. New fill layer of #d2d7da. Set to Color Burn 65%
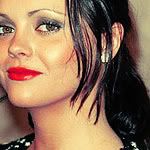
7. Merge all layers and resize to 100 x 100. (Sharpen again if you like)

8. Duplicate base and add a radial blur (Filter > Blur > Radial Blur).
Amount: 14
Blur Method: Spin
Quality: Good

9. Using a soft brush eraser, erase around the face / main feature.

10. Adjust the top layer's Hue / Saturation (Image > Adjustments > Hue / Saturation)
Hue: -13
Master: +30
Lightness: +38

11. Lastly, add this texture
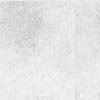
(so sorry I don't know who its by) and set to Color Burn 100%

And you're done! You can add text and brushes if you wish.
Share your results if you want too!
Others I made with this tut.


