Icon Tut no.5
Helloooo....we'll be going from:

to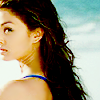
or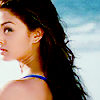
Made in Photoshop 7.0, no Selective clouring or Curve's only clour layer's.
#1: Prep your base and sharpen it.
#2: Duplicate your base 3 time's, set the first two bases to SCREEN 100 % and the last one to SOFT LIGHT 100 %
#3: New layer fill with: #040017 and set to EXCLUSION 100%
#4: New layer fill with: #CFF1FF and set to SOFT LIGHT 100%
#5: Merge all layer's.
#6: Duplicate the base and set it to LINER BURN 100%
#7: New layer fill with: #6DCFF6 and set to SOFT LIGHT 100%
#8: New layer fill with: #00BFF3 and set to SOFT LIGHT 50%
Now you've got....

You can leave it like that or keep going...
#9: Merge all layer's
#10: Image > Adjustments > Variation's: Click "More Blue" once and "Darker" once....
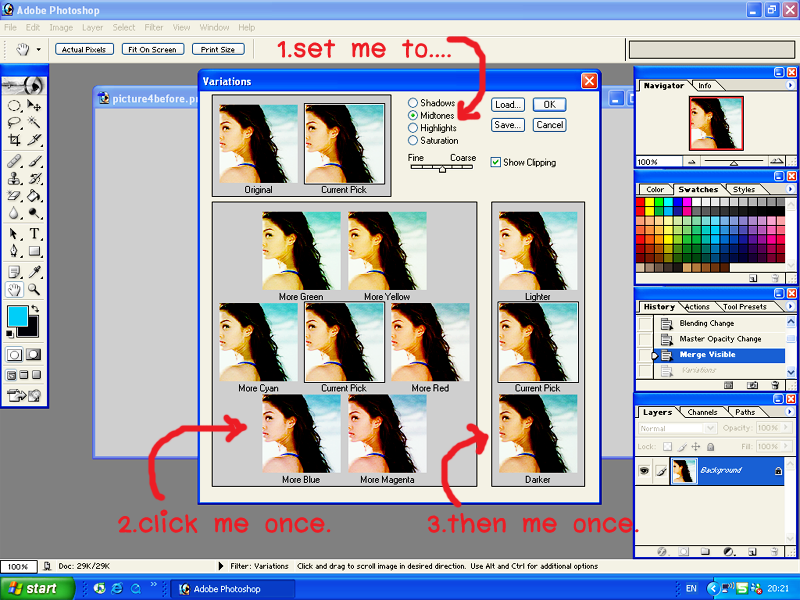
And now you've got...

This work's best with orangy pic's I figure because it make's the picture more bright and blue, but as I alway's say fiddle around and you'll get what you want!. And I'd love to see what you get! Have fun! and Happy New Year 2007!! XD

to

or

Made in Photoshop 7.0, no Selective clouring or Curve's only clour layer's.
#1: Prep your base and sharpen it.
#2: Duplicate your base 3 time's, set the first two bases to SCREEN 100 % and the last one to SOFT LIGHT 100 %
#3: New layer fill with: #040017 and set to EXCLUSION 100%
#4: New layer fill with: #CFF1FF and set to SOFT LIGHT 100%
#5: Merge all layer's.
#6: Duplicate the base and set it to LINER BURN 100%
#7: New layer fill with: #6DCFF6 and set to SOFT LIGHT 100%
#8: New layer fill with: #00BFF3 and set to SOFT LIGHT 50%
Now you've got....

You can leave it like that or keep going...
#9: Merge all layer's
#10: Image > Adjustments > Variation's: Click "More Blue" once and "Darker" once....

And now you've got...

This work's best with orangy pic's I figure because it make's the picture more bright and blue, but as I alway's say fiddle around and you'll get what you want!. And I'd love to see what you get! Have fun! and Happy New Year 2007!! XD