icon tut #2 & banner tut!
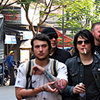
from
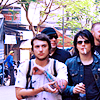
to
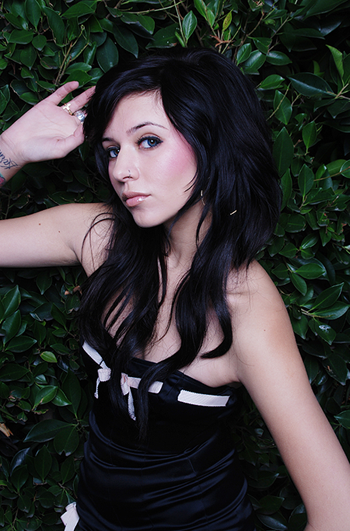
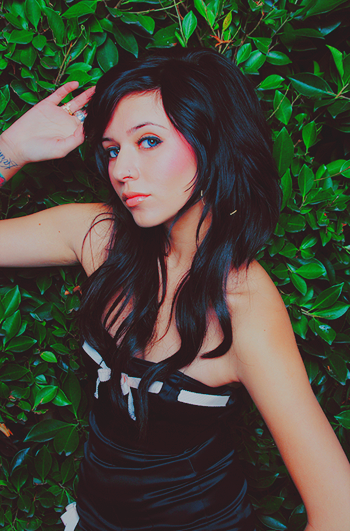
and from this to this
frerard tut:
1. duplicate your base & set it screen (I got 68%)
2. new color fill layer with #c40000 set it to soft light 25%
3. new adjustment layer; selective coloring:
reds: -40,-30,0,0
blues: -10,0,0,-10
naturals: +5,0,-5,-5
black: -5,0,0,+5
4. new adjustment layer; curves (I kinda suck at this lol)
RGB: (1) 61;59 (2) 120;137 (3) 195;210
RED: (1) 85;78 (2) 149;155
BLUE: (1) 36;46 (2)109;105 (3) 179;194
5. new adjustment layer; hue/saturation, set saturation up to +25
6. new adjustment layer; photo filter; cold filter (82)
7. another selective coloring XD
reds: -10,0,0,0
blue: +5,0,0,-5
white: -100,0,+50,0
8. new color fill layer, fill it with #4d5cce, set it to soft light 25% and you're done!
(you can leave out the last step, remember to mess around with the settings..)
for the lazy people: psd
also a thank you to
reddish_white for "inspiring" me for this tut xD
hanna beth tut:
1. duplicate your base, set it to screen until it suits you (here I got 60%)
2. new adjustment layer; color balance:
midtones: +34,-19,-34
shadows: +21,-9,-4
highlights: 0,-12,-28
3. bew adjustment layer; selective coloring:
reds: -79,0,0,+40
greens: +75,-100,-75,0
cyans: +100,0,-100,0
white:+41,0,0,0
naturals: +37,0,-22,-13
4. new adjustment layer; hue/saturation, set saturation up to +29
5. new color fill layer, fill it with #acf0e6 and set it to color burn 61%
6. new color fill layer, fill it with #5a5353 and set it to luminosity 30%, done!
also: psd