Tutorial #9
to
or make
01. Duplicate your base and put it on screen, 70%.
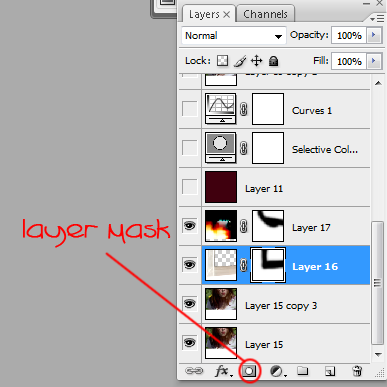
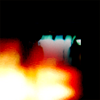
02. Now it's time for the textures, add this one from pack 36, then you choose the magic wand tool to remove the black part. Then you add a layer mask, choose the black color and take a soft round brush to slightly erase the edge at the bottom.
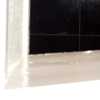
03. Then you take this texture, from pack 33, put it on screen and add a layer mask here too so you can erase the bluish part.
04. Add a color fill layer, #40000e, put it on exclusion, 50%.
05. Add a selective color layer, 53% (this will increase the red)
Reds: -96 0 -35 -1
Yellows: -100 +25 -33 42
Magentas: -100 +100 +100 -3
Neutrals: -32 -11
06. Add a curves layer, this is how it looks, where only the Green channel is modified, this will make the icon less red.
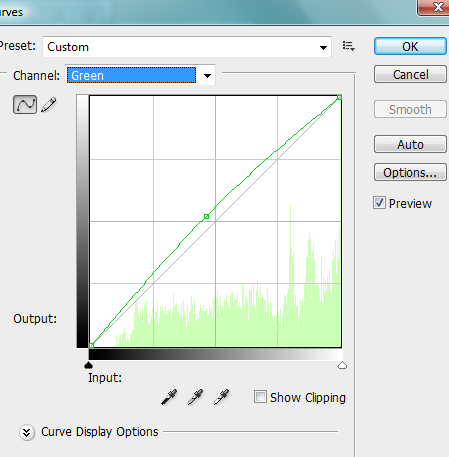
Output: 136 Input: 118
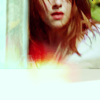
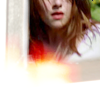
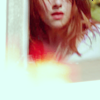
07. The last step, duplicate the base, put it on top, soft light, 80%, to give it a nice contrast and sharpened look.
And remember, always play with the opacity of the layers since every base is different. Have fun, comment and feel free to show your results!