20 : Photo Enhancement Tutorial
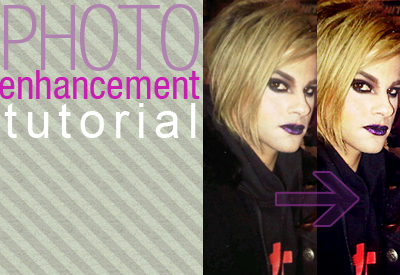
Basic Photo Enhancement Tutorial
with Photoshop CS4
Hello :) I've been posting edited pics of Tommy Joe Ratliff on tjrpics tumblr for about a month now, and @MJHardyBritt on twitter requested a tutorial on how I edit the pics. So here you go, basic photo enhancement (+manipulation) tutorial. Note on this is, that I'm used to work with fan taken pictures, and not professional one. Different types of camera, flash, lighting, etc. Sometimes there are great moments but the quality of the picture made it what I call "dead pictures" - no vibrancy, no color, no energy. That is why, we need to enhance them.
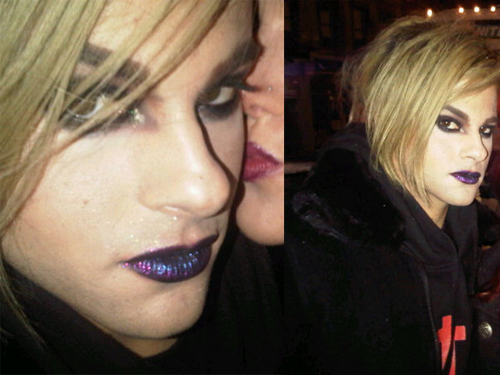
For this tutorial I'm using 2 picture from Glaslow
which just got posted earlier on twitter by @Amanda_Duffy :


1. Get your image file
Copy image > create new file from clipboard > paste
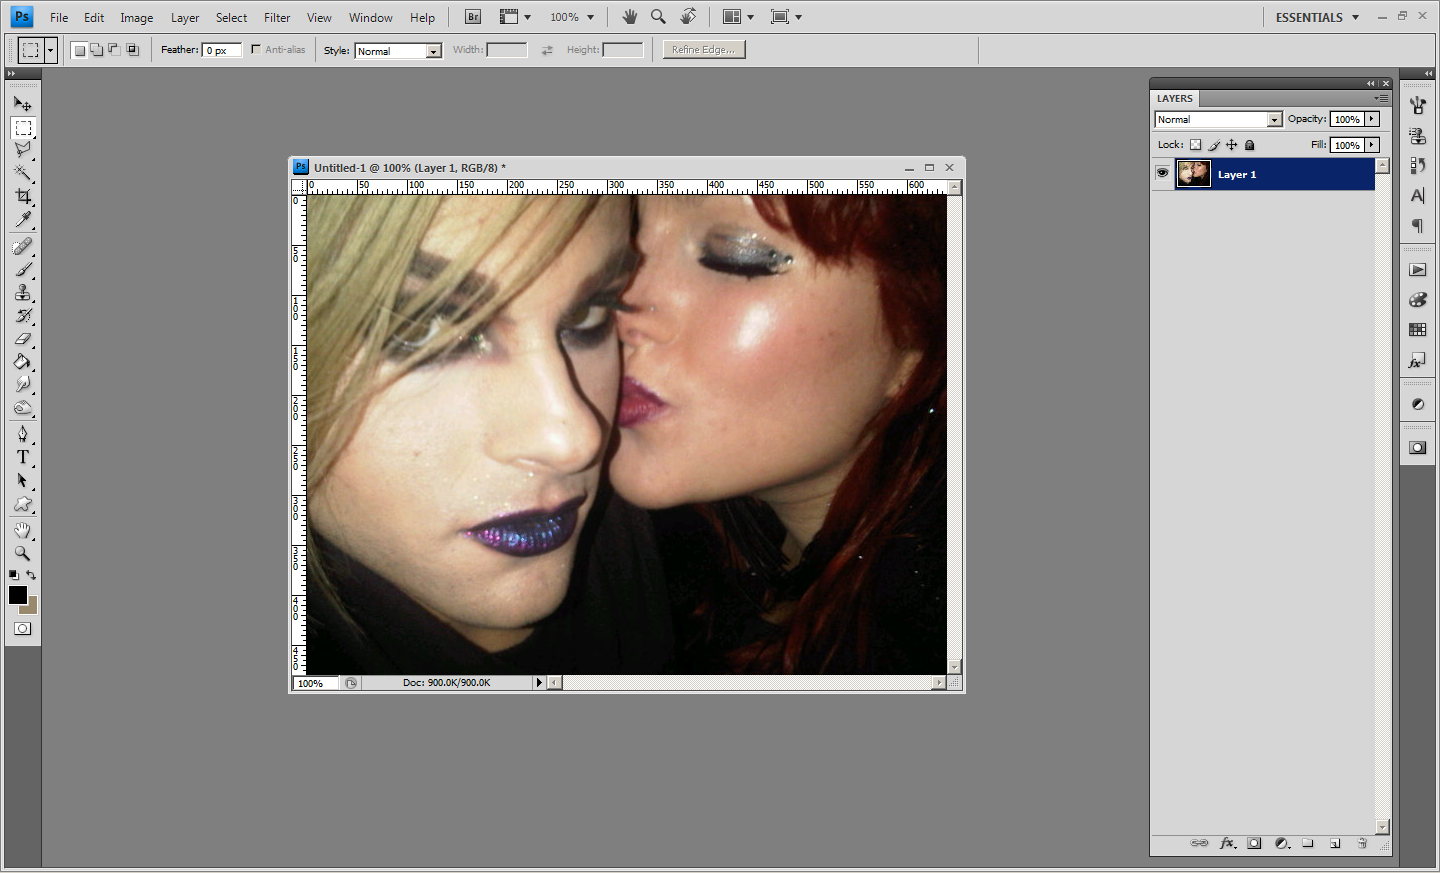
At this point, my original image is 600px in width.
2. Photo manipulation with pen tool
Amanda is very pretty, but for my tumblr entry, I will have to erase her out of the frame (sorry, Amanda!).
Steps :
- copy layer > set it on screen (so your image is brighter)
- I set it to 200% so I can work on it closely
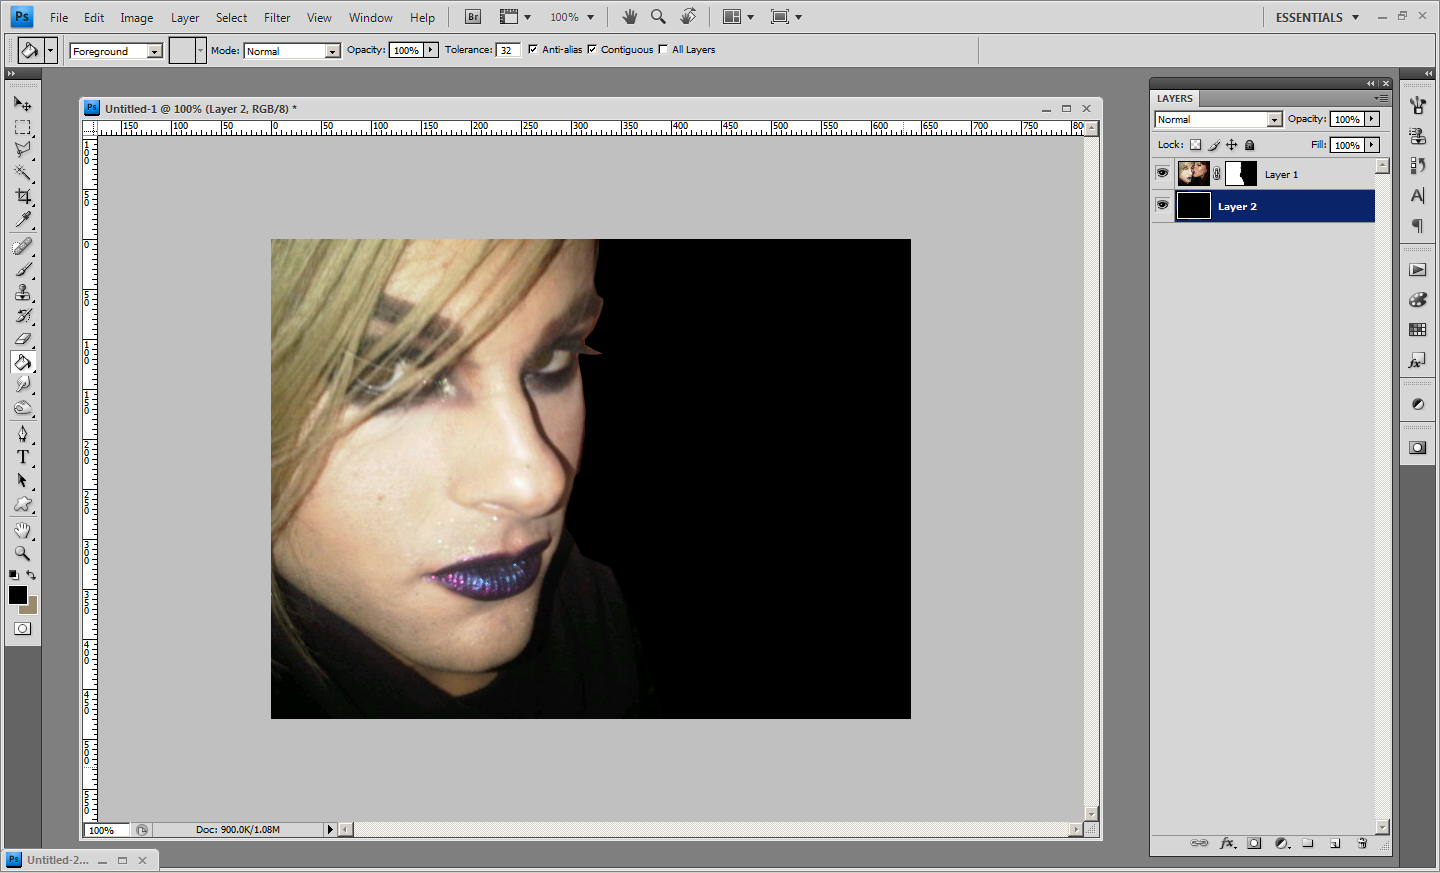
- choose pen tool, and line around Tommy's face
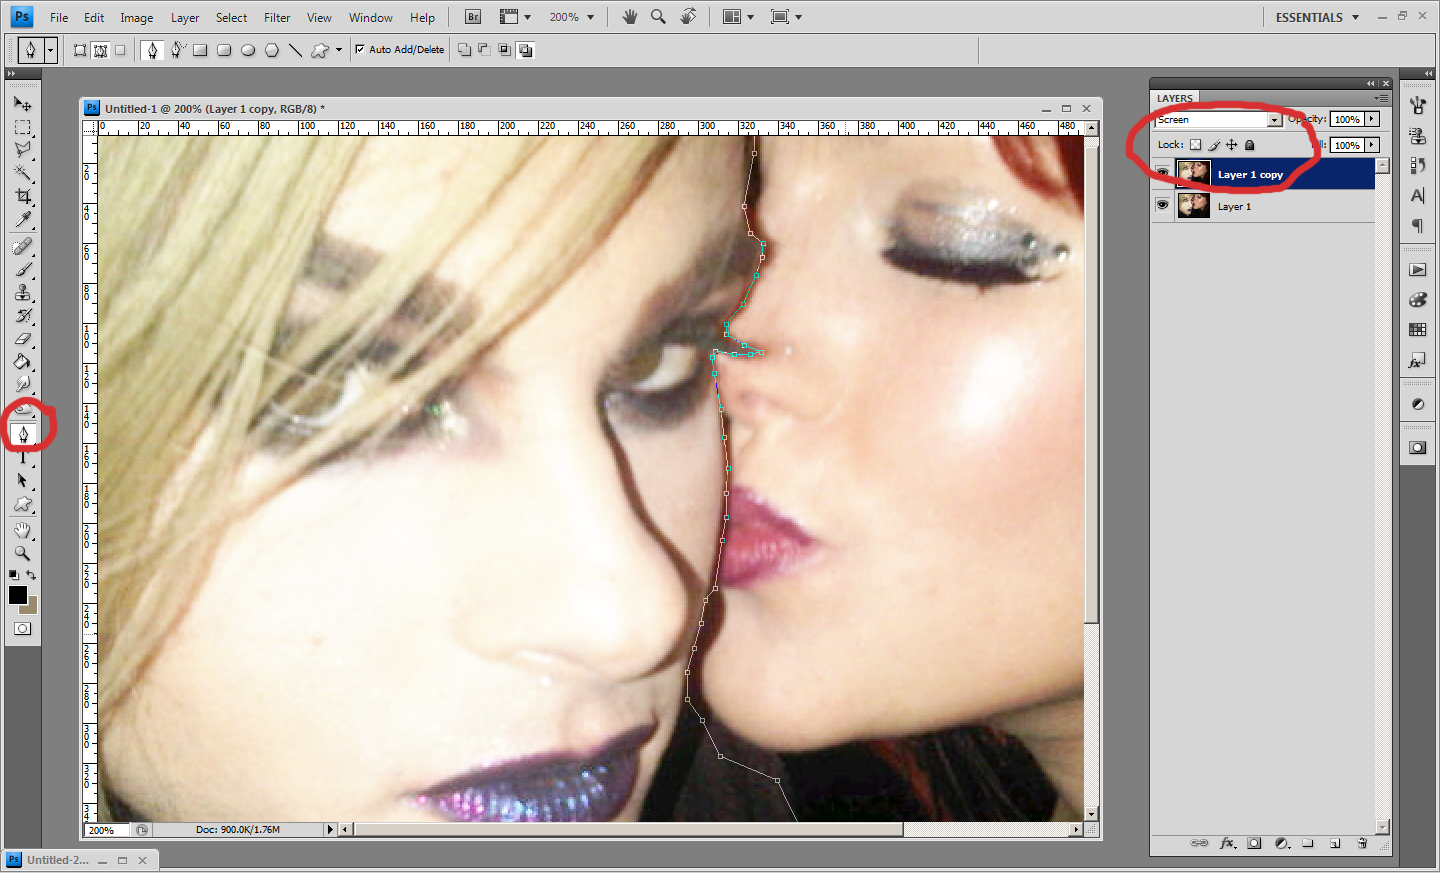
Continue working with the pen tool, but you don't need to be too detailed, cos the part we're erasing are going to be dark anyway. Once you're done, close your anchor point and do right click > make selections.
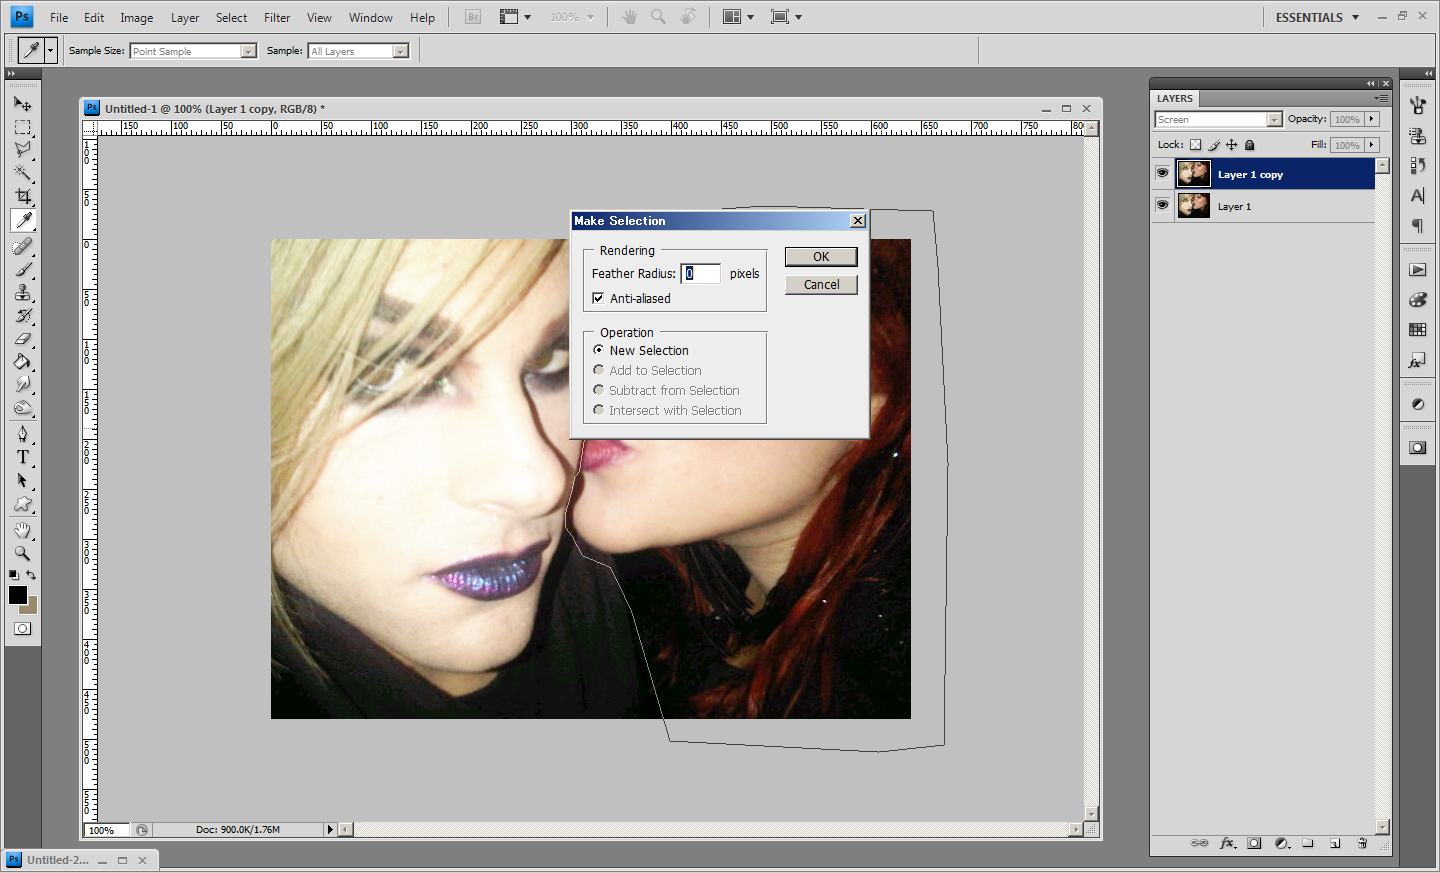
Click OK. Right click > select inverse. Create a mask on the layer, and make a new layer for your background (I did it with black fill/paint bucket). Delete the screen layer.
3. Photo enhancement + collage effect
I added my second image and I did some sharpening with sharpen filter. I also resize the image to 500px in width.
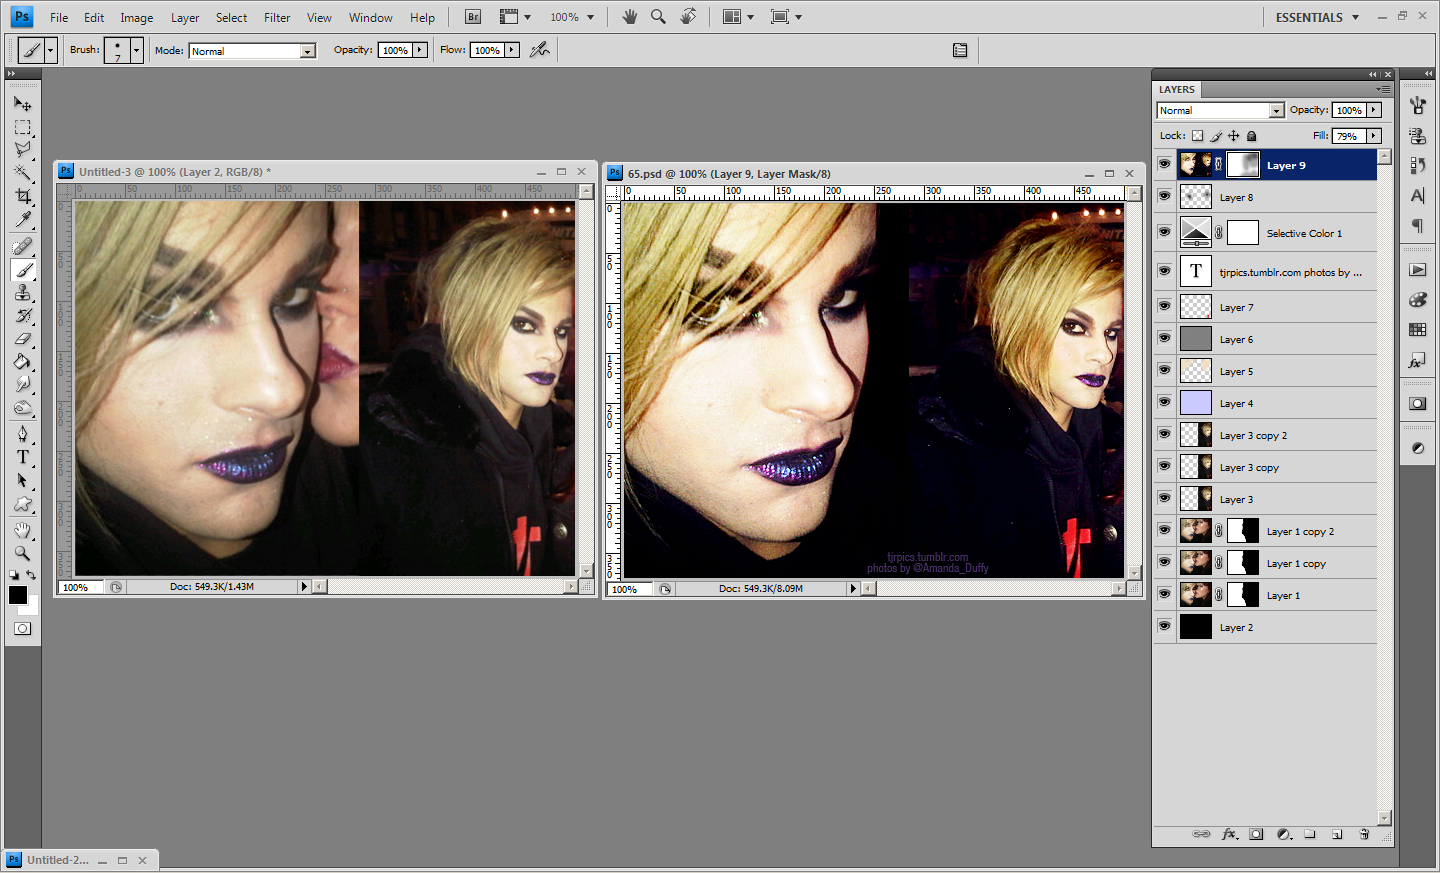
Here's my layers :
Background (black, normal, 100%)
image 1 > normal 100%, burned on eyes and eyebrow area
image 1 > screen 75% , sharpened
image 1 > soft light 100%, sharpened
image 2 > normal 100%, sharpened
image 2 > screen 55%, sharpened
image 2 > soft light 51%, sharpened
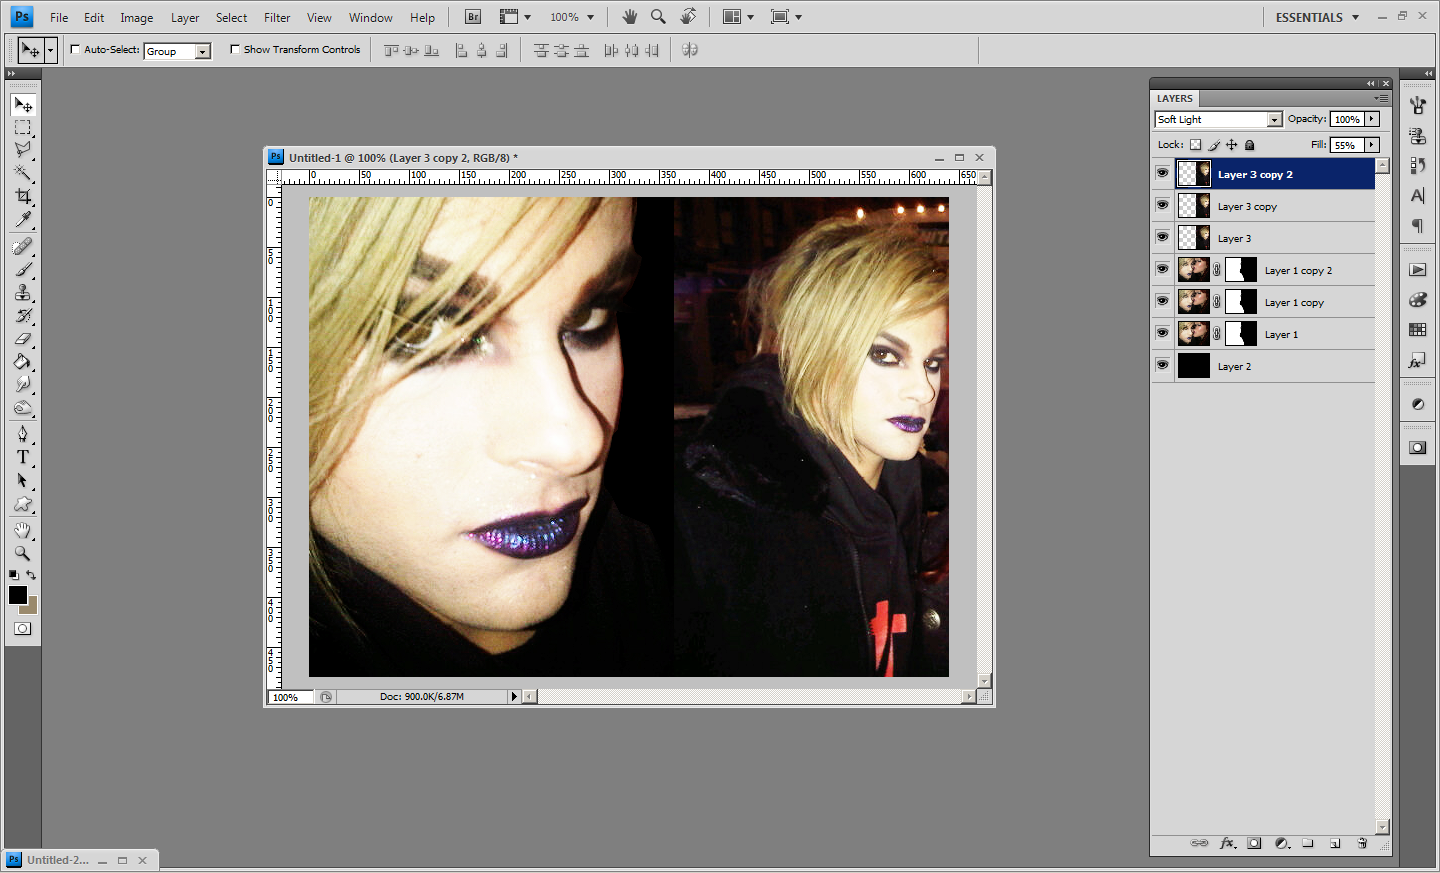
Look better?
3. Coloring
new layer > fill > #cacaff > set it to color burn with 35% opacity
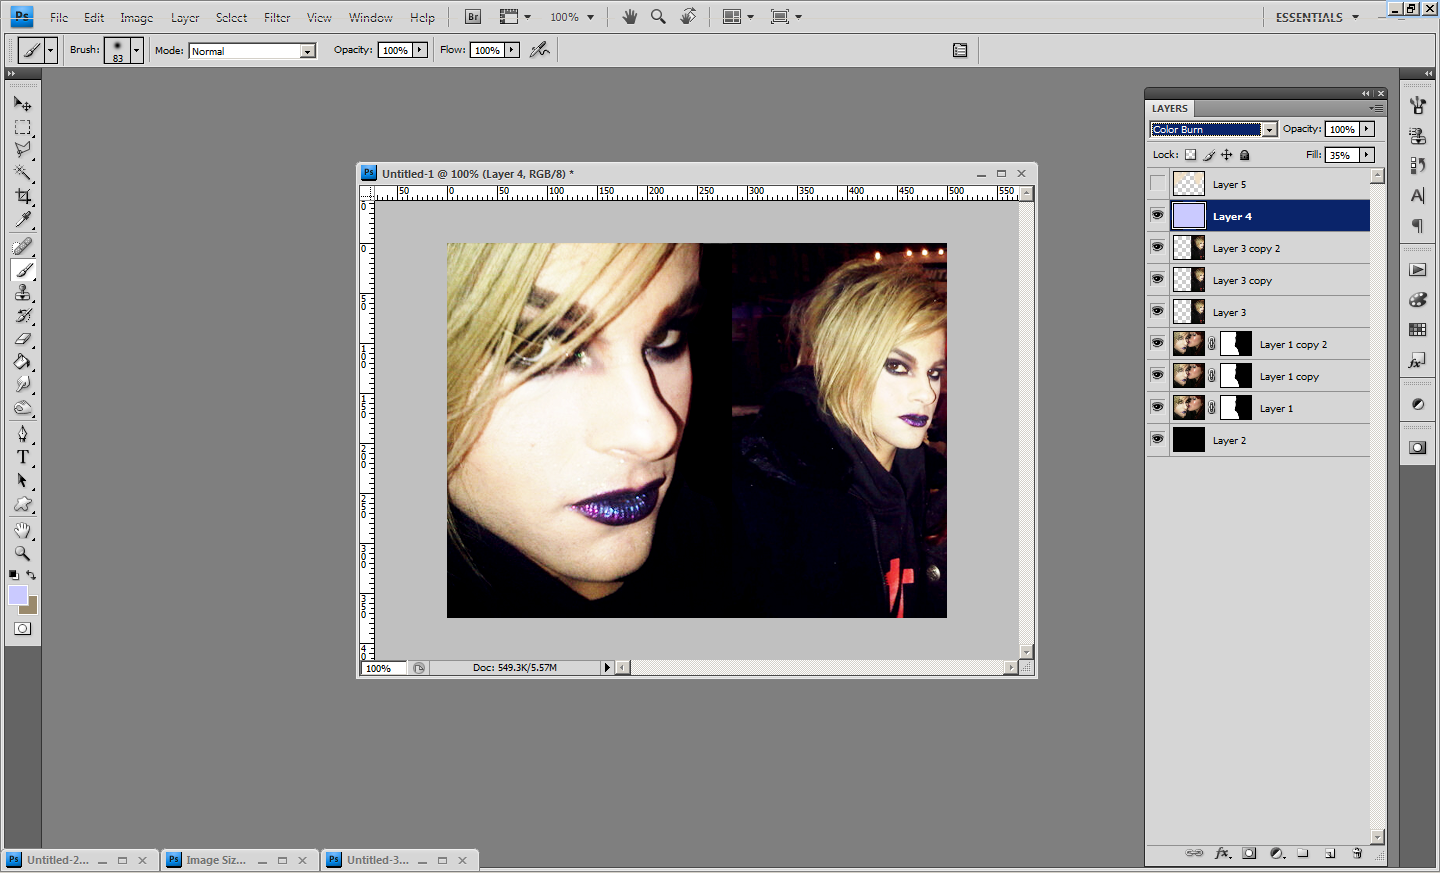
I wanted to make his hair color pop up more, so I use brush with #f0dfc4. Don't worry about being exact with this one.
Set it to color burn.
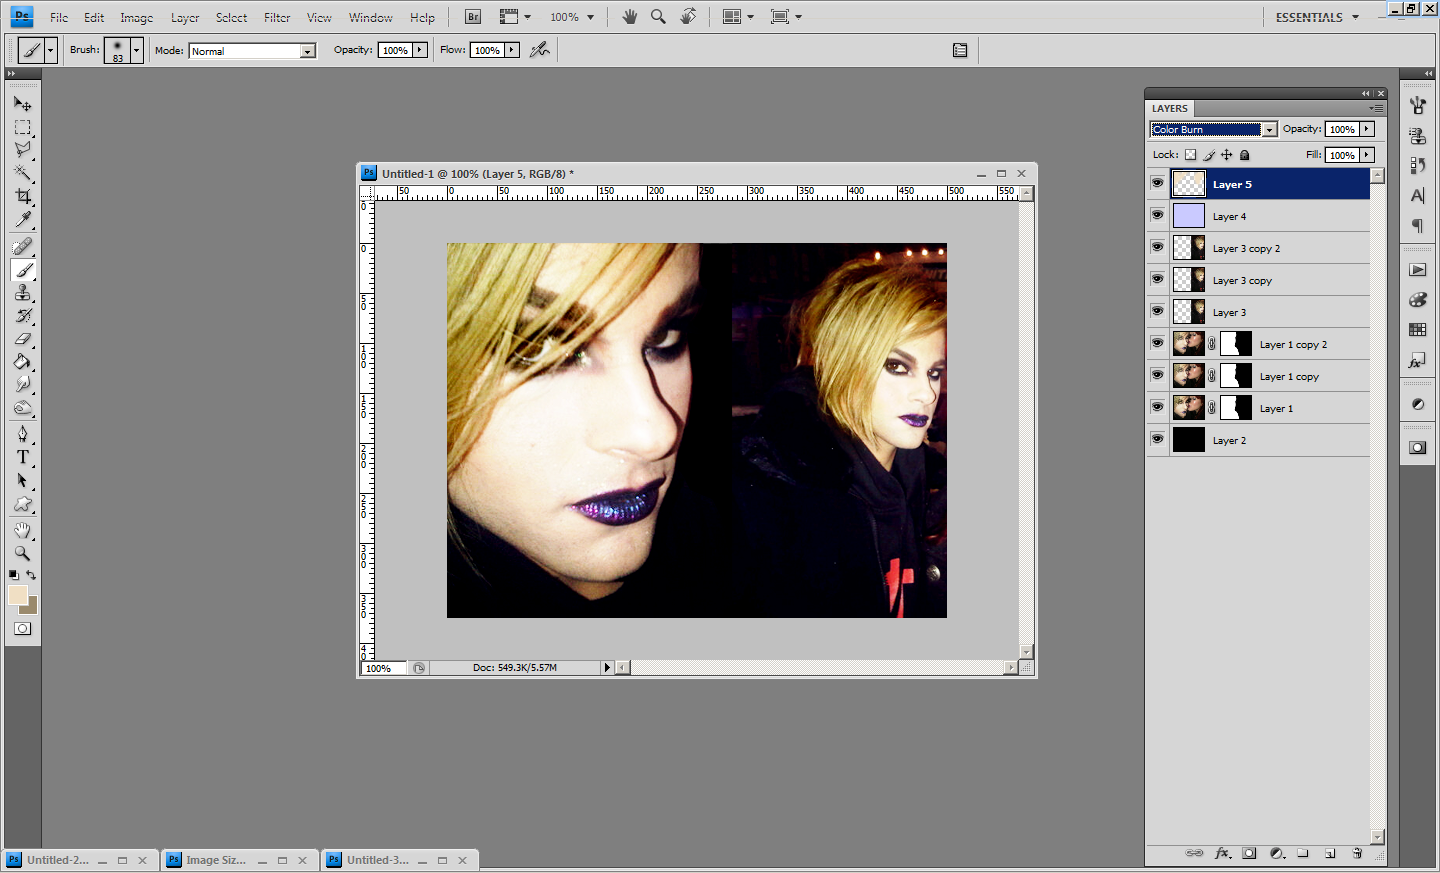
Now, you don't want it to be too yellow, the point is to make it more vibrant but still natural. So I lessen the fill to 70%.
4. Finishing
History > create new document from current state > merge visible
Drag this layer to the first document, and choose Filter > Other > High Pass on 1.3 pixel.
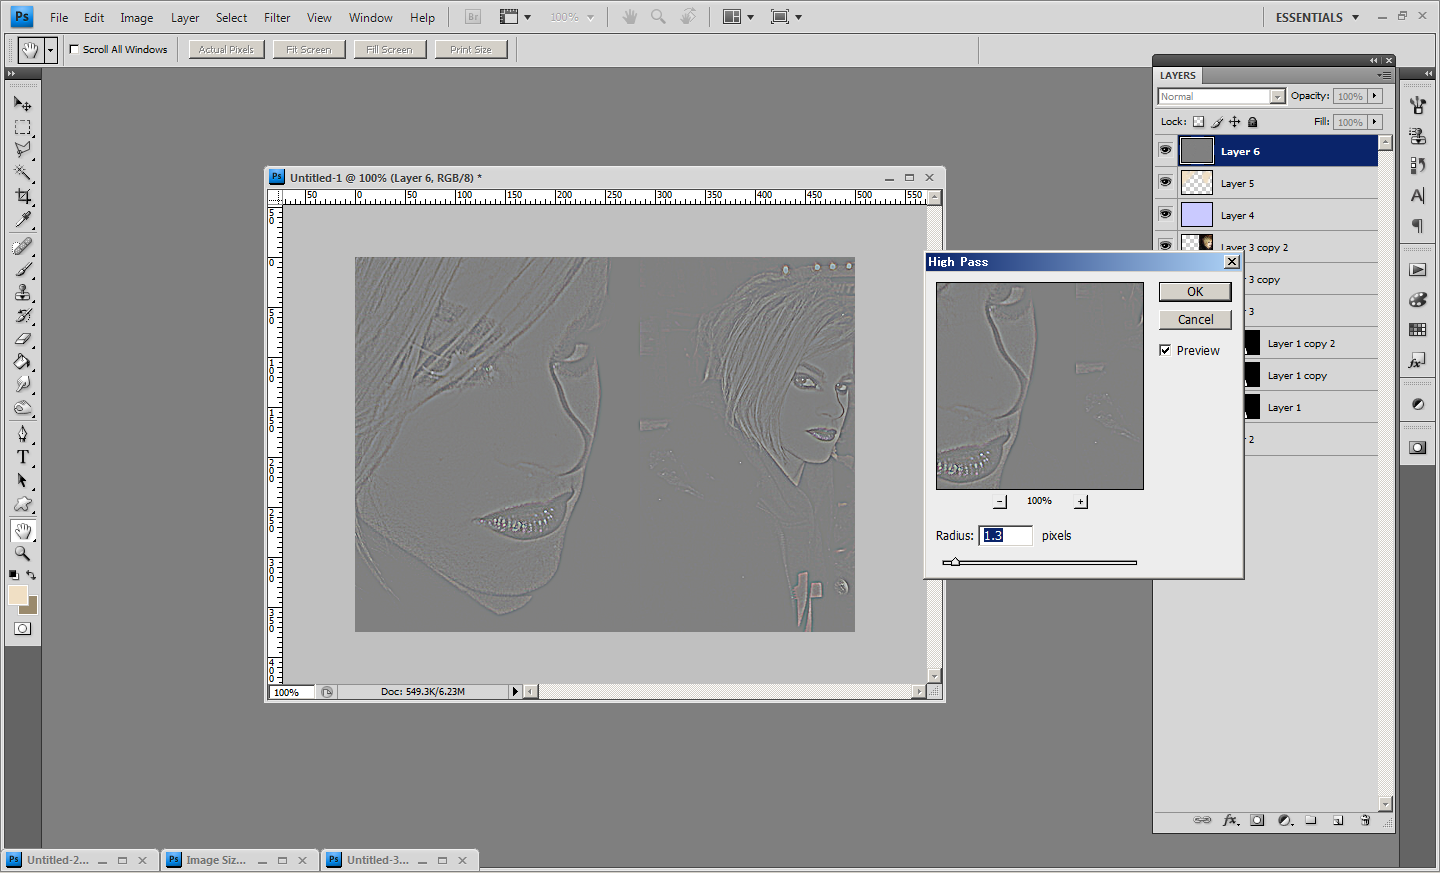
Set it to soft light. If it's too rough, lower the opacity.
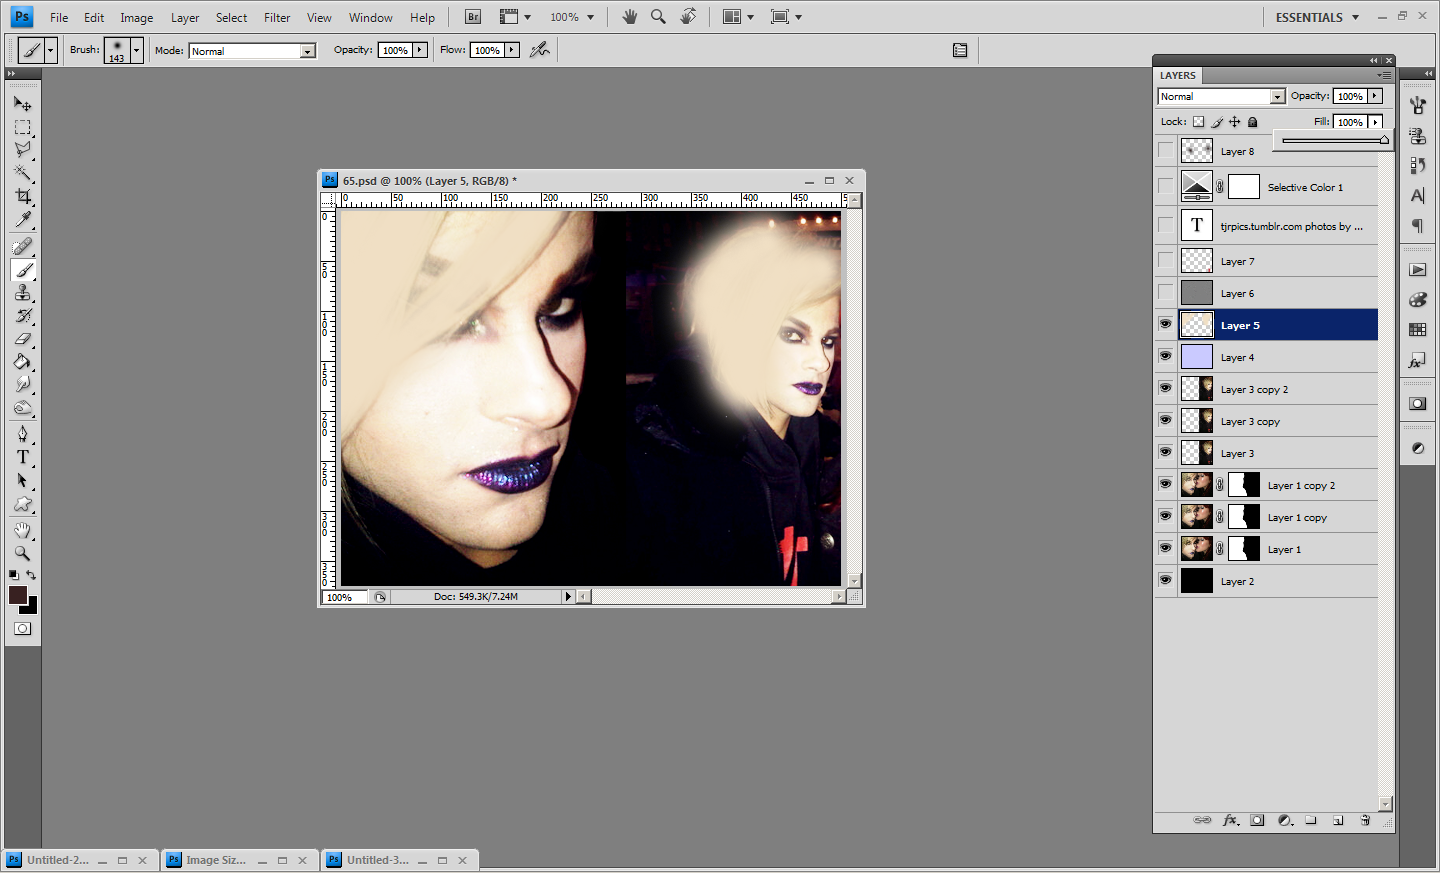
I think the white part on his face from the flash is too white/bright, so I add a little selective coloring, set the whites to +51 black to make it darker.
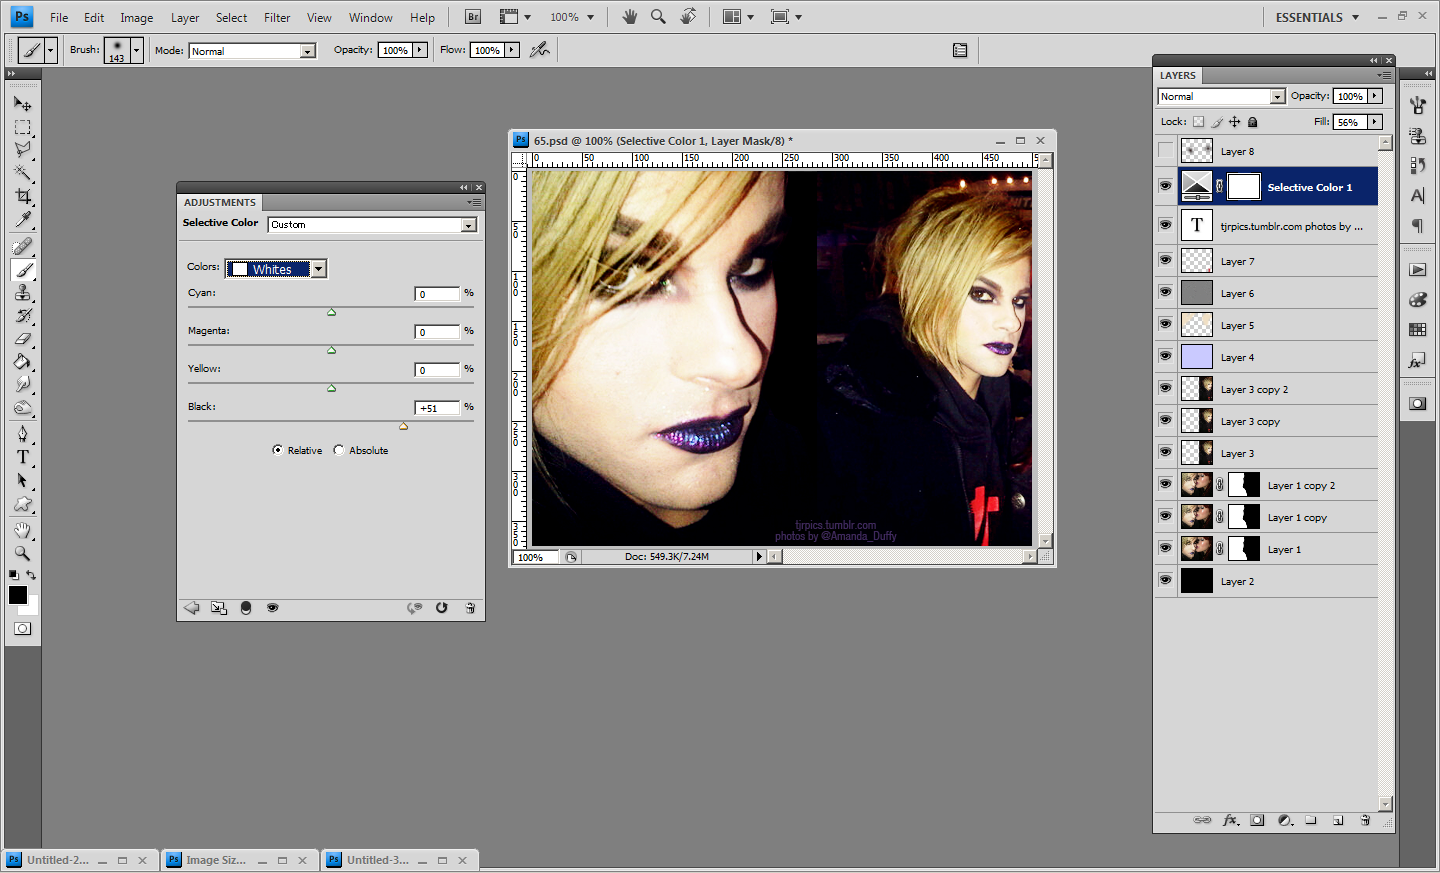
Cos it's still too bright, I use brush with color #382121 right on his face.
Set it to soft light.
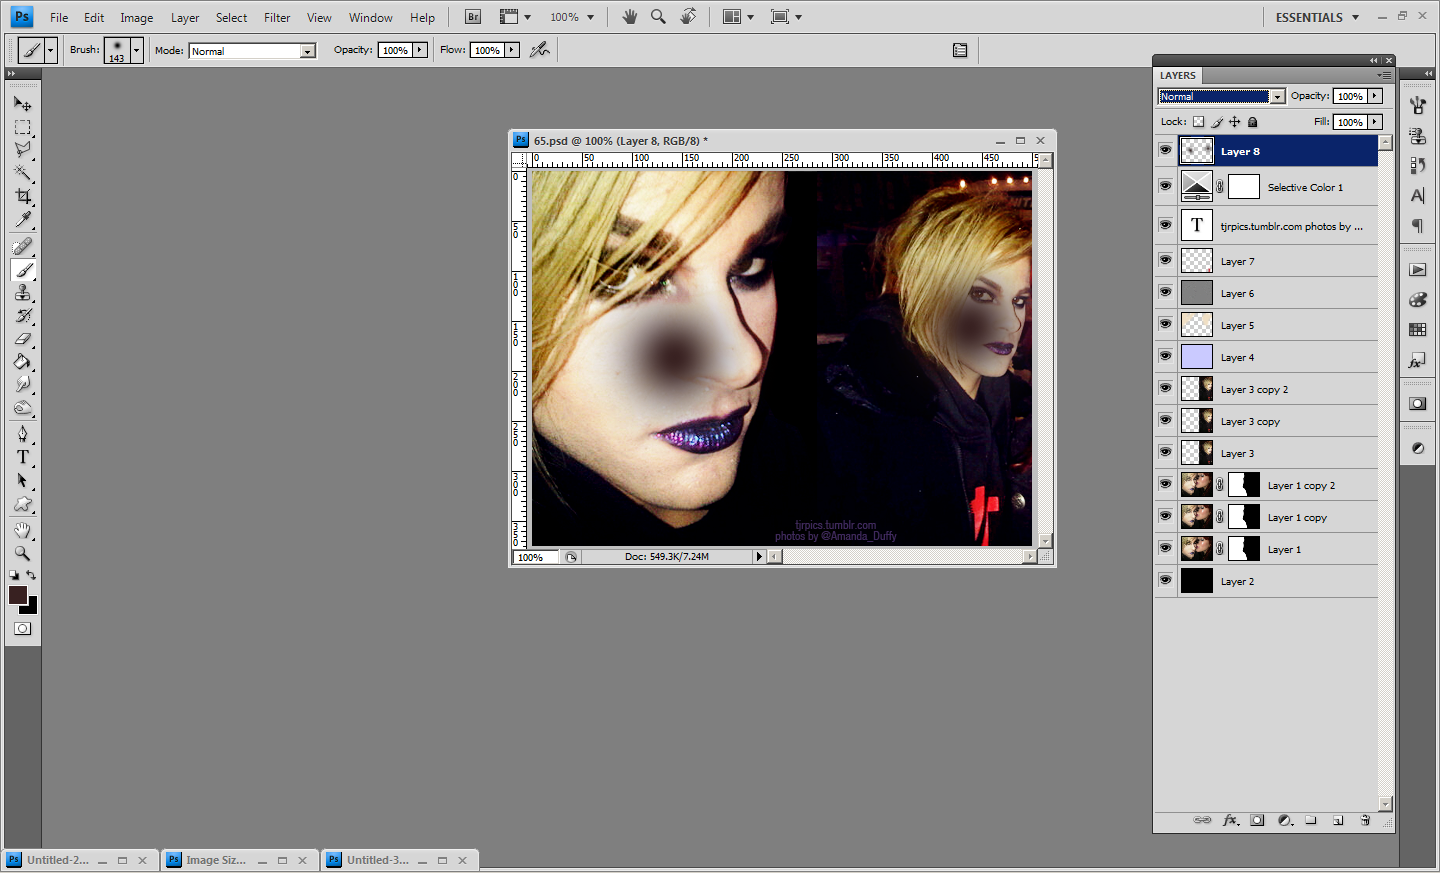
History > create new document from current state
Merge visible > filter : sharpen
Drag layer to first document, set it on normal with 79% opacity. I added a layer mask and brush the area that looks over sharpened with black on 40% brush opacity.
5. End Result
original
enhanced
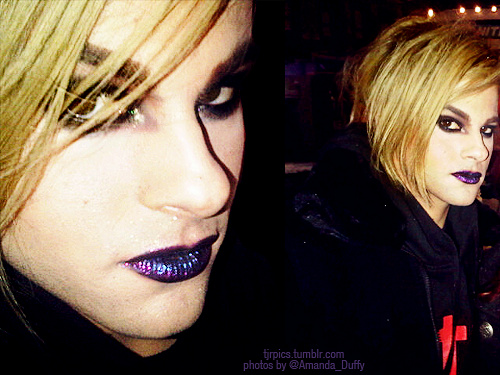
If you think it's too sharpened or contrasted or saturated, you can change the setting based on your preference. To me personally, because this is for tumblr entry, it needs to be a little bit exaggerated. I love my pictures with actual colors in them :)
other examples of photo enhancement that I did :
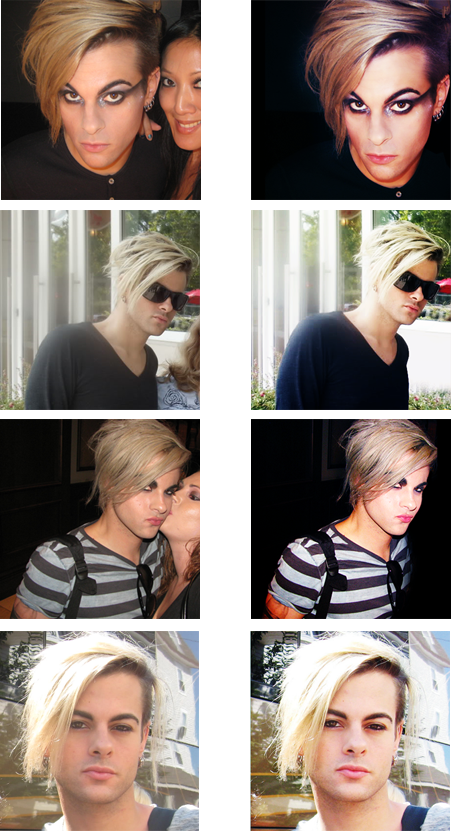
(all are posted at tjrpics tumblr)
Practice with different types of photos, and you'll find your own ways of photo enhancement :)
Questions? Leave 'em in the comments.