007 // Tutorial #01: Colorintense Effect
Tutorial made by, and Copyright mchannas!
I need Feedback for my Tutorial! I also love it, when you show me your icon you made with this tutorial.
So please comment!
Endproduct:
Made with Photoshop 7.
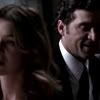
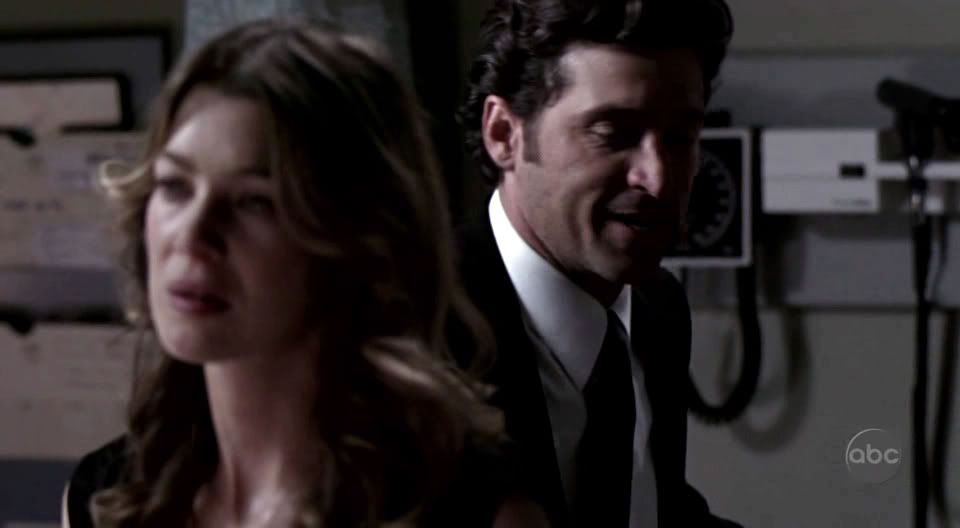
1.)We start with *this* Cap from StripedWall.
Resize the Cap to 200*110, and open in Photoshop a new file, sized 100*100.
2.)Copy the Cap, in the file sized 100*100.
3.)Go to Filter>Sharpen>Sharpen.

4.)Duplicate the first layer, and set the copied layer to Screen 100%.

5.)Add a new layer, above all layers, and fill it with the Paint Bucket Tool with this color: #191B64.
Then set the layer to Exclusion 100%.

6.)We copy this base from ??? (please comment if you know the makers name):

into the file and set the layer to Screen 100%. Then we erase the light effects in Meredith's Face.

7.)Add this base from ??? (comment if you know the makers name):

into your icon and set the layer to Lighten 100%. Erase the base in, where Meredith's and Derek's Face is.

8.)Add this base from ??? (comment if you know the makers name):

to the icon and set the Layer to Lighten 100%.
9.)Finally you only have to add the Text. I used CAC Pinafore in White, and with a Pink Glow Effect.
Tadaaaaaaaaaaaaa......!
(C) Hanna // mchannas
I need Feedback for my Tutorial! I also love it, when you show me your icon you made with this tutorial.
So please comment!
Endproduct:
Made with Photoshop 7.
1.)We start with *this* Cap from StripedWall.
Resize the Cap to 200*110, and open in Photoshop a new file, sized 100*100.
2.)Copy the Cap, in the file sized 100*100.
3.)Go to Filter>Sharpen>Sharpen.
4.)Duplicate the first layer, and set the copied layer to Screen 100%.
5.)Add a new layer, above all layers, and fill it with the Paint Bucket Tool with this color: #191B64.
Then set the layer to Exclusion 100%.
6.)We copy this base from ??? (please comment if you know the makers name):
into the file and set the layer to Screen 100%. Then we erase the light effects in Meredith's Face.
7.)Add this base from ??? (comment if you know the makers name):
into your icon and set the layer to Lighten 100%. Erase the base in, where Meredith's and Derek's Face is.
8.)Add this base from ??? (comment if you know the makers name):
to the icon and set the Layer to Lighten 100%.
9.)Finally you only have to add the Text. I used CAC Pinafore in White, and with a Pink Glow Effect.
Tadaaaaaaaaaaaaa......!
(C) Hanna // mchannas