Daenerys & Eleven tutorials
Requested by pelinsi
Made in Photoshop CS5.
Uses Vibrance.
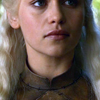
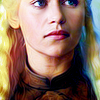
>>
1. Take this image and crop to whatever size you like to work with. I usually do 200x200px as I can work on details much easier. (but for this I'm just pulling images from my psd so it's 100x100)
Go to image and select auto contrast, then auto tone and auto color. This should be your final result,

2. Copy the base and set to Screen at 49%
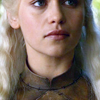
3. Create a new layer and take a soft black brush size 14 at 100% opacity and brush in black in these areas,
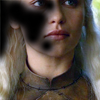
Then set to soft light at 53%.
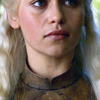
4. Create a Vibrance layer and lower the Saturation to -49. Lower layer opacity to 58%.
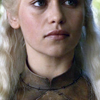
5. Create a black & white gradient fill layer, set to Soft Light, opacity 50%.
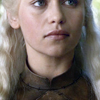
6. Create a Color Balance layer and set to Red; -9. Layer opacity 45%. The color change is very subtle.
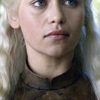
7. To give this some more color again create a Hue/Saturation layer and set Saturation to +22.
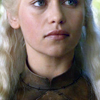
8. Now to balance it out some more, create a Brightness/Contrast layer and set the contrast to 41.
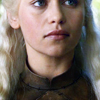
9. Create a Selective color layer and adjust to these settings, Yellow channel Magenta +19 Yellow +29. Set Layer to Soft Light and layer fill to 60%.
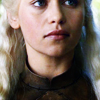
10. Create a new Vibrance layer and set Vibrance to +54 and Saturation to +15.
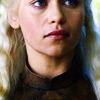
11. To lighten it up some, create a new Brightness/Contrast layer, set contrast to 28.
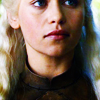
12. I got this gradient in a pack from deviantart but since I don't have the link to the pack I'll have to do it this way by making a screen cap of the gradient layer you need to make. Save the picture, open it in the program you're using and use the color picker to get the colors you need and adjust according to the cap, copy the colors with the color picker in your photoshop or what ever program you're using.

When you get that done, set the layer to Soft Light.
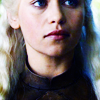
13. Create a new Levels layer and adjust the settings to this; 8 1.62 255. Erase the really light parts and leave the mask white on the shadow parts something like this

Should look like this

14. Take your soft brush again and paint in black in this area,
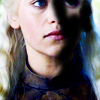
Set the layer to Soft Light at 66% opacity.
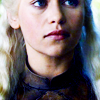
15. Create a new Color Balance layer and set adjustments to; +34 +43 -22.
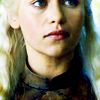
16. I'm not exactly sure how I did this next layer so I'm going to guess! :P
Create a new layer and take these colors, #ff8617, #ffd81e & #fe71b8 and paint paint them something like this. I had done some erasing with a soft brush. Then got to filters Blur > Gaussian Blur and set it to something to where the colors blend together like below, you may need to erase some off her face after this. Just do your best, it should turn out similar if not the same.
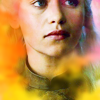
Then set the layer to Color Burn at 42%.
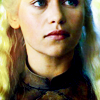
17. Take this texture and set the layer to Soft Light 47%. (I don't know where I got the texture from so I had to upload it like it is)
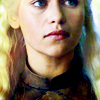
18. Create a new Color Balance layer and set adjustments to, +9 -10 +15
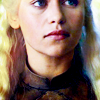
19. Create a new Vibrance layer and set Vibrance to +23
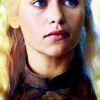
20. This step covers the painting layers that will be coming up and then we're almost done!
Take the soft brush again and paint the brown part of her dress with this color; #8c5928 and set the layer to Soft Light.
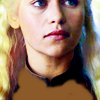
Paint with this color; #69433b on the left part of her hair and set the layer to Soft Light with 40% opacity.
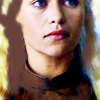
At this point I have created a new layer and stamped it (control + shift + alt + e in case you don't know what I mean) into a new 'base' image. Then I opened my Topaz Clean and ajusted it til it lost the 'grainy' look it had especially in the hair to smooth it out. This is just personal preference. You can skip this step.
Take this color; #245d7f and paint over the blue parts on the right side. Set the layer to Soft Light.
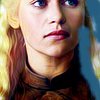
Take this color; #993735 and paint on the reddish part of her hair on the left side. Set layer to Soft Light at 44% opacity.
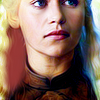
Take this color; #e7c81a and paint over the yellow parts of her hair. Set the layer to Soft Light at 45% opacity.

Take this color; #d2668a and paint on her lips. Set layer to Soft Light at 48% opacity.
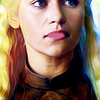
Still using the same color as above paint on the left side of her face. Set layer to Soft Light at 51% opacity.
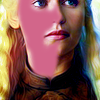
Take this color; #a9d5ee and paint the white spot on the upper right. Set layer to Multiply.
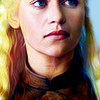
This is what it should look like when you're finished.
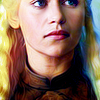
21. Now create a Levels layer and adjust the settings to this; 0 1.16 255
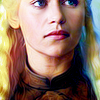
22. And finally create a Brightness/Contrast layer and adjust Brightness to -5 and Contrast 14.
Finished!

Whew! That waaay longer than I thought it'd be! If no one wants to go through all that, (which I can totally understand as it took me about four hours to do this one icon originally. /dies/) I've uploaded the PSD for download on mediafire here.
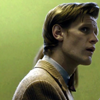
>>
1. Take this image and crop to whatever size you like to work with. I usually do 200x200px as I can work on details much easier.
I think I did some auto contrast I'm not sure about what else I did but fiddle around until you get something like this,
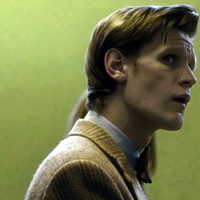
2. Now in this current state it's very grainy so I used a few Topaz Clean layers to get it nice and sharp. I had left it at the full size to do use Topaz. So do what you like with whatever tools you have be it the blur or smudge tool or just want to let it be.
3. Take this color; #ecd0d0 and paint over his face. Then set the layer to Soft Light 74%.
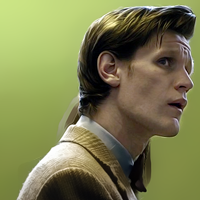
4. Then pull a green color that matches the background with the color picker and paint over Amy's hair.
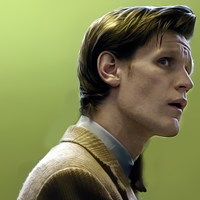
5. Create a Color Balance layer and set the adjustments to this; -9 0 0. Set layer to 45% opacity.
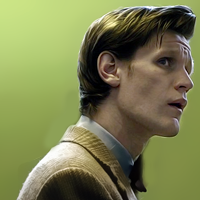
6. Create a Curves layer and set the RGB channel to this; Output: 148 Input: 120.
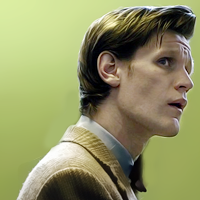
7. Create a Hue/Saturation layer and set the Saturation to +22.
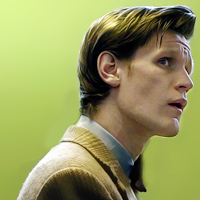
8. Create a Brightness/Contrast layer and set the Contrast to 41.
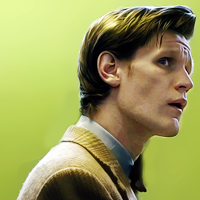
9. Create a Vibrance layer and set Vibrance to +54 and Saturation to +28. Erase this part from his face only.
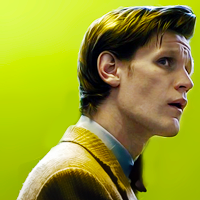
10. Create Levels layer and set the adjustments to; 9 1.24 236
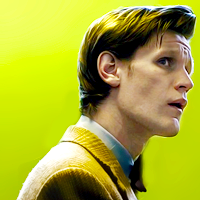
11. Take this texture and set it to Soft Light at 54%.
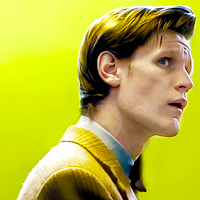
12. Create a Color Balance layer and set the adjustments to this; +6 +9 -16.
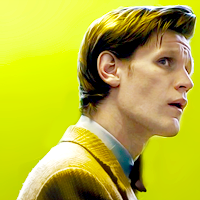
13. Create a Levels layer and set the adjustments to this; 5 1.00 255
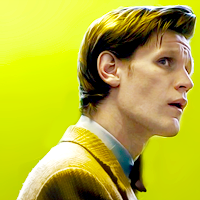
14. Create a Vibrance layer and set Vibrance to +33 and Saturation to +18.
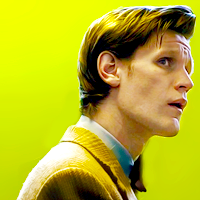
15. Create a Levels layer and set the adjustments to this; 9 1.20 255
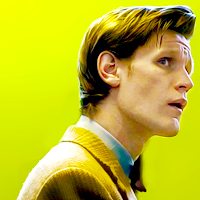
16. Create a Brightness/Contrast layer and set the Contrast to 21.
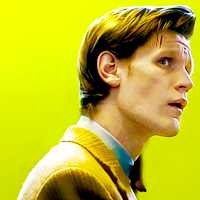
17. Lastly create another Color Balance layer and set the adjustments to this; -13 -6 +23. Erase the background only.
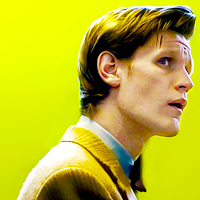
18. Now for the white parts just take your Rectangular Marquee Tool and make a long thin rectangle and fill with white. Then click control + t and use the thingie that pops up (I can't remember what this is actually called, sorry!) to turn the line to the angle you wish then press 'enter' or the little check mark on your toolbar. Then use a hard erase brush to erase the lines so it looks as if it's coming from behind the subject.
19. Resize and then sharpen a little so it's not so fuzzy looking.

Finished!
I hope this was helpful! Feel free to ask any questions. :D
Made in Photoshop CS5.
Uses Vibrance.
>>
1. Take this image and crop to whatever size you like to work with. I usually do 200x200px as I can work on details much easier. (but for this I'm just pulling images from my psd so it's 100x100)
Go to image and select auto contrast, then auto tone and auto color. This should be your final result,
2. Copy the base and set to Screen at 49%
3. Create a new layer and take a soft black brush size 14 at 100% opacity and brush in black in these areas,
Then set to soft light at 53%.
4. Create a Vibrance layer and lower the Saturation to -49. Lower layer opacity to 58%.
5. Create a black & white gradient fill layer, set to Soft Light, opacity 50%.
6. Create a Color Balance layer and set to Red; -9. Layer opacity 45%. The color change is very subtle.
7. To give this some more color again create a Hue/Saturation layer and set Saturation to +22.
8. Now to balance it out some more, create a Brightness/Contrast layer and set the contrast to 41.
9. Create a Selective color layer and adjust to these settings, Yellow channel Magenta +19 Yellow +29. Set Layer to Soft Light and layer fill to 60%.
10. Create a new Vibrance layer and set Vibrance to +54 and Saturation to +15.
11. To lighten it up some, create a new Brightness/Contrast layer, set contrast to 28.
12. I got this gradient in a pack from deviantart but since I don't have the link to the pack I'll have to do it this way by making a screen cap of the gradient layer you need to make. Save the picture, open it in the program you're using and use the color picker to get the colors you need and adjust according to the cap, copy the colors with the color picker in your photoshop or what ever program you're using.
When you get that done, set the layer to Soft Light.
13. Create a new Levels layer and adjust the settings to this; 8 1.62 255. Erase the really light parts and leave the mask white on the shadow parts something like this
Should look like this
14. Take your soft brush again and paint in black in this area,
Set the layer to Soft Light at 66% opacity.
15. Create a new Color Balance layer and set adjustments to; +34 +43 -22.
16. I'm not exactly sure how I did this next layer so I'm going to guess! :P
Create a new layer and take these colors, #ff8617, #ffd81e & #fe71b8 and paint paint them something like this. I had done some erasing with a soft brush. Then got to filters Blur > Gaussian Blur and set it to something to where the colors blend together like below, you may need to erase some off her face after this. Just do your best, it should turn out similar if not the same.
Then set the layer to Color Burn at 42%.
17. Take this texture and set the layer to Soft Light 47%. (I don't know where I got the texture from so I had to upload it like it is)
18. Create a new Color Balance layer and set adjustments to, +9 -10 +15
19. Create a new Vibrance layer and set Vibrance to +23
20. This step covers the painting layers that will be coming up and then we're almost done!
Take the soft brush again and paint the brown part of her dress with this color; #8c5928 and set the layer to Soft Light.
Paint with this color; #69433b on the left part of her hair and set the layer to Soft Light with 40% opacity.
At this point I have created a new layer and stamped it (control + shift + alt + e in case you don't know what I mean) into a new 'base' image. Then I opened my Topaz Clean and ajusted it til it lost the 'grainy' look it had especially in the hair to smooth it out. This is just personal preference. You can skip this step.
Take this color; #245d7f and paint over the blue parts on the right side. Set the layer to Soft Light.
Take this color; #993735 and paint on the reddish part of her hair on the left side. Set layer to Soft Light at 44% opacity.
Take this color; #e7c81a and paint over the yellow parts of her hair. Set the layer to Soft Light at 45% opacity.
Take this color; #d2668a and paint on her lips. Set layer to Soft Light at 48% opacity.
Still using the same color as above paint on the left side of her face. Set layer to Soft Light at 51% opacity.
Take this color; #a9d5ee and paint the white spot on the upper right. Set layer to Multiply.
This is what it should look like when you're finished.
21. Now create a Levels layer and adjust the settings to this; 0 1.16 255
22. And finally create a Brightness/Contrast layer and adjust Brightness to -5 and Contrast 14.
Finished!
Whew! That waaay longer than I thought it'd be! If no one wants to go through all that, (which I can totally understand as it took me about four hours to do this one icon originally. /dies/) I've uploaded the PSD for download on mediafire here.
>>
1. Take this image and crop to whatever size you like to work with. I usually do 200x200px as I can work on details much easier.
I think I did some auto contrast I'm not sure about what else I did but fiddle around until you get something like this,
2. Now in this current state it's very grainy so I used a few Topaz Clean layers to get it nice and sharp. I had left it at the full size to do use Topaz. So do what you like with whatever tools you have be it the blur or smudge tool or just want to let it be.
3. Take this color; #ecd0d0 and paint over his face. Then set the layer to Soft Light 74%.
4. Then pull a green color that matches the background with the color picker and paint over Amy's hair.
5. Create a Color Balance layer and set the adjustments to this; -9 0 0. Set layer to 45% opacity.
6. Create a Curves layer and set the RGB channel to this; Output: 148 Input: 120.
7. Create a Hue/Saturation layer and set the Saturation to +22.
8. Create a Brightness/Contrast layer and set the Contrast to 41.
9. Create a Vibrance layer and set Vibrance to +54 and Saturation to +28. Erase this part from his face only.
10. Create Levels layer and set the adjustments to; 9 1.24 236
11. Take this texture and set it to Soft Light at 54%.
12. Create a Color Balance layer and set the adjustments to this; +6 +9 -16.
13. Create a Levels layer and set the adjustments to this; 5 1.00 255
14. Create a Vibrance layer and set Vibrance to +33 and Saturation to +18.
15. Create a Levels layer and set the adjustments to this; 9 1.20 255
16. Create a Brightness/Contrast layer and set the Contrast to 21.
17. Lastly create another Color Balance layer and set the adjustments to this; -13 -6 +23. Erase the background only.
18. Now for the white parts just take your Rectangular Marquee Tool and make a long thin rectangle and fill with white. Then click control + t and use the thingie that pops up (I can't remember what this is actually called, sorry!) to turn the line to the angle you wish then press 'enter' or the little check mark on your toolbar. Then use a hard erase brush to erase the lines so it looks as if it's coming from behind the subject.
19. Resize and then sharpen a little so it's not so fuzzy looking.
Finished!
I hope this was helpful! Feel free to ask any questions. :D