Tutorial #4
Also requested by blackest_crow.
Made in the GIMP - translatable.
How to go from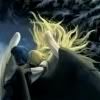
to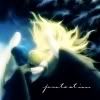
in 12 layers.
1. Start off with your base~ Mine is a CG from FE10.

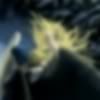
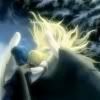
2. Duplicate your base and Gaussian Blur it with a Radius of 5,5. Set it to Screen, 100%.

+
=
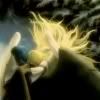
3. Create a new layer and fill it with a dark blue (I used #021538). Set this layer to Subtract, 100%.

+
=
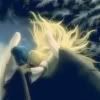
4. Duplicate your dark blue layer and set it to Screen, 100%.

+
=
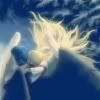
5. Duplicate your dark blue layer again and keep it on Screen, 100%.

+
=
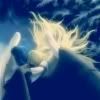
6. Create a new layer and fill it with a light blue (I used #d6e9f7). Set it to Burn, 100%.

+
=
7. Create a new layer and fill it with a light pink (I used #ffdfd0). Set it to Multiply, 100%.

+
=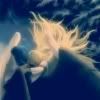
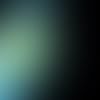
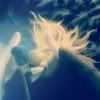
8. Paste a light texture (this one is by colortone) and set it to Screen, playing with the opacity until you find something you like. (Mine is set to 49.8% opacity.)

+
=
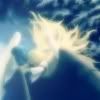
9. Duplicate your blurred base, bring it to the top, and set it to Screen, 100%.

+
=
10. Duplicate your blurred base and set it to Soft Light, 100%.

+
=
11. Duplicate your unblurred base, bring it to the top, and set it to Soft Light, 100%.

+
=
12. Add some text. Mine is "protection" in Carpenter ICG, 12 point font.

+
=
And you're done! Feel free to experiment. I would love to see your results~
Made in the GIMP - translatable.
How to go from

to

in 12 layers.
1. Start off with your base~ Mine is a CG from FE10.

2. Duplicate your base and Gaussian Blur it with a Radius of 5,5. Set it to Screen, 100%.

+

=

3. Create a new layer and fill it with a dark blue (I used #021538). Set this layer to Subtract, 100%.

+

=

4. Duplicate your dark blue layer and set it to Screen, 100%.

+

=

5. Duplicate your dark blue layer again and keep it on Screen, 100%.

+

=

6. Create a new layer and fill it with a light blue (I used #d6e9f7). Set it to Burn, 100%.

+

=

7. Create a new layer and fill it with a light pink (I used #ffdfd0). Set it to Multiply, 100%.

+

=

8. Paste a light texture (this one is by colortone) and set it to Screen, playing with the opacity until you find something you like. (Mine is set to 49.8% opacity.)

+

=

9. Duplicate your blurred base, bring it to the top, and set it to Screen, 100%.

+

=

10. Duplicate your blurred base and set it to Soft Light, 100%.

+

=

11. Duplicate your unblurred base, bring it to the top, and set it to Soft Light, 100%.

+

=

12. Add some text. Mine is "protection" in Carpenter ICG, 12 point font.

+

=

And you're done! Feel free to experiment. I would love to see your results~