(no subject)
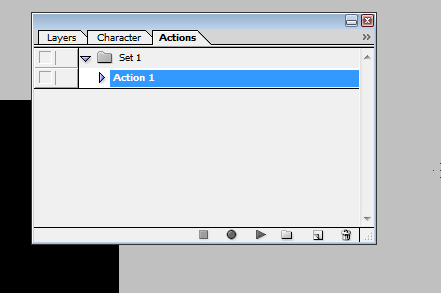
1) To make your actions palette appear, go to Window --> Actions. Ta-da, here's your actions palette. Not sure what it looks like in the newer versions of PS, but I'm going to assume it looks somewhat similar to what follows.
2) Open the first cap. Don't edit anything yet. But make sure that the file is open before you move onto the next step.
3) What an action does is record every change you make to a file. When you're ready to start editing, click the circled icon.

Again, idk if it's the same in all versions, but if you hover over it, it will say "Create new action". A dialogue box will show. Click "Record". The bottom strip of the action palette should now look like this:

4) Now just begin editing. I usually crop the image first. Then I just go through and make whatever coloring edits, layer adjustments, and filter edits to it.
Make sure that when you're changing the properties, you're going to Layer --> New Adjustment Layer instead of Image --> Adjustments. An adjustment layer makes all your changes on a seperate layer, whereas just adjusting the properties through the image dropdown menu makes your changes directly onto the image. That's not so helpful if you end up making a mistake, or decide later on that you shouldn't have added that color layer, etc.
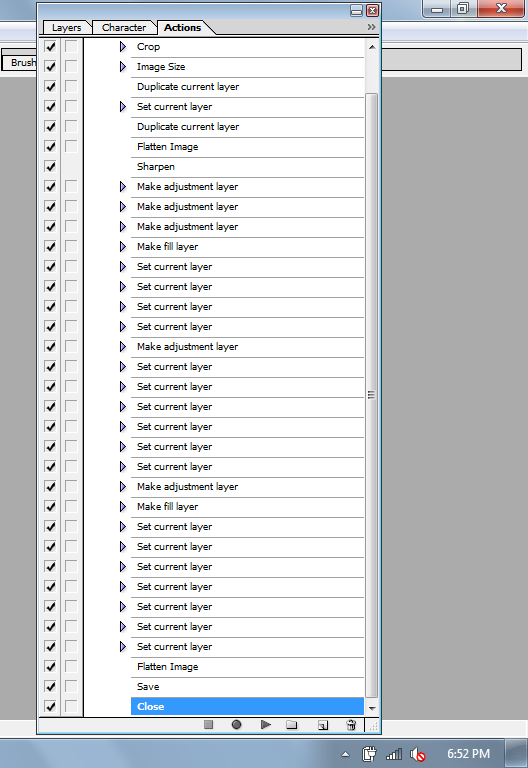
Anyway, I just slapped on a bunch of effects, and the actions palette keeps a record of everything I did, which you can see here:

When I'm finished, the last three steps I always do are as follows:
a) flatten image
b) save image
c) close the image
5) As soon as I close the edited image, I hit the "stop playing/recording" button, circled here:

6) Now all you need to do is open the rest of your unedited caps, click on the action so that it's hightlighted like so

and hit the "play selection" button, circled here:

Your images will automatically be edited in the same exact way that the first one was.
Adding a texture to an action
Okay, say I want to put this texture onto this cap, and all subsequent caps.
What I'm gonna do first is make sure I crop the texture to be the same size as the cap. I'm just going to do this randomly, but obviously it's going to take some time playing around with the texture so it looks nice.
With the cap selected, I'm going to click on the crop tool, and then I'm going to click on "front image" in the toolbar

Now whatever I crop will be the same size as the cap. I randomly selected an area on the texture, and now I've got this.
With the texture selected, I go to Edit --> Define pattern, and hit "okay" before I close the texture.
And now you can include this in an action by going to Layer --> New Fill Layer --> Pattern and yay textures.