Icon Tutorial: #1 - Lucrecia Cresent
Creating my 2nd place winning Icon from ff_abc, Week 21: Theme - U
Hope you enjoy the ride!
Make something from this to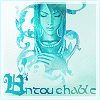
in Paint Shop Pro, Version 7. Should be Translatable.
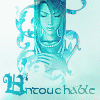
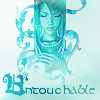
Here we go, my first tutorial and I hope it's not too confusing! The Focus of the Icon in making is Lucrecia Cresent from the Final Fantasy VII game and the soon-to-arrive-in-North-America Dirge of Cerberus! Now onto one small Image to Icon step.
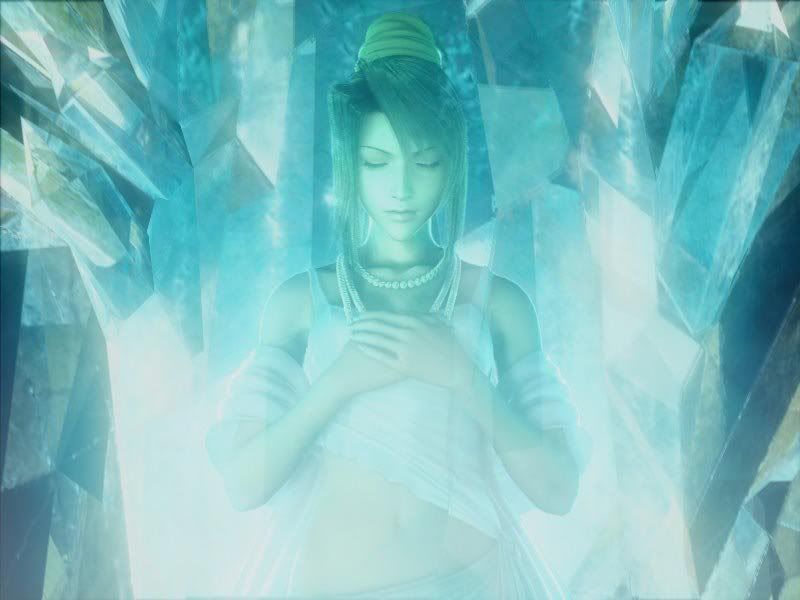
Copy your image and paste as new layer (Ctrl+V+L) into the blank 400x400 template. It should automatically be centered. Now time for the icon making process. ^_^
The Icon Step ProcessImage Step 1Image Step 2Image Step 3Image Step 4
Resize your image into a 100x100 pixel icon and sharpen base twice (Do not use the option Sharpen More!).
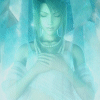
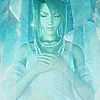
Duplicate Layer, set to soft light, opacity 100%. Duplicate Layer again, setting it to burn with an opacity 50%. One more Duplicate Layer, this time with screen and 50% opacity.
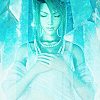
New layer, fill with #000040, set to overlay, opacity 50%

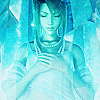
New layer, fill with #FFFFFF, set to soft light, opacity 25%

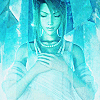
Copy and paste new layer, this texture from unmasked_icons, move to the “center” of your icon; Lucrecia’s head should be roughly in the middle of it; set to lighten and paint the non-covered parts of your base with #FFFFFF, Opacity 100%.
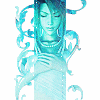
New layer, then using this Brush also from unmasked_icons and color, #B6EEF1, make a stamp; mirror mark and move down to desired area; set to Dodge, Opacity 100% (This will give you an area for your text).
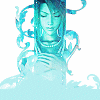
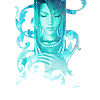
Using Tfu-Tfu, font size 26, create your capital letter (in my case U), place into bottom left corner with some margin from the edge for our little white border. Then with Stonehenge font, font size 12, kerning 25, type out the rest of your word (ntouchable), set next to your capital. Duplicate your font layer, leave as normal and 100% opacity.
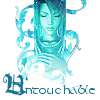
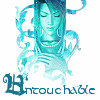
Now for the little snazzy background, copy and paste as new layer this unmasked_icons texture; put on multiply, opacity 70%.

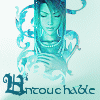
Copy and paste new layer of damnicons’s texture; flip, set to lighten, Opacity 50%; erase parts of the top left corner around Lucrecia’s head; you don’t want any part of the texture on her head; you just want the lights around the bottom of the icon, near or on the Capital Letter.



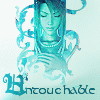
Copy and paste new layer our final unmasked_icons texture; mirror and flip, set to screen, Opacity 100%.
Copy and paste new layer this light texture from ianthinae, set to Lighten, Opacity 100%. Duplicate this layer, it should still be set on Lighten and Opacity 100%.

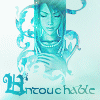
Make a four pixel border using this color, #FFFFFF, set to Soft Light, Opacity 100%. Duplicate it, leaving the same setting as the original.
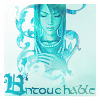
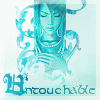
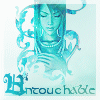
Next, create a new layer and make a two pixel border around the edge using this color, #FFFFFF. Leave as is, no effects here.
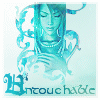
Our one pixel border is made with this color, #18748E, on a new layer. This time, set the border as Hard Light, opacity 40%.
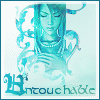
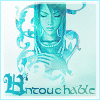
Almost done! Now just merge all layers and duplicate your new merged layer. Sharpen that new copy, setting opacity to 50%. Now we're finished!
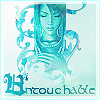
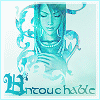
Please comment on what you think and be welcomed to show any icons you made with this tutorial! ^_^
Hope you enjoy the ride!
Make something from this to

in Paint Shop Pro, Version 7. Should be Translatable.
Here we go, my first tutorial and I hope it's not too confusing! The Focus of the Icon in making is Lucrecia Cresent from the Final Fantasy VII game and the soon-to-arrive-in-North-America Dirge of Cerberus! Now onto one small Image to Icon step.

Copy your image and paste as new layer (Ctrl+V+L) into the blank 400x400 template. It should automatically be centered. Now time for the icon making process. ^_^
The Icon Step ProcessImage Step 1Image Step 2Image Step 3Image Step 4
Resize your image into a 100x100 pixel icon and sharpen base twice (Do not use the option Sharpen More!).


Duplicate Layer, set to soft light, opacity 100%. Duplicate Layer again, setting it to burn with an opacity 50%. One more Duplicate Layer, this time with screen and 50% opacity.

New layer, fill with #000040, set to overlay, opacity 50%


New layer, fill with #FFFFFF, set to soft light, opacity 25%


Copy and paste new layer, this texture from unmasked_icons, move to the “center” of your icon; Lucrecia’s head should be roughly in the middle of it; set to lighten and paint the non-covered parts of your base with #FFFFFF, Opacity 100%.


New layer, then using this Brush also from unmasked_icons and color, #B6EEF1, make a stamp; mirror mark and move down to desired area; set to Dodge, Opacity 100% (This will give you an area for your text).


Using Tfu-Tfu, font size 26, create your capital letter (in my case U), place into bottom left corner with some margin from the edge for our little white border. Then with Stonehenge font, font size 12, kerning 25, type out the rest of your word (ntouchable), set next to your capital. Duplicate your font layer, leave as normal and 100% opacity.


Now for the little snazzy background, copy and paste as new layer this unmasked_icons texture; put on multiply, opacity 70%.


Copy and paste new layer of damnicons’s texture; flip, set to lighten, Opacity 50%; erase parts of the top left corner around Lucrecia’s head; you don’t want any part of the texture on her head; you just want the lights around the bottom of the icon, near or on the Capital Letter.


Copy and paste new layer our final unmasked_icons texture; mirror and flip, set to screen, Opacity 100%.


Copy and paste new layer this light texture from ianthinae, set to Lighten, Opacity 100%. Duplicate this layer, it should still be set on Lighten and Opacity 100%.


Make a four pixel border using this color, #FFFFFF, set to Soft Light, Opacity 100%. Duplicate it, leaving the same setting as the original.


Next, create a new layer and make a two pixel border around the edge using this color, #FFFFFF. Leave as is, no effects here.

Our one pixel border is made with this color, #18748E, on a new layer. This time, set the border as Hard Light, opacity 40%.


Almost done! Now just merge all layers and duplicate your new merged layer. Sharpen that new copy, setting opacity to 50%. Now we're finished!


Please comment on what you think and be welcomed to show any icons you made with this tutorial! ^_^