Tutorial

Involves Curves and Colour Fill Layers. Made in PhotoShop CS4 but should work fine in other versions of PS.
I've tried to make this easy for a beginner to follow, but if there's anything that's unclear don't hesitate to ask!
I started off with this pretty image of Bella which was capped by the amazing janine83 :)
So I get a lot of people asking me how I resize my images, and tbh I just use the Move Tool and hold Shift while I resize the image into a 100 x 100 box. I'm not one of those icon makers who can work on a a larger scale, haha.
Anyhoo, I resized the image and positioned it in a crop I liked.
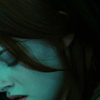
Then I duplicated the base layer twice and set them both to Screen 100% Opacity.
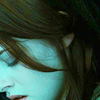
Then I went to Layer > New > Layer, and took a Soft Round Brush and painted along the bottom with #8666cc. I set the layer to Colour Burn at 29% Opacity. This is mostly to emphasise her profile, as there are some pretty shadows there that give her face more definition.
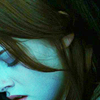
Then I made a new layer again, and took the same brush in #84d0ef and painted a splodge over the top part of her face, avoiding her eye. I set the layer to Soft Light 100%. This will lighten up the icon and give it a bit of softness.
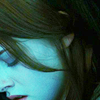
Then to add some contrast and get rid of some of the greens in the image, I made a Colour Fill layer with #f79ca7 set to Colour Burn 39%.
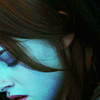
Ok, then I made a Curves layer just to brighten it up. I'm awful at explaining Curves, so if this doesn't work for you just let me know - I used these settings;
RGB
Point 1
Output: 77
Input: 69
Point 2
Output: 134
Input: 116
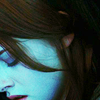
So there's still a bit too much green for my liking, and I wanted to gradually tone it down, so I made another Colour Fill layer, and filled it with #84d0f1 and set it to Colour Burn at 34%.
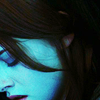
I wanted the icon to have a pretty dark feel, so I made another empty Layer, and took a Soft Brush again in #3fb1ca but this time only painted over her hair, including the strand over her face. I set this layer to Colour Burn at 25%.
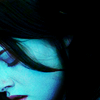
I wanted a teensy bit more colour and contrast on her face again, so I made another new Layer and used the soft brush in #cfc2eb to paint over her eyes, nose and lips. I set it to Colour Burn 30%.
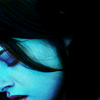
Finally, I added this texture by boxed set to Screen 100%, and that's it :)
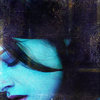
Here's the PSD. so you can see the layers etc.
Aaaand I guess that's all! I tried to pick an icon that would be kind of interesting to see a tutorial for, but it turned out to be kinda boring, haha :P
As always, if you're having any trouble or anything, just let me know, and I'll try to help you out. And if anyone wants to share their results, I'd love to see them!
Two other quick announcements while I'm here;
- lilyrose-icons is no longer Members Only. I don't feel it's necessary anymore, so I'll be going back through all the entries and opening them up.
- Anyone who wants to see pretty people on their FList everyday should Join crushparty, just sayin'. /shameless pimp