Tutorial
Twilight Colouring Tutorial
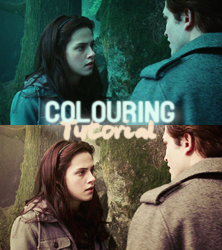
Involves Selective Colouring. Made in PhotoShop CS2, but should work in other versions of PS.
I've tried to make this semi-beginners-friendly, but if there's still somehthing you're not clear on, just ask :)
Ok, so I started off with this lovely, huge cap by the amazing janine83. I find it's always best to use a high-res cap when making Twilight graphics, because they seem to get really blurry and weird looking when you resize them sometimes.
But anyway, once I had that, I went to Image > Image Size, then changed the Width to 500 under Pixel Dimensions. The numbers under Document Size with change automatically, so you can leave those as they are. Then hit OK.
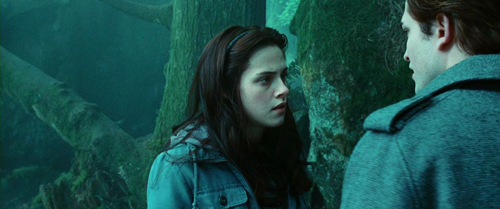
I duplicated that layer and left it at Normal 100% opacity above the base layer. So now it's nice and resized, I went to my ~secret weapon~ of Twilight colouring. Image > Adjustments > Photo Filter. I chose Warming Filter (85) and changed the Density to 42%, then hit OK.
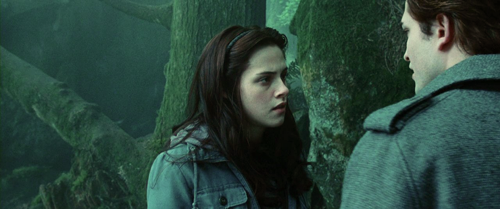
Then I hit CTRL + E to merge that layer down onto the base. Then, I duplicated that one, and opened up Photo Filter again. This time I set the Density to 46%. This step is obviously different for every cap, so don't rely on this too heavily.
Then I merged that layer down again.
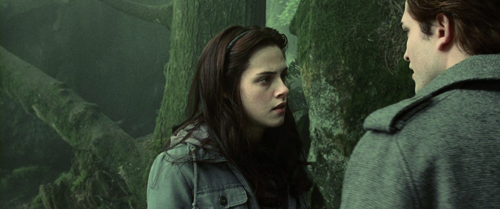
So now we have our slightly more acceptaple, blue-free image. Time for some colour. I duplicated the layer and set it to Screen 100%.
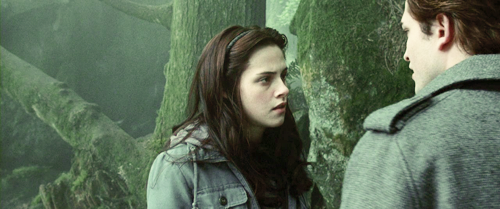
Then I went to Layer > New Adjustment Layer > Hue / Saturation, and set the Saturation to -14.
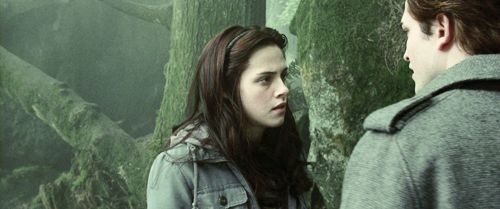
Then I went to Layer > New Adjustment Layer > Curves.
RGB
Input: 121
Output: 134
Red
Input: 114
Output: 138
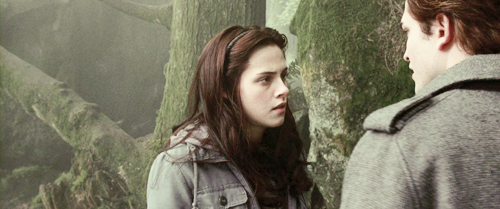
Next, I went to Layer > New Adjustment Layer > Colour Balance.
Shadows
-8, -8, -12
Midtones
+12, -4, +10
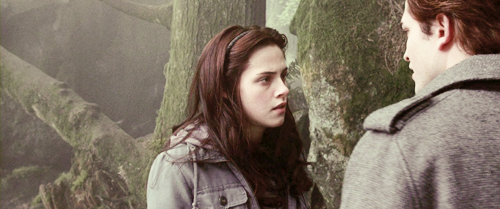
Then I went to Layer > New Adjustment Layer > Selective Colour.
Red
+20, +6, -12, +10
Yellows
+20, -22, +16, +20
Whites
0, 0, +6, -18
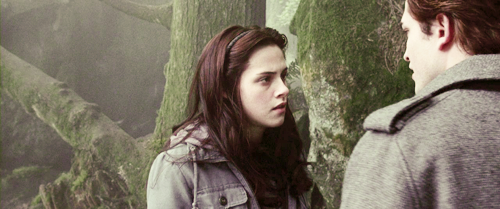
Then, I made a new Solid Colour layer, filled with #cf9175, set to Darken at 14% opacity.
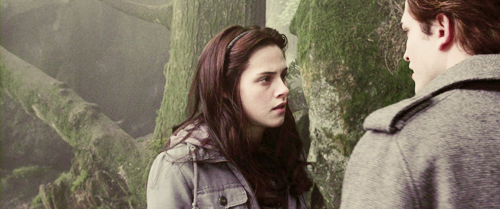
Then, I made another Colour Layer filled with the same colour, but set to Colour Burn at about 21% opacity. But again, this will depend on your cap.
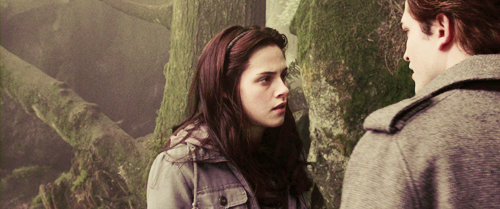
And lastly; Layer > New Adjustment Layer > Levels.
RGB
10, 1.14, 255
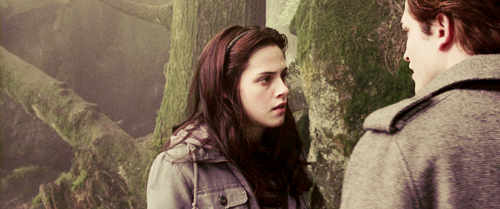
Then to Sharpen, I went to Filter > Sharpen > Sharpen. Then went to Edit > Fade Sharpen, and set it to about 20%.
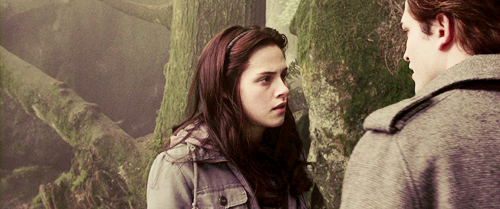
And that's it!
I'd appreciate credit if you plan to use this for your own graphics. I'd also appreciate if no one copied this exactly, as (believe it or not) it did take me a while to play around and get this.
Oh, and leaving a comment would be lovely too, seeing as how I had about 65,9788 people ask me for this in Private Messages :P
Have fun with it :)