First Header Tutorial
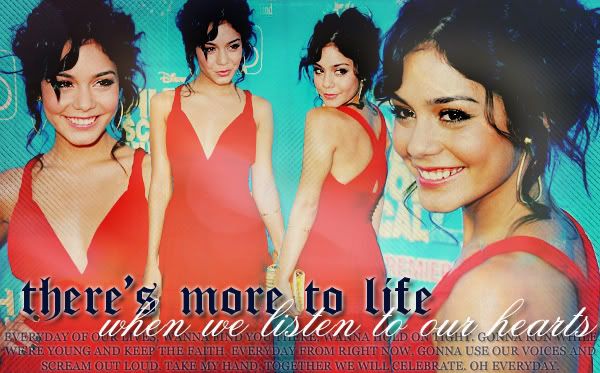
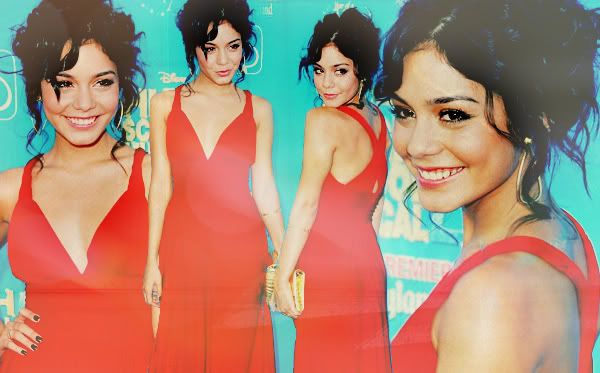
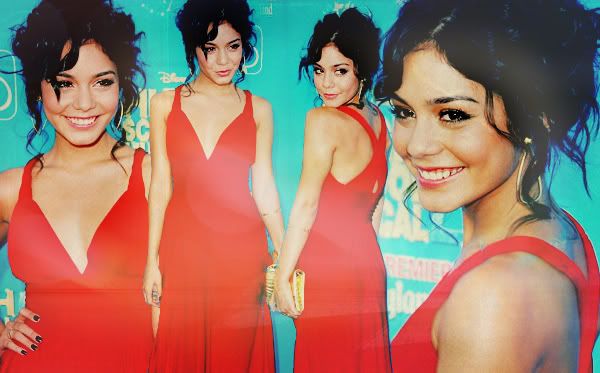
We will be making this:
http://i197.photobucket.com/albums/aa71/lightsxoff/finalyes.jpg
Image/Layer-heavy
Made in PS7
Uses selective coloring but includes a PSP-Friendly alternative step.
Comments are lovely. Posted results are lovelier.
So I've never made a header tutorial so please bare with me. Warning: this is VERY image heavy and has a lot of layers. If the coloring doesn't come out right, try removing layers or changing opacities.
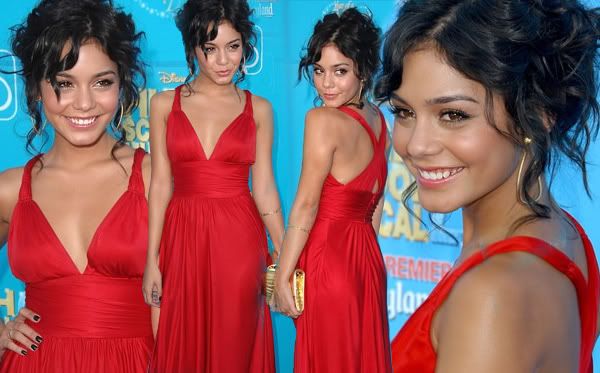
1. Take your images (anywhere from 1-2394038 and position them no your canvas. It will look best if your images all have a similar background. My canvas is 600x373 pixels and used these pictures, courtesy of Vanessa Online's Picture Gallery.
2. Using your eraser tool and/or lasso tool, erase the unwanted backgrounds and overlaying images so that they are blending nicely. Sharpen if necessary or use the Sharpen and Blur tools for precise strokes.
3. Add a fill layer of E7D7E0 set to Multiply 100%
4. Add a layer of 0D4F16 set to Exclusion 100%
5. Duplicate your base and bring it to the top, setting it to Screen 20%. You can fiddle with it later.
6. Add a layer of DAD8CF set to Color Burn 100%
7. Duplicate the base again and bring it to the top, setting it at Screen 40%
8. Add a Soft Light layer of FCECEC at 100%
9. Add a Soft Light layer of B5D4CB at 40%
10. Color Balance Layer:
M:-20, 0, 15
S: -15, 0, 10
H: 10, 0, 10
11. Selective Coloring Layer:
Reds: -100, 67, 100, -14
Yellows: 51, 50, -88, -41
Neutrals: -14, -16, -14, 17
PSP Alternative 11. Hue/Saturation Layer:
Red: 6, 12, 0
will give you the same effect.
12. Duplicate your base, bring to the top and set to Hue 40%.
13. Duplicate that and set it to Overlay 40%
14. Color Balance Layer:
M: -10, 0, 10
S: -10, 0, 0
H: -10, 0, 10
15. Color Balance Layer:
M: -20, 0. 15
S: 25, 10, 5
H: -10, 5, 20
16. Fill layer of 060F32 set to Exclusion 100%
17. Copy Merge (Ctrl+Shift+C) and paste, setting to Color Burn 100%.
18. Duplicate your base, bring to the top, and set to Overlay 40%.
19. Duplicate that layer (one last time) and set to Soft Light 80%
-----
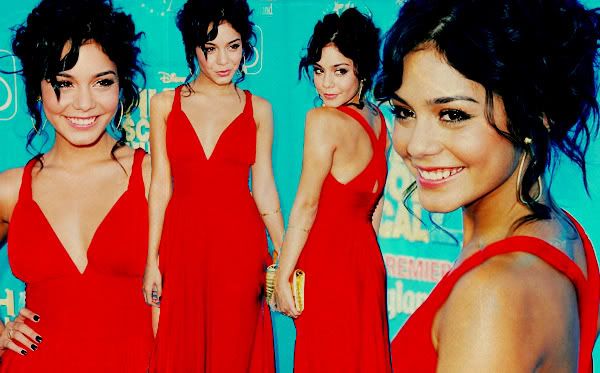
Now you're done with coloring.

-----
20. Take THIS texture from Hybrid Genesis and set to Multiply at 20%.
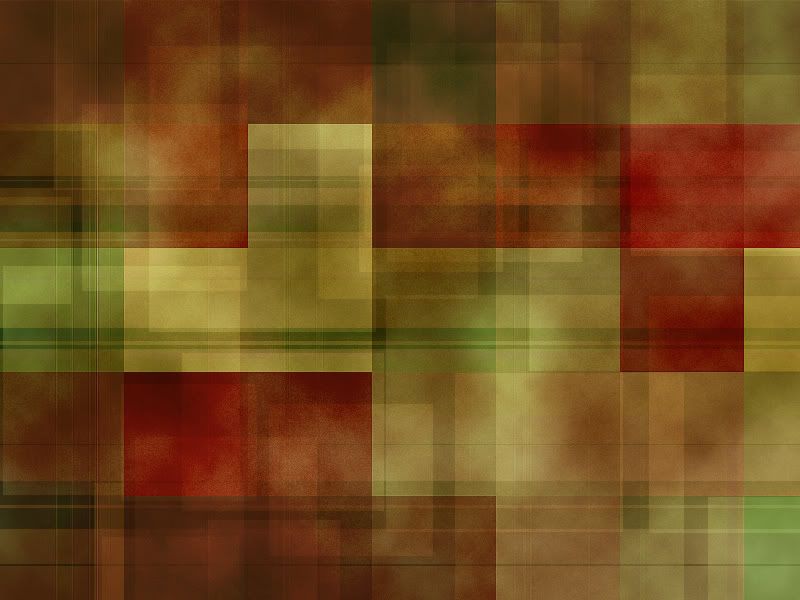
21. Take THIS texture, also from HG and set to Screen 50%. Erase where the texture covering faces on your blend.
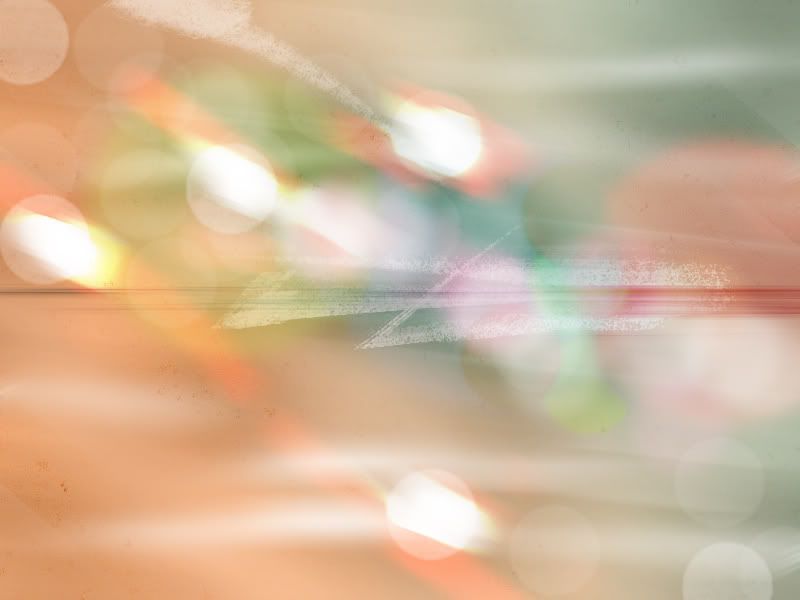
22. Take a Soft brush on a new layer (100-200 px) and color the edges of your header in black (000000), setting to Soft Light.
23. Add brushes and text.
I used a grunge brush set from HG.
For my fonts I used Georgia, Old London, and Old Script, playing with Drop Shadows and Outer Glows.
Lyrics are from "Everyday" from High School Musical 2.
Credit:
powertothepeace for the "Lyrics on the Bottom" idea =)
FINAL RESULT: