Eve's Apple Coloring Tutorial
Go from
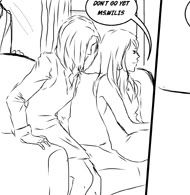
to
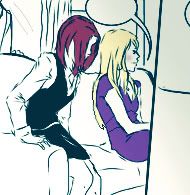
- made with Gimp 2.6 but translatable.
STEP ONE: Open the image. Since your lines are a bit thin, I made them darker by duplicating the background image and setting it to Multiply 100%.

STEP TWO: Create new layer. Fill with ffeeab Overlay 100%.
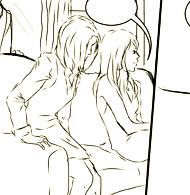
STEP THREE: Create new layer. Fill with cae5f9 Burn 100%. Duplicate this layer twice.
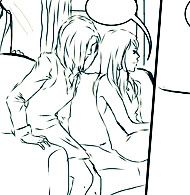
STEP FOUR: Create new layer. Fill with 023950 Screen 80%.

STEP FIVE: Under the layers created from Steps Two through Four, create a new layer for Eva's hair 770008 Multiply 80%.
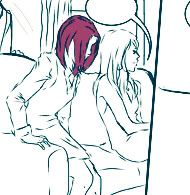
STEP SIX: Create a new layer for Miles' hair ffeeab Multiply 100%.
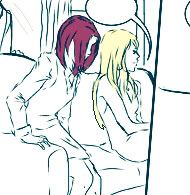
STEP SEVEN: Create a new layer for Eva's clothes: black vest over white shirt, black skirt. 000000 Multiply 100%.
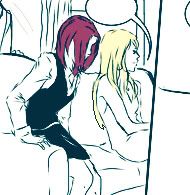
STEP EIGHT: Create a new layer for Miles' dress, which is actually this.
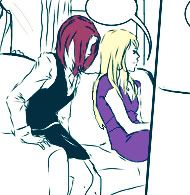
STEP NINE: Create a new layer. For this part, you've got a free hand. I mainly use the Blend Tool (gradient), making sure to change it from FG to transparent and then setting it to Multiply. Sometimes, I also use textures.

- end -

to

- made with Gimp 2.6 but translatable.
STEP ONE: Open the image. Since your lines are a bit thin, I made them darker by duplicating the background image and setting it to Multiply 100%.

STEP TWO: Create new layer. Fill with ffeeab Overlay 100%.

STEP THREE: Create new layer. Fill with cae5f9 Burn 100%. Duplicate this layer twice.

STEP FOUR: Create new layer. Fill with 023950 Screen 80%.

STEP FIVE: Under the layers created from Steps Two through Four, create a new layer for Eva's hair 770008 Multiply 80%.

STEP SIX: Create a new layer for Miles' hair ffeeab Multiply 100%.

STEP SEVEN: Create a new layer for Eva's clothes: black vest over white shirt, black skirt. 000000 Multiply 100%.

STEP EIGHT: Create a new layer for Miles' dress, which is actually this.

STEP NINE: Create a new layer. For this part, you've got a free hand. I mainly use the Blend Tool (gradient), making sure to change it from FG to transparent and then setting it to Multiply. Sometimes, I also use textures.

- end -