lmaii
in
lastappeal
#09 - icon tutorial ft. rain.

--->

1. crop and sharpen your base, align your subject to the center. (orignal picture here from
callie20)
2. layer/new adjustment layer/selective coloring - red: -40 | 0 | +15 | 0
3. layer/new adjustment layer/selective coloring - red: -100 | 0 | +16 | +41 (or seriously, any color you color your icon is fine! because i'm a total failure at coloring! xD)
4. new layer, fill with #4a2e17 & set to exclusion 100%
5. duplicate base, drag to the very top and set to soft light 50%

6. control+alt+shift+E to merge everything into a new layer.
7. hold shift while resizing this new layer and place it in center bottom:

8. use the eyedropper and pick the color in the background that takes up the most space. i got #36a4b5. make a new layer and fill with this color and drag it to the bottom of the resized icon.

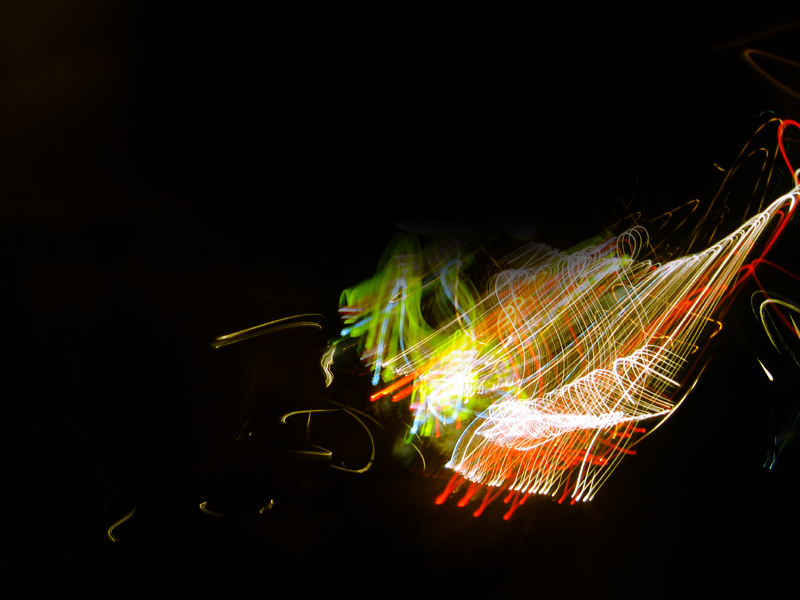
9. paste take this texture (by me) on and set to screen 100%
10. use this texture (by i forgot, but it's listed in my resources) and place it where you like, set to screen 100%. here is the part i cropped from the texture that i used for the icon.
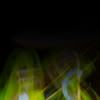
11. make a new layer and set to screen, take a soft brush around 150 px, #ff0000 & 50% opacity, and brush the bottom part a little. or just paste this on and set to screen.
results: